
Real estate tour hotspot creation is the process of placing interactive points within 360-degree virtual tours that let buyers navigate between rooms and access property details instantly. Done well, hotspots turn a passive slideshow into a guided property experience that holds attention and drives inquiries. Platforms like Simple Virtual Tour make this process accessible to agents and marketers without technical backgrounds. This guide covers everything from gear selection and project planning to step-by-step hotspot building, navigation logic, and troubleshooting, so your virtual real estate tours perform at the highest level.
What do you need before creating hotspots for your real estate tour?
Preparation determines the quality of your finished tour. Skipping this stage leads to misaligned hotspots, distorted images, and a frustrating viewer experience.
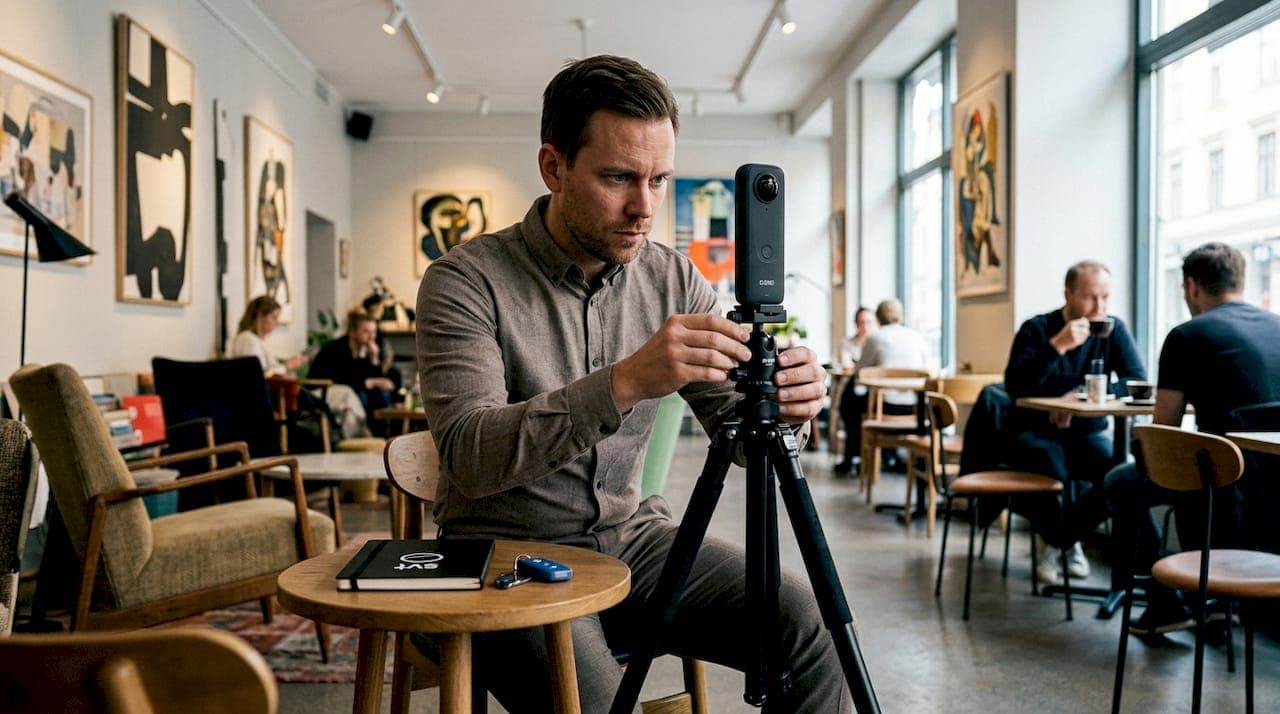
Camera and image requirements
Your 360-degree photos must be equirectangular images exported at a 2:1 aspect ratio. This format maps a full spherical panorama onto a flat rectangle, which is the standard input for every hotspot creation platform. Cameras with built-in stabilization reduce the floor and ceiling distortion that throws off hotspot placement later. If you shoot with a fisheye lens setup, confirm your stitching software exports at the correct ratio before you import anything.
Software selection
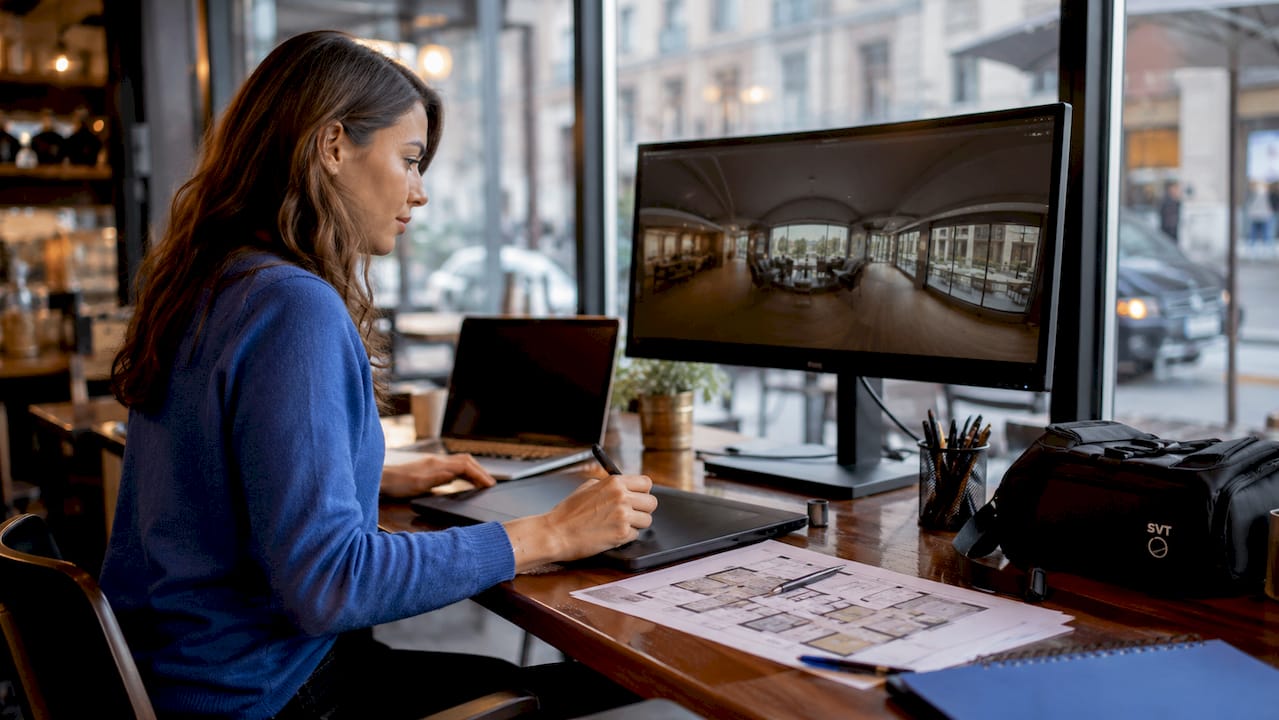
DIY virtual tour software starts at $0 per month, while professional capture services run $125–$500 per property. That cost gap makes self-service tools the practical choice for most agents managing multiple listings. Simple Virtual Tour is built specifically for real estate agents, brokers, and marketers who need professional results without expensive hardware or complex software. Its intuitive backend means you spend time on the tour, not on learning the tool.
Here is a quick comparison of what to look for when evaluating hotspot creation software:
| Feature | Why it matters |
|---|---|
| Drag-and-drop hotspot editor | Reduces placement errors and speeds up workflow |
| Two-way linking support | Prevents buyers from getting stuck in a scene |
| Multimedia hotspot support | Lets you attach photos, videos, and text to each point |
| Cloud and self-hosted options | Gives you control over data and ongoing costs |
| Embed compatibility | Allows placement on MLS listings, websites, and social media |
Project planning checklist
Before you open any software, gather these items:
- A floor plan or rough sketch of the property layout
- A numbered list of every room and outdoor space you photographed
- Notes on key features worth highlighting (kitchen island, master bath, backyard view)
- The intended publishing platforms (website, MLS, social media)
Pro Tip: Number your 360 photos to match your floor plan sketch before uploading. This one step eliminates the most common source of hotspot linking errors.
How do you plan hotspot placement for smooth navigation?
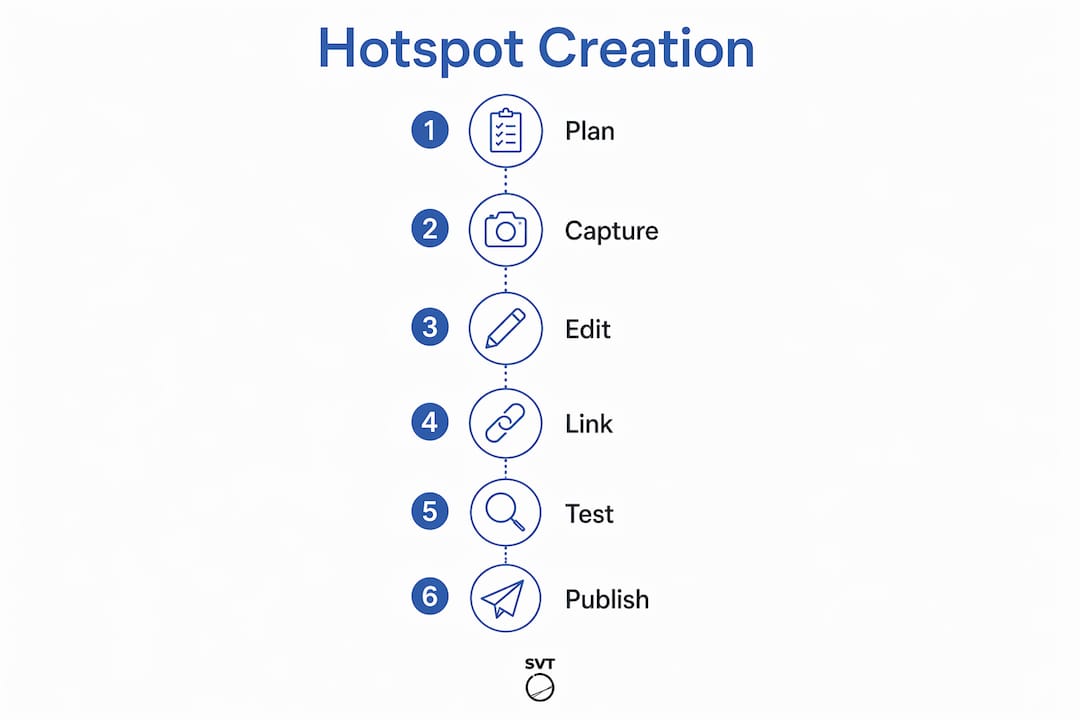
Logical navigation paths matter more than a high density of information points. Mapping the visitor journey before adding any hotspots is the professional standard, and it separates tours that convert from tours that confuse.
Think of your property tour as a physical walkthrough. A buyer entering the front door expects to move to the living room, then the kitchen, then the bedrooms. Your hotspot map should mirror that natural sequence.
Planning the visitor journey
Start with your floor plan sketch and draw arrows showing the most logical path through the property. Every room should connect to at least one adjacent space. Identify the entry point, which is usually the front door or main living area, and build outward from there.
- Mark the entry scene as your tour's starting point.
- Identify every doorway, hallway, and transition point in each scene.
- Draw a connection line between each pair of adjacent rooms.
- Note any feature hotspots (fireplace, kitchen appliances, view windows) within each scene.
- Review the map for dead ends and add return paths where needed.
Two-way hotspot linking
Two-way navigation links prevent buyers from getting stuck and are the industry standard for professional tours. If you place a hotspot in the living room that leads to the kitchen, you must place a matching hotspot in the kitchen that leads back to the living room. Every connection needs to work in both directions.
A common mistake is linking all rooms back only to the entry scene. This forces buyers to retrace their steps and breaks the natural flow of a walkthrough. Instead, connect each room to its physical neighbors.
Hotspot density per scene
Three to five navigation hotspots per scene is the practical ceiling for most residential properties. Beyond that, the interface feels cluttered and buyers lose their sense of direction. Reserve additional hotspot slots for feature callouts on genuinely noteworthy elements like a custom built-in, a panoramic view, or a recently renovated bathroom.
Pro Tip: Place navigation hotspots near the visual center of doorways or openings in the image. Buyers instinctively click where they expect a door to be, so matching hotspot position to the actual opening reduces confusion.
How do you create, link, and customize hotspots step by step?
This walkthrough applies to any hotspot creation platform, including Simple Virtual Tour.
- Upload your equirectangular images. Import all 360 photos in the order that matches your floor plan map. Rename files by room if your software allows it.
- Set your starting scene. Designate the entry room or front exterior as scene one. This is where every buyer begins their tour.
- Add a navigation hotspot at the first doorway. Click on the doorway area in the scene editor and create a hotspot linked to the adjacent room's scene.
- Link the hotspot to the correct target scene. Double-check the destination before saving. Linking a kitchen hotspot to the master bedroom is the most common error in this step.
- Return to the target scene and add the reverse hotspot. Place a hotspot pointing back to the original room to complete the two-way connection.
- Repeat for every room connection until your full navigation map is built.
- Add feature hotspots on key property elements. Click on the kitchen island, the view window, or the fireplace and create an info hotspot.
- Write a concise description for each feature hotspot. Multimedia-enhanced hotspot descriptions that combine short text with a photo or video increase buyer engagement. Keep text under 50 words and focus on one specific selling point per hotspot.
- Attach supporting media where relevant. A short video of the backyard or a photo of the floor plan adds context that static images cannot provide.
- Preview the full tour and walk through every path. Click every hotspot and verify it lands in the correct scene.
Common mistakes to avoid
- Linking hotspots to the wrong scene (always verify destination before saving)
- Placing hotspots at the extreme top or bottom of the equirectangular image, where distortion is highest
- Writing hotspot descriptions that repeat the listing copy instead of adding new detail
- Forgetting to add return navigation from the last room in a sequence
- Publishing without a mobile preview
Pro Tip: Write your feature hotspot descriptions as if you are standing in the room with the buyer. "This kitchen island seats four and includes a built-in wine rack" outperforms "Spacious kitchen" every time.
The Evergreen Design Studio portfolio shows how professional visual design applied to virtual tour interfaces can sharpen the overall buyer experience, which is worth reviewing if you plan to customize your tour's appearance beyond default settings.
Interactive tours with hotspots embed across MLS, websites, and social media to reach remote buyers effectively. That distribution reach is what makes the effort of careful hotspot creation worthwhile.
How do you troubleshoot and optimize your hotspot tour?
Even well-planned tours surface problems during testing. Catching them before publishing protects your listing's credibility.
Fixing distortion and misplaced hotspots
Equirectangular image distortion at the floor and ceiling is the leading cause of hotspot misplacement. If a hotspot appears to float above a doorway or sink into the floor, the source image likely has stabilization or export issues. Re-export the photo at the correct 2:1 ratio and re-upload before repositioning the hotspot.
Smoothing navigation jumps
Abrupt scene transitions between rooms that are far apart disorient buyers. Adding transition images, such as a hallway or staircase panorama between two distant rooms, smooths the navigation flow and maintains spatial orientation. Think of these as visual connective tissue between major spaces.
Cross-device testing
Testing across multiple devices is non-negotiable for hotspot accuracy and smooth navigation. A hotspot that sits perfectly on a desktop browser may appear shifted on a mobile screen due to rendering differences. Test on at least one iOS device, one Android device, and two desktop browsers before publishing.
"The most overlooked step in virtual tour production is the post-build walkthrough on a phone. Agents spend hours perfecting the desktop experience and then publish a tour where half the hotspots are nearly impossible to tap on a 6-inch screen. Test mobile first, then desktop."
Pro Tip: Ask a colleague who has never seen the property to navigate the tour without guidance. Where they get stuck or confused is exactly where your navigation hotspots need adjustment.
Improving load speed and interactivity
Large equirectangular image files slow tour loading and cause buyers to drop off. Compress images to under 5MB per scene without visible quality loss using tools like Adobe Lightroom or Squoosh. Fewer, better-placed hotspots also reduce interface clutter and keep the tour feeling fast and clean.
Key Takeaways
Effective real estate tour hotspot creation requires logical two-way navigation, concise multimedia descriptions, and thorough cross-device testing before any tour goes live.
| Point | Details |
|---|---|
| Map navigation before building | Sketch room connections on a floor plan before placing any hotspots. |
| Use two-way hotspot links | Every room connection needs a return path to prevent buyer dead ends. |
| Limit hotspots per scene | Three to five navigation hotspots per scene keeps the interface clear. |
| Enrich feature hotspots with media | Short text plus a photo or video drives more buyer engagement than text alone. |
| Test on mobile before publishing | Cross-device testing catches placement errors that desktop previews miss. |
Why most real estate virtual tours underdeliver on hotspots
The agents I see getting the best results from virtual tours share one habit: they plan the navigation map on paper before they open any software. The agents who struggle almost always skip that step and then wonder why buyers keep emailing to ask which room is which.
The bigger misconception I encounter is that more hotspots equal a better tour. The opposite is true. A tour with 30 hotspots per scene feels like a cluttered listing description. Buyers want to feel like they are walking through a home, not reading a spec sheet. Three well-placed navigation hotspots and two sharp feature callouts per room will outperform a scene buried in icons every time.
One trend worth watching in 2026 is the integration of e-commerce-style hotspots that link directly to product pages for furniture, fixtures, and finishes shown in the tour. Simple Virtual Tour already supports e-commerce integration, which means real estate marketers can start experimenting with this format now rather than waiting for it to become standard practice. The agents who build that capability into their workflow early will have a meaningful edge in staging-forward markets.
The other thing I would push back on is the assumption that virtual tours are only for luxury listings. A well-built hotspot tour on a mid-range property generates more qualified inquiries because remote buyers self-select before scheduling a showing. That saves everyone time.
— Andrea
Build better property tours with Simple Virtual Tour
Real estate professionals who want to put these hotspot strategies into practice immediately have a direct path forward.
Simple Virtual Tour gives you a full hotspot creation toolkit, including two-way navigation linking, multimedia info points, and live session capabilities, all within an interface that requires no technical background. The platform supports both cloud-hosted and self-hosted deployments, so you keep control of your data and reduce ongoing costs. Over 1,400 agents and marketers already use it to create interactive property tours that embed across MLS listings, websites, and social media. Visit Simple Virtual Tour to review pricing and plan options and start building tours that give remote buyers a reason to book a showing.
FAQ
What is a hotspot in a real estate virtual tour?
A hotspot is a clickable point placed within a 360-degree scene that lets viewers navigate to another room or access property details. Navigation hotspots link scenes together, while info hotspots display text, photos, or videos about a specific feature.
How many hotspots should each scene have?
Three to five navigation hotspots per scene is the practical standard for residential properties. Adding more creates visual clutter and makes it harder for buyers to follow the intended path through the property.
Why do my hotspots appear in the wrong position?
Hotspot misplacement is most often caused by equirectangular image distortion at the floor and ceiling. Re-exporting your 360 photo at the correct 2:1 aspect ratio and re-uploading the file typically resolves the issue.
Do virtual tour hotspots work on mobile devices?
Hotspots work on mobile, but placement can shift between desktop and mobile rendering. Always test your tour on at least one iOS and one Android device before publishing to confirm accuracy and tap target size.
How do I prevent buyers from getting stuck in my virtual tour?
Use two-way hotspot links on every room connection. If a hotspot in the living room leads to the kitchen, place a matching hotspot in the kitchen that returns to the living room. This mirrors a natural physical walkthrough and eliminates navigation dead ends.