
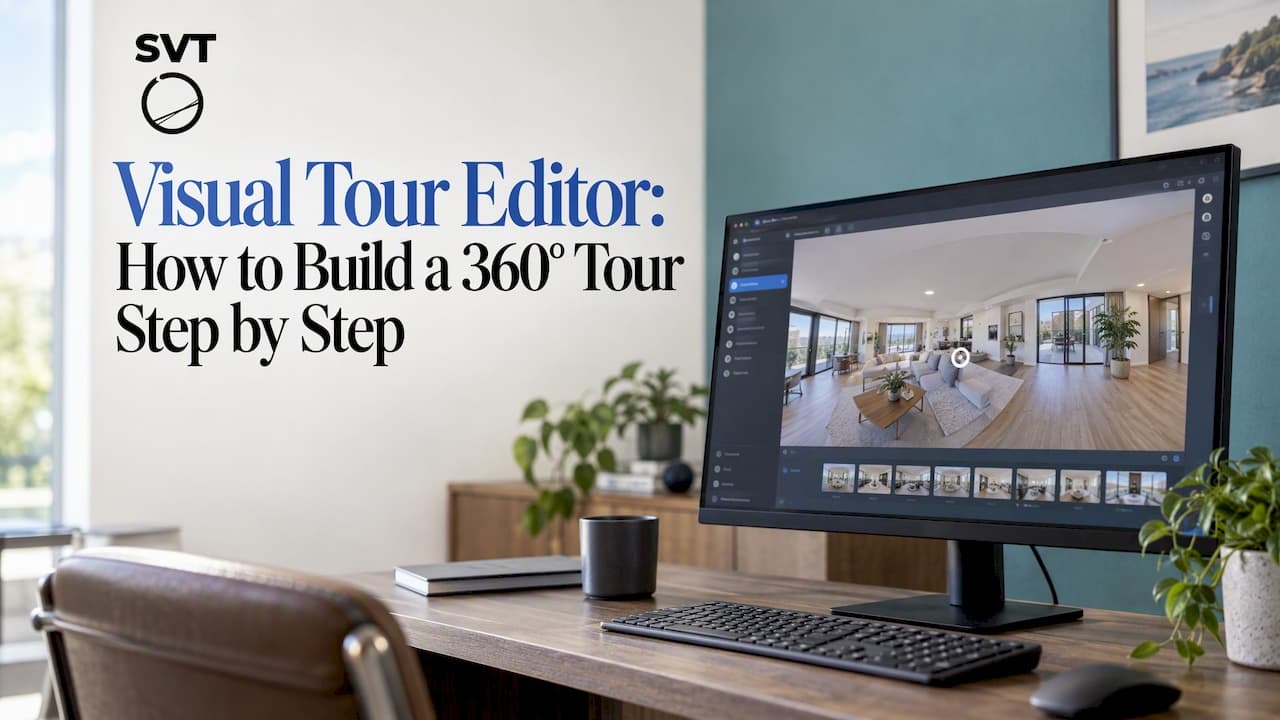
A visual tour editor is software that turns 360° photos into a walkable, clickable virtual tour. You upload panoramas, link them into a sequence of scenes, add hotspots that carry information, preview the result, and publish it by link or embed. The quality of the finished tour depends on two things: the files you feed in and how clearly you connect them. This guide covers both, including how to upload many photos at once and what to check first.
TL;DR
- A visual tour editor combines panoramas, scene links, hotspots, and publishing tools in one place, so you don't need to code.
- Most tours start from equirectangular images with a 2:1 aspect ratio, usually JPEG or TIFF. Check this before any bulk upload.
- Name and order your files before uploading, so your scenes arrive in a logical walking order.
- Connect scenes first, add hotspots second, preview on desktop and phone, then publish or embed.
- Simple Virtual Tour offers a free plan, paid cloud plans, and a self-hosted version, so you can start small and grow.
Table of Contents
- What a visual tour editor does
- Who uses a visual tour editor
- Step 1: Prepare your 360° images
- Step 2: Upload your photos, including in bulk
- Step 3: Connect your scenes
- Step 4: Add hotspots that earn their place
- Step 5: Preview, then publish
- Our perspective
- Choosing between cloud and self-hosted
- Running tours as a paid service
- Start building your first tour
- Common mistakes to avoid
- FAQ
- Sources
What a visual tour editor does
Think of the editor as the workshop between your camera and your viewer. The camera gives you raw panoramas. The editor gives those panoramas structure: which room comes first, where a viewer can click to move on, and what extra information appears along the way.
Most editors cover the same core jobs:
- Scene management. Each panorama becomes a scene you can name, reorder, and set a starting view for.
- Navigation links. Arrows or markers move the viewer from one scene to the next.
- Hotspots. Clickable points that open text, images, video, links, or other media.
- Presentation settings. Branding, logo, background music, and controls.
- Publishing. A shareable link, an embed code for your website, or a listing on a mapping platform.
Simple Virtual Tour is built around these jobs. It supports 360° panoramas, photos, and video, and it is designed so people without a technical background can run the backend. You can see the range of what it does on the features section of our site.
Who uses a visual tour editor
The same workflow serves very different businesses:
- Real estate agents walk buyers through listings before a showing.
- Hotels and resorts show rooms, pools, and event spaces before booking.
- Restaurants and bars let guests preview the dining room or private area.
- Museums and galleries offer virtual exhibitions online.
- Architects, interior designers, and home stagers present finished or staged interiors.
- Car dealerships show vehicle interiors and showrooms.
- Photographers and drone operators sell tours as a service to clients.
The tools are identical in every case. What changes is how many scenes you need and what your hotspots say.
Step 1: Prepare your 360° images
Good editing cannot rescue a poorly prepared file. Before you open the editor, confirm your images are in the format virtual tours expect.
According to the Immerse Project's production guide from an Australian university-led team, full spherical panoramas are commonly equirectangular JPEG or TIFF images with a 2:1 aspect ratio, and they form the basis of most immersive virtual tours. Google's documentation for custom Street View panoramas describes the same geometry: a 2:1 equirectangular projection covering 360° horizontally and 180° vertically.
In practice, that gives you a short checklist:
- Aspect ratio of 2:1. An image 8,000 pixels wide should be 4,000 pixels tall. If it isn't, it is probably a partial panorama or has been cropped.
- A full 360° by 180° view. Open the file in a viewer and confirm there is no gap at the top or bottom.
- A consistent format. Keep the whole tour in JPEG, or the whole tour in TIFF, rather than mixing.
- Consistent exposure. Scenes that jump between dark and bright feel jarring when a viewer walks from one room to the next.
- A clean nadir. The area under the camera often shows a tripod. Cover it with a logo or retouch it.
Most consumer 360° cameras export equirectangular files directly. If you shoot with a regular camera and a fisheye lens, you will stitch several frames into one equirectangular image first. Stitching software does that step before the editor sees the file.
Planning the shoot
The equipment is simple: a 360° camera or a camera with a fisheye lens, a tripod, and a plan. The plan matters more than the gear. Walk the space first and decide:
- Where each panorama will be taken. Aim for one per room, with extra points in large or complex rooms.
- How scenes will connect. Standing points should be close enough that the viewer can see where the next scene is.
- Which details deserve a hotspot, such as a feature wall, a menu, a price, or a plaque.
Write the shooting order down. It becomes your upload order later.
Step 2: Upload your photos, including in bulk
With a small tour, you can upload scenes one at a time. A hotel, a gallery, or a large listing can have dozens of panoramas, and uploading them in a single batch saves real time.
Bulk uploading goes smoothly when you do the prep work first:
- Rename files in walking order. Names like
01-entrance.jpg,02-lobby.jpg,03-lounge.jpgsort the way you shot them. Editors often list scenes in upload or alphabetical order, so a good naming scheme avoids rearranging later. - Put everything in one folder. Remove test shots, duplicates, and blurred frames before you upload.
- Confirm the 2:1 ratio on every file. One stray image with a different ratio can distort in the viewer.
- Check total file size and your connection. Large panoramas are heavy. Upload on a stable connection, and don't close the window until the batch finishes.
- Review the scene list after upload. Confirm the count matches your folder and the order matches your plan.
If you are using Simple Virtual Tour, check the current upload options inside your account, because the interface evolves. For a practical walk-through of building from panoramas, our guide on how to build interactive virtual tours covers the workflow from the first image on.
Step 3: Connect your scenes
A set of panoramas is a gallery. Connecting them makes it a tour.
Open the first scene and place a navigation marker where the viewer would naturally walk next, such as a doorway, a staircase, or the end of a hallway. Link it to the destination scene. Then, in the destination scene, add a marker pointing back.
A few habits make tours easier to move through:
- Place markers where the real exit is. A marker floating in the middle of a wall confuses viewers.
- Set the starting view of each scene. When the viewer arrives, they should face the direction they were walking, not the wall behind them.
- Keep a clear main path. Side rooms are good, but the viewer should always see how to continue.
- Add a way back to the start. A home or menu scene helps people who get lost.
Test each link as you add it. It is much faster to fix a wrong destination while you remember the layout than after 40 scenes.
Step 4: Add hotspots that earn their place

Hotspots turn a passive view into an interactive one. Each one should answer a question the viewer is likely to have at that exact spot.
Useful hotspot types include:
- Text and image pop-ups for room dimensions, materials, or history.
- Video for a walk-through, a chef's welcome, or a product demonstration.
- External links to a booking page, a listing, or a menu.
- Product points for retail tours, where Simple Virtual Tour's e-commerce integration lets viewers go from looking to buying.
- Audio for narration in a museum or a historical site.
Resist the temptation to mark everything. Five well-chosen hotspots per scene beat twenty that clutter the view. A good test: if a viewer would not ask about it in a real visit, skip it.
Step 5: Preview, then publish
Preview every tour twice: once on a desktop screen and once on a phone. Phones are where many viewers will see it, and touch controls behave differently from a mouse. Check these points:
- Every navigation marker leads to the right scene.
- Text is readable at phone size.
- Images load in a reasonable time.
- The first scene makes a strong first impression, since it is the thumbnail of your work.
Then choose how to share. The usual options are a direct link for emails and messages, an embed on your own website, and publication on a mapping platform. Simple Virtual Tour includes Google Street View publishing as an optional plugin, which helps businesses appear in maps with their interiors. Google documents how its custom panoramas are structured, and the 2:1 equirectangular geometry noted above applies there as well.
After publishing, use statistics to see which scenes and hotspots get attention. If viewers never reach your last rooms, shorten the path or move your best content earlier.
Our perspective
We built Simple Virtual Tour on a simple idea: making a tour should not require a developer, and owning your tour should not require a subscription forever.
That is why we offer two ways to work. If you want to start fast, the cloud version runs in your browser, and plans are billed monthly. If you want control over your data and your costs, you can buy the self-hosted version once and run it on your own server with full source code ownership. Both let you create unlimited tours.
We see the same pattern with the people who use our software. A photographer starts with a few client tours, then wants their own branding. A hotel group wants its guest data on its own servers. An agency wants to resell tours to its customers under its own name. A single editor that grows with those needs saves everyone from rebuilding their work in a new tool.
The editor itself should stay approachable. You should be able to upload panoramas, connect them, add hotspots, and publish without learning a new discipline. Then, when you are ready for live sessions, e-commerce, statistics, or API access, those features are there, not hidden behind a rebuild.
Andrea
Choosing between cloud and self-hosted
The right deployment depends on how you work.
| Cloud-hosted | Self-hosted | |
|---|---|---|
| Payment | Monthly or yearly subscription | One-time purchase |
| Setup | Sign up and start | Install on your own server |
| Data location | Our platform | Your server |
| Best for | Individuals, small businesses, quick starts | Agencies, resellers, organizations with data-control needs |
On the cloud side, Simple Virtual Tour lists a Free Forever plan and paid plans from €2.99 per month (XS Starter), €5.99 (S Creator), €9.99 (M Professional), €19.99 (L Business), and €49.99 (XL Enterprise). On the self-hosted side, the CORE software is a one-time $79, with optional plugins: $269 for the SaaS plugin, $59 for the Google Street View plugin, and $39 for the A.I. tools plugin. Read more about how self-hosting works on our site.
Running tours as a paid service
If you are a photographer or drone operator, the editor is only half the business. The other half is scoping each job, estimating hours, and presenting a clear proposal. Studios that sell immersive work often use dedicated tools for pricing 3D visualization projects and keeping proposals, tasks, and time tracking in one place, so the tour you build is also a job you can bill with confidence.
The self-hosted route with the SaaS plugin suits those who want to go further and offer tours to many clients through their own branded platform.
Start building your first tour
The fastest way to learn an editor is to use it on a real space. Pick a small location, shoot five or six panoramas, and follow the steps above. With Simple Virtual Tour you can begin on the free plan and move up only when the work demands it.

See the plans and pricing on our main page, or go straight to buying the software if you already know you want the self-hosted version.
Common mistakes to avoid
Most weak tours share the same few problems, and all are easy to fix:
- Skipping the prep. Mixed aspect ratios and unnamed files cost more time at the editing stage than they saved on the shoot.
- Too few scenes. A viewer who jumps from the lobby to a room with no transition loses the sense of place. Add intermediate points.
- Too many hotspots. Clutter hides the space you are trying to show.
- Ignoring mobile. Always test on a phone.
- No clear ending. Finish on a scene with a call to action, such as a booking link, a contact form, or a product page.
FAQ
What is a visual tour editor?
It is software that lets you assemble 360° panoramas into an interactive tour. You link scenes together, add clickable hotspots with extra information, and publish the result as a link or website embed. Good editors need no coding.
What file format should my 360° photos be in?
Use equirectangular images, commonly JPEG or TIFF, with a 2:1 aspect ratio. This is the standard format for full spherical panoramas, and most 360° cameras export it directly. Check the ratio of every file before uploading.
Can I upload many 360° photos at once?
Bulk uploading is the efficient way to load a large tour. Rename the files in walking order, remove duplicates, and confirm every image is 2:1 before you start. Afterward, check the scene list against your plan.
How do I share a finished tour?
You can send a direct link, embed the tour on your own website, or publish it to a mapping platform. Preview on both desktop and phone first. Simple Virtual Tour also offers a Google Street View plugin for map publishing.
Do I need technical skills?
No. Simple Virtual Tour is designed with a backend that people without technical training can use. Knowing the basics of panoramas, such as the 2:1 format, is enough to get started.
Sources
- Virtual Tour Production, Immerse Project
- Street View Service, Maps JavaScript API, Google for Developers