
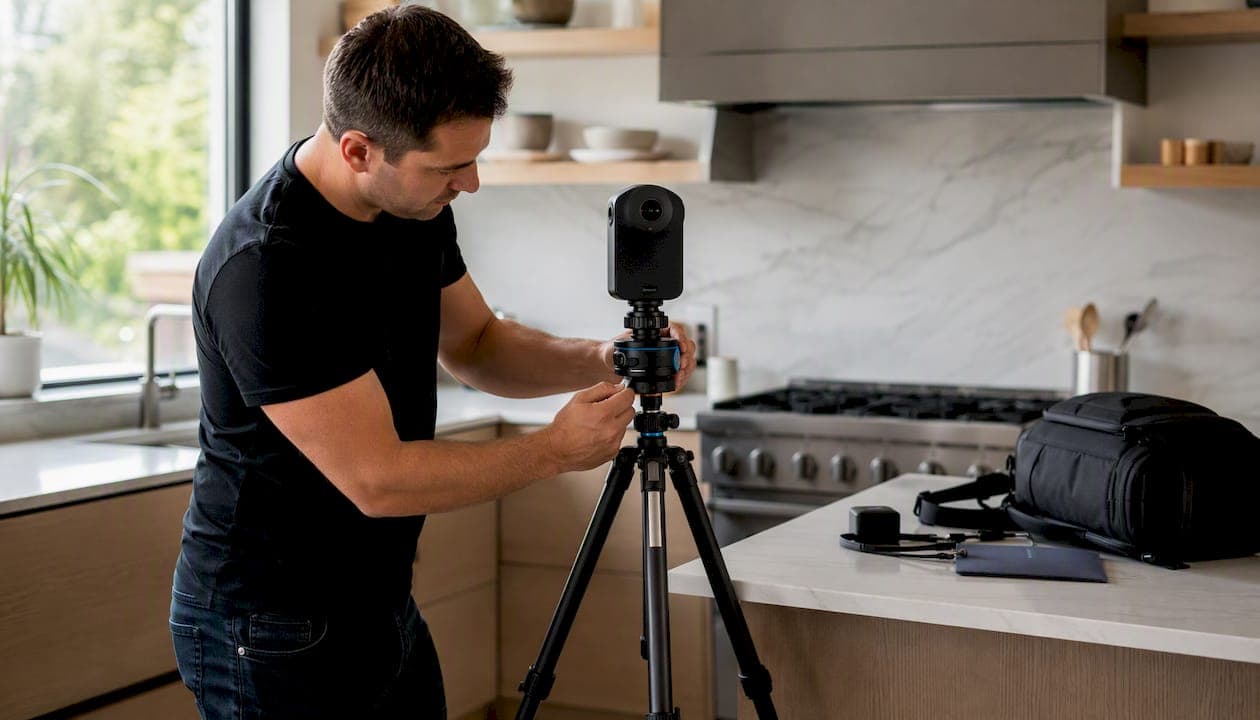
A dependable virtual tour editor workflow follows one line: Plan → Capture → Ingest & backup → Stitch/Process → Edit & color → Assemble interactive tour → Optimize & publish → QA. For a typical 10 scene property, capture usually runs a few hours, while stitching and editing together take several hours depending on lighting complexity and camera type.
Before you open any software, confirm scope and access. Know which rooms or areas you're covering, who has keys or entry codes, and what the client expects as a finished deliverable. Skipping that single step causes more schedule slippage than any technical problem you'll hit later.
Two numbers are worth keeping in front of you as you plan a shoot day:
- Capture time for 10 scenes: roughly 2 to 3 hours with a single 360 camera and tripod, assuming no major relighting between rooms.
- Post production time for 10 scenes: 4 to 8 hours split across stitching, color correction, and tour assembly, with variance driven mostly by lighting consistency and how many hotspots you're building.
Your best next move if you're starting a new project today: run a 15 minute walkthrough of the space before you touch a camera. It costs almost nothing and it eliminates the two biggest causes of reshoots, missed rooms and blown lighting assumptions.
Key Takeaways
A repeatable virtual tour editor workflow, plan, capture, ingest, stitch, edit, assemble, optimize, and publish, cuts production time and prevents the reshoots that come from skipped planning.
| Point | Details |
|---|---|
| Confirm scope before shooting | Run a 15 minute walkthrough to lock access, lighting, and scene count before capture day. |
| Batch similar tasks | Group all capture, then all stitching, then all color work to cut context-switching time. |
| Export web-first | Target 4096x2048 equirectangular JPEGs or WebP for fast load times on most projects. |
| Verify on real devices | Test hotspots, thumbnails, and entry views on phone, tablet, and desktop before publishing. |
| Use Simple Virtual Tour for assembly | Its ingestion, hotspot editor, and thumbnail manager map directly to this workflow's assembly and publish stages. |
Table of Contents
- What Are the Stages of a Virtual Tour Editing Process?
- How Do You Plan a Virtual Tour Before Shooting?
- Which Camera Settings and Capture Methods Work Best?
- How Should You Organize and Back Up Tour Files?
- What Are the Best Tools for Stitching and Processing Panoramas?
- How Do You Batch Edit and Color Correct a Tour?
- How Do You Link Panoramas Into an Interactive Tour?
- What Export Settings Deliver the Best Load Times?
- What Should You Check Before Publishing a Tour?
- What Editing Habits Do Experienced Creators Rely On?
- A Real-World Timeline for Delivering a 10-Scene Tour
- Get From Editing to Publishing Faster With Simple Virtual Tour
- Where to Learn More About Capture and Editing Tools
- Frequently Asked Questions
- Sources
What Are the Stages of a Virtual Tour Editing Process?
Every interactive 360 tour moves through eight distinct stages, and each one produces a specific deliverable you can check off before moving forward. Treating these as separate, gate-checked steps, rather than one blurry production blob, is what separates editors who ship consistently from those who redo work.
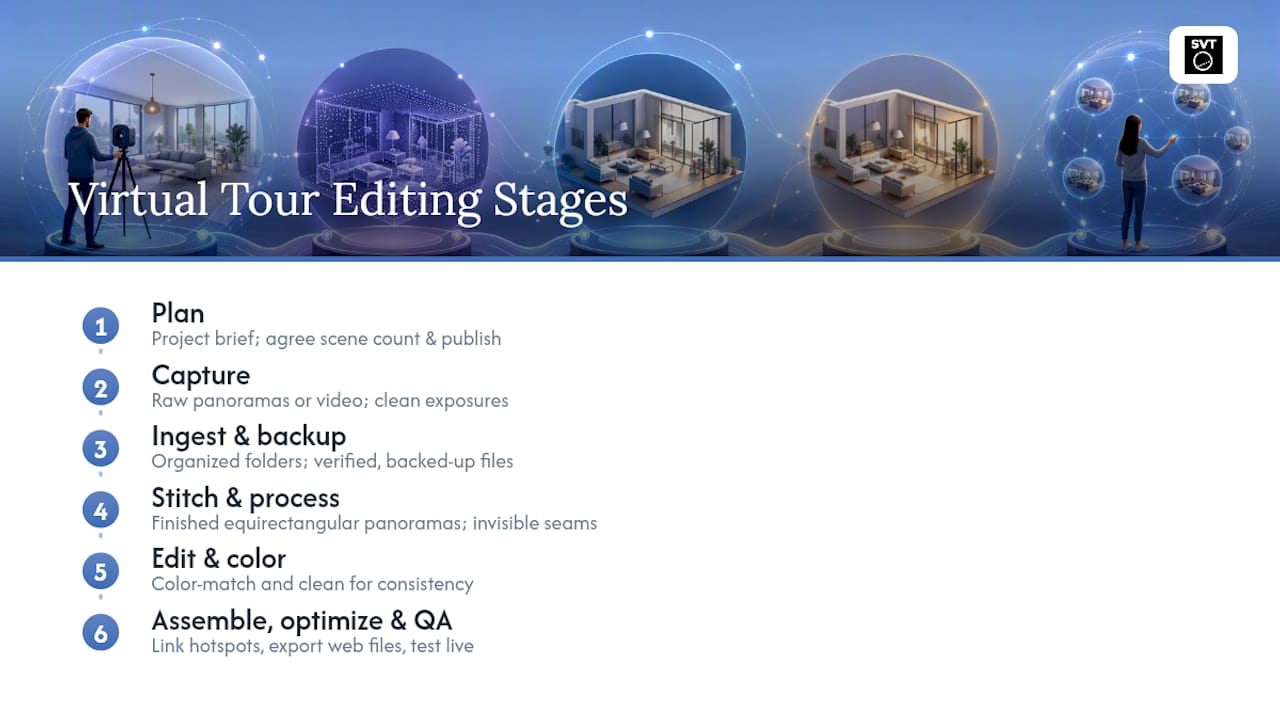
Plan produces a written project brief and a rough scene map. Success looks like: you and the client agree on scene count, key rooms, and the final publish destination before any capture happens.
Capture produces raw panoramic images or video from every planned position. Success means every scene has at least one clean, usable exposure with no visible tripod, feet, or moving people in frame.
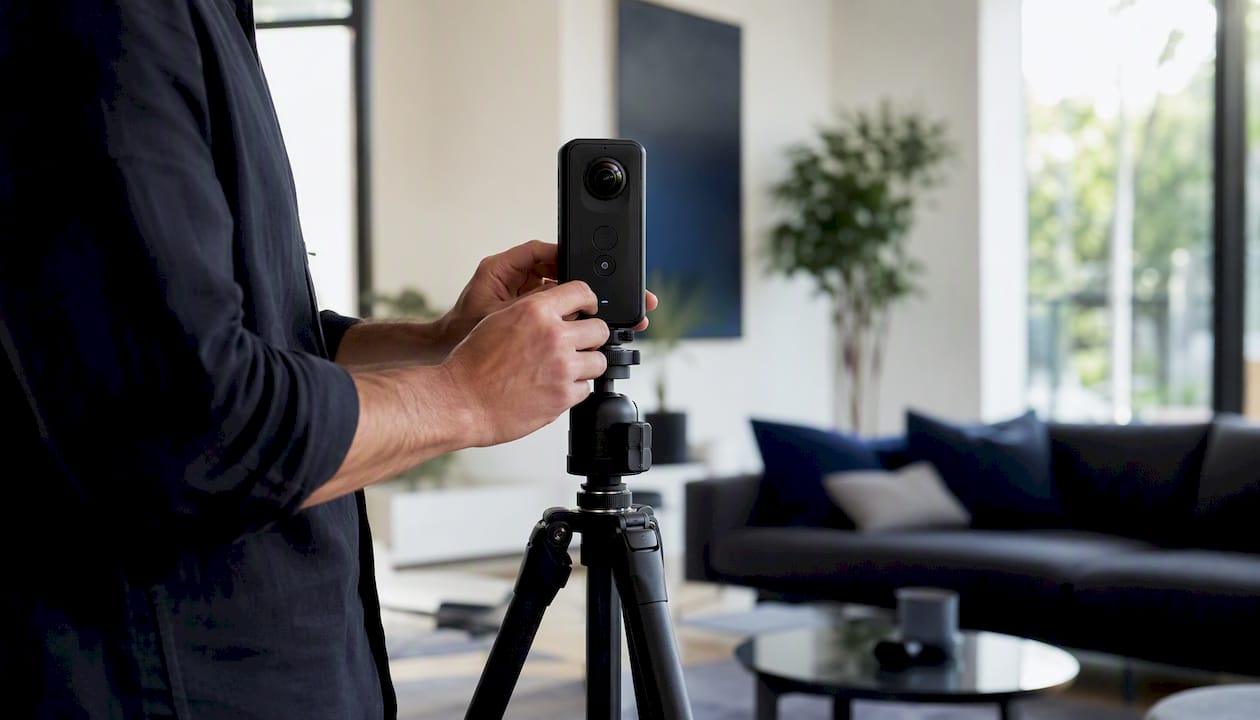
Ingest produces an organized, backed up folder structure with verified files. Success means you can recover every file if a drive fails that same night.
Stitch/Process produces finished equirectangular panoramas. Success means seams are invisible at normal zoom and there's no visible ghosting on moving subjects.
Edit/color produces color matched, cleaned up panoramas ready for assembly. Success means scene-to-scene color consistency, since jarring shifts between rooms are the fastest way to make a tour look amateur.
Assemble interactive produces a linked tour with hotspots, thumbnails, and entry views. Success means a first-time viewer can navigate the whole space without confusion.
Optimize/export produces web-ready files sized for fast loading. Success means load time under a few seconds on a typical broadband connection.
Publish/QA produces a live, tested tour URL or embed. Success means it works correctly across desktop, mobile, and at least one alternate browser.
Capture hardware (360 cameras, tripods, sometimes drones), stitching software, image editors like Adobe's Lightroom and Photoshop, and a tour builder for assembly and hosting each own a different stage. Batch processing makes sense once you have five or more scenes with similar lighting, since applying one correction profile across the set saves hours. Per-scene editing becomes necessary the moment lighting varies room to room, such as a sunlit kitchen next to a windowless hallway.
How Do You Plan a Virtual Tour Before Shooting?
A short planning phase, defining the tour's goal, sketching the viewer's path, and gathering supporting media before you edit, turns post production into straightforward assembly rather than creative problem solving under deadline pressure. Research on interactive media design backs this up directly: structuring the goal and user path before production begins reduces post-production guesswork substantially, because the editor is working from a predetermined map instead of improvising structure after the fact.
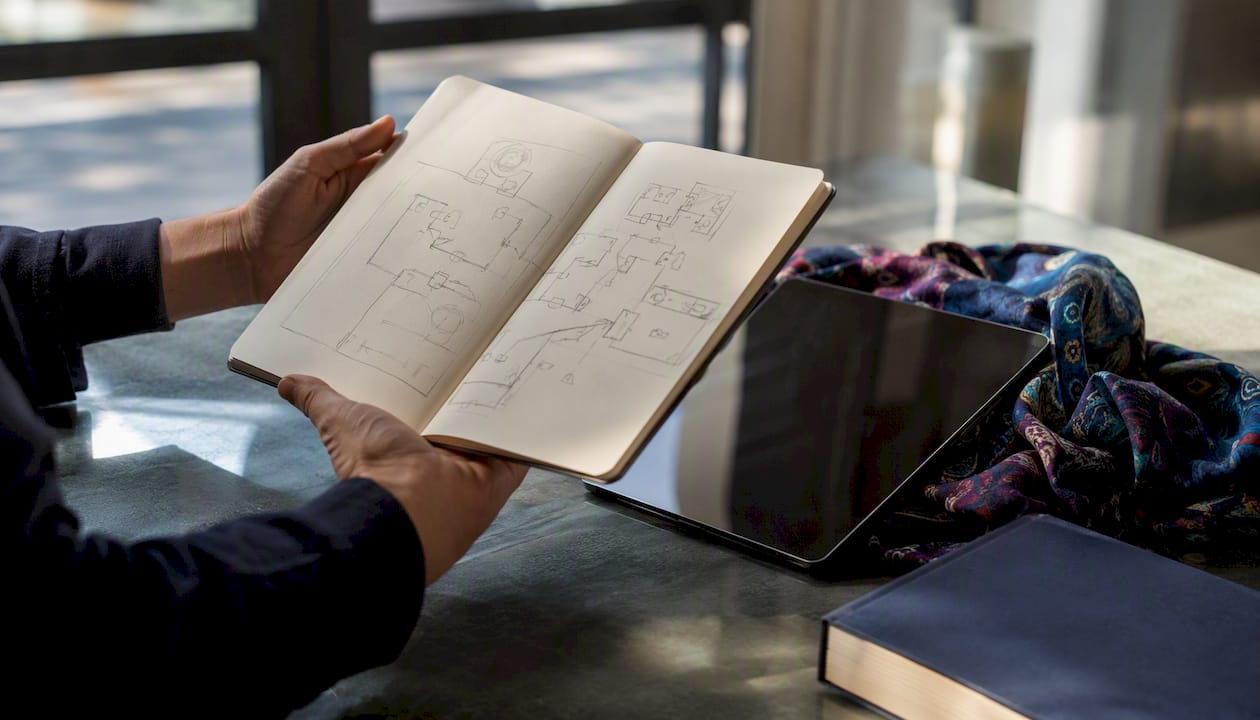
Your project brief doesn't need to be long, but it needs five things: the tour's goal (sell a property, promote a venue, support a training module), the intended audience, the key scenes that must be included, the final deliverable format, and the deadline. Write this down even for small projects. A one-paragraph brief you can point back to saves arguments later about what was actually promised.
Before the shoot itself, run through this checklist:
- Confirm access, keys, or entry codes for every room or zone you'll capture.
- Walk the space and note lighting conditions at the actual time of day you'll be shooting.
- Brief any on-site staff so they know when to stay out of frame.
- Remove temporary signage, clutter, and personal items from rooms that will be captured.
- Stage rooms intentionally, since a virtual tour amplifies both good and bad staging decisions.
Build a simple asset inventory alongside your brief: existing photos, any video the client wants integrated, floor plans, branded logos or overlays, and voiceover scripts if the tour will include narration. Gathering these before capture day means you're not chasing a client for a logo file three days before a deadline.
Pro Tip: Run a 15 minute walkthrough with the client present before you commit to a shoot schedule. It's the single cheapest insurance policy against scope creep, and it catches missing rooms or access problems while there's still time to fix them.
Which Camera Settings and Capture Methods Work Best?
Two capture methods dominate real production work, and picking the right one for the job matters more than which specific camera you own. Tripod stitch panoramas suit controlled lighting and still scenes where image quality is the priority, like empty rooms or product displays. Walkthrough capture, sometimes called videogrammetry, suits fast coverage of large spaces or workflows feeding into 3D model generation, trading some per-scene sharpness for speed.
Camera choice shapes both your options and your settings:
| Camera Type | Best For | Key Settings |
|---|---|---|
| Insta360 (One RS, X3) | Fast walkthroughs, hybrid stills/video | Manual white balance, exposure bracketing or HDR mode enabled, tripod mode where available |
| Ricoh Theta series | Quick single-shot panoramas, real estate | Fixed exposure, self-timer to avoid camera shake, consistent height (around 5 feet) |
| GoPro / panoramic rigs | Multi-camera stitched arrays, action environments | Locked exposure across all lenses, synchronized triggers, overlap of 20 to 30% between frames |
| Photogrammetry / structured-light scanners | High-fidelity 3D model generation, technical documentation | Controlled lighting, dense capture spacing, vendor-specific calibration routines |
Consumer 360 cameras like the Insta360 line ship with downloads and firmware updates that directly affect stitch quality and raw export behavior, so it's worth checking for updates before a shoot rather than mid-project. The One RS hardware options also illustrate a broader point: sensor size and lens swaps change your exposure headroom, which matters most in mixed-lighting interiors.
Whatever camera you're using, lock down a few practical habits: set white balance manually rather than trusting auto white balance to stay consistent room to room, disable auto-exposure if your camera allows manual control, keep tripod height consistent (5 to 5.5 feet works well for most residential and commercial interiors), and aim for meaningful overlap between capture positions if you're building a walkthrough sequence rather than isolated panoramas.
Pro Tip: In busy venues, capture during the quietest window you can negotiate, and brief staff to freeze in place or step out of frame for 10 seconds per shot. A single blurred pedestrian in a lobby shot can force a full reshoot of that scene.
How Should You Organize and Back Up Tour Files?
A predictable folder structure and naming convention save more time over a career than any single piece of software. Use something like: ProjectName_YYYYMMDD/Scene##_CameraID_Take##.ext. That single string tells you, and anyone else who touches the project, exactly what they're looking at without opening the file.
Ingest discipline matters as much as naming. Verify file integrity as you offload, whether through checksum verification or simply confirming file counts and sizes match what your camera reported. Follow a two-stage backup rule: local drive first, cloud backup second, ideally before you leave the shoot location. Waiting until you're back at your desk to back up is how entire shoot days get lost to a corrupted card.
A simple shot log makes handoffs between capture and editing painless, especially on multi-person teams:
For working storage, a portable SSD rated for at least 500 MB/s read/write speed keeps large panorama sets from bottlenecking your stitching software. A 10 scene shoot in raw or high-quality JPEG typically runs somewhere between 2 and 8 GB depending on camera and bracket count, so budget accordingly if you're running multiple projects off the same drive.
What Are the Best Tools for Stitching and Processing Panoramas?
Your stitching approach depends on what you captured and how much control you need over the final image. Bracketed DSLR stitches, where you shoot multiple exposures per position and blend them manually, deliver the highest fidelity but take the longest. Camera-automatic stitching, built into most consumer 360 cameras, trades some control for speed and works well for straightforward interiors. Video-to-panorama extraction, pulled from a continuous walkthrough, is fastest of all but usually needs more cleanup work afterward.
Technical literature on immersive capture confirms there's a real trade-off here rather than one universally correct answer. Research on capture and processing pipelines documents how photogrammetry, video-based reconstruction, and panorama stitching each carry different fidelity and speed profiles depending on scene complexity and lighting.
Match your export settings to the destination platform:
- Export panoramas as JPEG at quality 8 to 12 for a strong balance of file size and detail retention.
- Use WebP where your tour platform supports it, since it typically shrinks file size without a visible quality hit.
- Target equirectangular resolutions of 4096x2048 or 6144x3072 pixels for most web-delivered tours, reserving higher resolutions for tours meant to be viewed on VR headsets.
- Keep a consistent aspect ratio (2:1) across every scene in a project so hotspot placement behaves predictably.
Common stitching problems have consistent fixes. Ghosting on moving subjects usually means you need to reshoot with the subject removed or mask the affected area manually. Visible seams often trace back to inconsistent exposure between brackets, so lock your settings before capturing each position. People or objects that moved during a multi-shot capture typically need cloning or content-aware fill applied after stitching, not before.
How Do You Batch Edit and Color Correct a Tour?
A consistent edit sequence, applied scene by scene, is what makes a 10-room tour look like one cohesive project instead of ten disconnected photos stitched together. Follow this order every time:
- Set global exposure and white balance for the first scene, then use it as a reference point for matching the rest.
- Apply local fixes scene by scene, like brightening a dark corner or pulling back a blown-out window.
- Remove tripod artifacts and unwanted objects using clone stamp or content-aware tools before moving to sharpening.
- Sharpen and denoise carefully, since aggressive noise reduction flattens texture and makes surfaces look plastic.
- Export with consistent naming that mirrors your ingest convention, so the assembly stage never requires guessing which file is which.
Adobe's Lightroom and Photoshop remain the standard tools for batch color matching across panorama sets, letting you sync develop settings across dozens of images in one action. DaVinci Resolve handles color grading well if your tour includes embedded video clips. Affinity Photo is a solid one-time-purchase alternative for editors who'd rather avoid a subscription model for panorama retouching.
For high-ISO captures shot in dim interiors, a dedicated denoise tool like Topaz DeNoise AI can rescue images that would otherwise show visible grain at full zoom, particularly useful for basement rooms or evening shoots. Our product photography software guide covers additional preset workflows worth adapting for panorama batches.
Watch for three recurring mistakes: over-saturating skies and foliage to make a scene "pop," which reads as artificial the moment a viewer compares it to the room next door; inconsistent horizon alignment between scenes, which causes subtle but noticeable disorientation as viewers move through the tour; and denoise settings pushed so high that wood grain, fabric texture, and other fine detail disappear entirely.
How Do You Link Panoramas Into an Interactive Tour?
Hotspots should guide a viewer through your tour, not clutter every scene with clickable icons. Industry guidance on virtual tour design is direct about this: interactive elements should orient and inform, and adding hotspots for the sake of interactivity actively hurts the viewing experience. Keep hotspot count per scene minimal, use consistent iconography across the entire tour, and write labels short enough to scan in under two seconds.
Thumbnail and entry view choices matter more than most editors expect. Pick thumbnails that are instantly recognizable, a distinctive kitchen island beats a generic wall shot every time. Set entry views that immediately orient a first-time visitor, usually facing toward the room's main feature or focal point rather than a blank wall. Decide deliberately whether transitions should be instant cuts or guided fades, since guided transitions feel more premium but add slight load time.
Accessibility deserves a real checklist item, not an afterthought:
- Add captions or transcripts for any narrated audio in the tour.
- Confirm hotspots and navigation controls are reachable via keyboard, not mouse-only.
- Check color contrast on icons against varied background scenes, since a hotspot invisible against a light wall is a hotspot nobody clicks.
For guided tours, particularly education or museum use cases, mapping the floor plan directly to your navigation structure helps viewers build a mental model of the space. Freeform navigation works better for real estate, where buyers often want to jump straight to the kitchen or master bedroom without walking the full path. Our venue ambiance guide covers thumbnail selection strategy in more depth, and if accessibility compliance matters for your client, our accessibility features setup guide walks through platform-level settings.
What Export Settings Deliver the Best Load Times?
Export size is a direct trade-off between visual fidelity and how fast your tour loads on a viewer's phone. For most commercial or residential tours, 4096x2048 pixel equirectangular exports hit the sweet spot; drop to 2048x1024 for tours prioritizing speed over VR-headset sharpness, and reserve 6144x3072 or higher only for projects specifically built for headset viewing.
Hosting choice shapes performance as much as file size does. A cloud-hosted platform handles CDN distribution and caching automatically, which is the simplest path if you don't want to manage infrastructure. Self-hosting with your own CDN gives you full control over data and costs, appealing if you're running high volume or have specific compliance needs. Embedding via iframe from a hosted platform sits in between, easy to implement on an existing website but dependent on the host's own load speed.
A few concrete performance habits make a measurable difference: lazy-load panoramas so only the current scene and its immediate neighbors load initially, use progressive JPEG or WebP so images render usably before fully downloading, and avoid embedding heavy video directly inside hotspots since it can double or triple a scene's load weight. Set caching headers so returning visitors reload the tour instantly rather than re-downloading every panorama.
What Should You Check Before Publishing a Tour?
Publishing without a structured QA pass is how minor stitching flaws and broken hotspots end up live in front of clients. Run through every scene, click every hotspot, and confirm each one takes the viewer where it's supposed to. Check thumbnail visibility in both light and dark UI themes if your platform supports both, and confirm entry-point orientation actually shows the intended focal view rather than a hallway wall.
Test across a realistic device matrix before calling a project done:
- Phone, in both portrait and landscape orientation.
- Tablet, since touch targets for hotspots behave differently than on phone screens.
- Desktop, across at least two browsers (commonly Chrome and Safari or Firefox).
- One VR headset check if the tour is meant to support headset viewing.
For analytics, add UTM parameters to any shared links so you can track which channel drove traffic, and keep an eye on basic engagement metrics like average time in tour and hotspot click rate once the tour is live. If you're embedding via iframe, test the embed at multiple container widths, since a tour that looks perfect at 1200 pixels wide can crop awkwardly at 800.
One reminder worth building permanently into your checklist: confirm you have release permissions for any recognizable people captured in the tour, and clear rights for copyrighted materials like artwork or branded signage visible in frame, before the tour goes live.
What Editing Habits Do Experienced Creators Rely On?
Batching similar tasks across an entire project, rather than finishing one scene completely before starting the next, cuts total production time noticeably because you avoid the mental cost of switching between capture logic, color logic, and assembly logic repeatedly. Capture all scenes first, then stitch them all, then color correct as one batch, then assemble. Each phase gets faster because you're not re-loading context every ten minutes.
A short style guide keeps multi-scene, or multi-editor, projects consistent. Yours doesn't need more than a few lines: target color temperature typical of neutral daylight balance as your reference point, a consistent hotspot naming pattern (Room_ActionType, like Kitchen_InfoIcon), and a defined tone for any voiceover or text labels (informative and brief versus promotional and descriptive).
Automation earns its place once you're running multiple projects a month. Batch export scripts that apply your standard preset to an entire folder save real time, and watch folders that automatically trigger processing the moment new files land can eliminate manual ingestion steps entirely. If you're pairing video capture with your panorama workflow, tools covered in this AI video editor roundup can speed up caption generation and rough cuts before assets ever reach your tour builder. Automations that integrate cleanly with your ingestion pipeline into Simple Virtual Tour cut the manual handoff between processing and publishing down to almost nothing.
Pro Tip: Automation helps most on consistent, well-lit projects. Scenes with highly variable lighting, like a room half in direct sun and half in shadow, still need individual attention. Applying a batch preset there often makes results worse, not faster.
A Real-World Timeline for Delivering a 10-Scene Tour
Here's how the workflow actually plays out on a typical property project, start to finish. Pre-shoot planning, including the brief and a walkthrough, takes about 30 to 45 minutes. Capture itself runs 2 to 3 hours for 10 scenes with a single 360 camera, assuming no major relighting between rooms. Stitching and color correction together take 4 to 8 hours, with the wider end of that range showing up whenever lighting varies significantly room to room. Assembly, meaning hotspots, entry views, and transitions, plus a full QA pass, adds another 2 hours.
The handoff moments matter more than the individual tasks. The point where capture ends and ingest begins is where files most often get lost or mislabeled, which is exactly why the naming convention and backup checklist earlier in this workflow exist. The point where stitching ends and color correction begins is where inconsistent exposure choices from capture day become visible and expensive to fix.
A few lessons show up on nearly every project. Clients who give a vague brief ("make it look nice") almost always want more scenes or more hotspots than initially scoped, so pin down deliverables in writing before shoot day. The minimal acceptable deliverable for most commercial clients is a working, navigable tour with clean entry views and functional hotspots, not a heavily narrated, animation-rich experience, so resist the urge to over-build unless the client specifically asked for it. And scheduling traps almost always trace back to lighting: a shoot planned for midday sun that gets pushed to late afternoon changes every exposure setting you'd locked in during your walkthrough.
Simple Virtual Tour's live session capability and e-commerce integration options are worth planning for at the brief stage, not bolted on afterward, since they change how you structure hotspots and entry points from the start.
Get From Editing to Publishing Faster With Simple Virtual Tour
Every stage of this workflow eventually runs into the same bottleneck: getting your processed panoramas out of a folder and into something a client can click through. Simple Virtual Tour is built around exactly that handoff. Its ingestion process takes stitched panoramas straight into a project without a separate conversion step, which shortens the gap between your color correction pass and having a shareable draft.
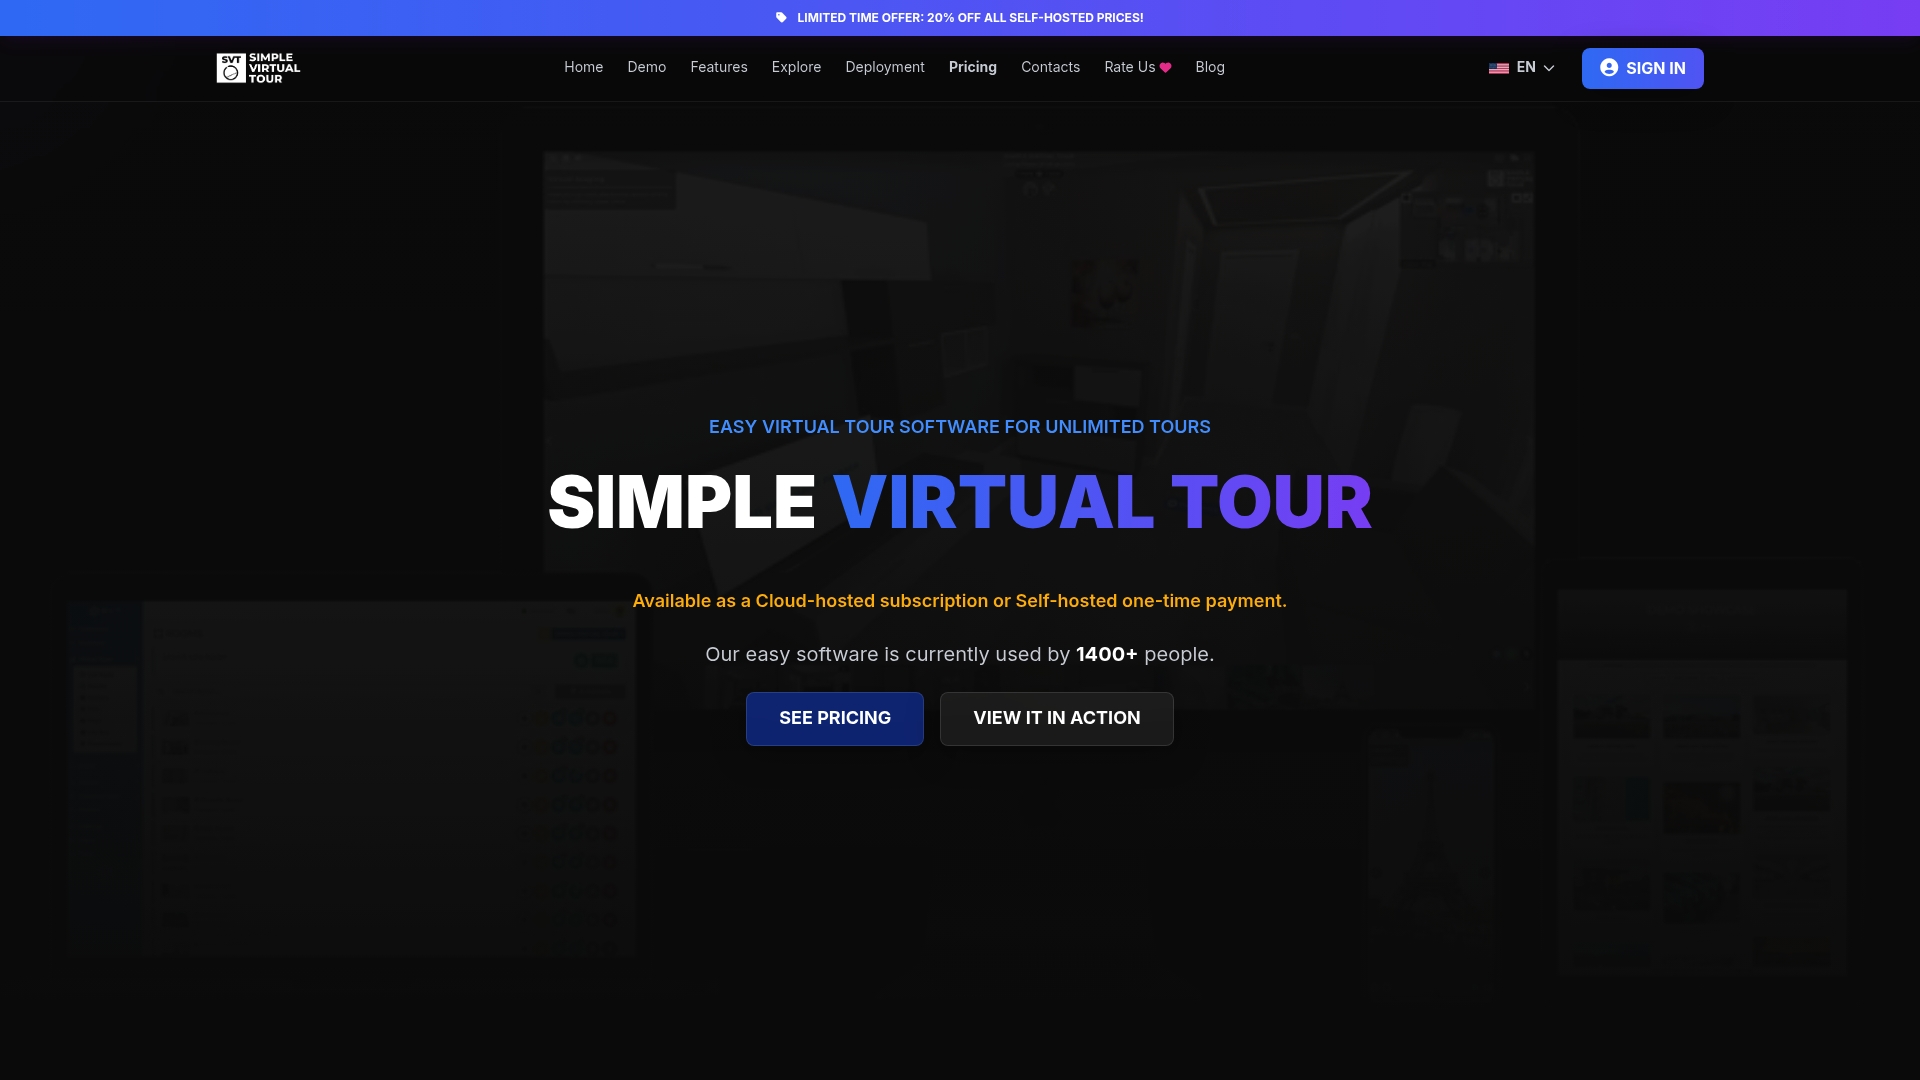
The backend's thumbnail and entry-view manager maps directly onto the assembly stage covered above, so setting orientation and navigation logic doesn't require jumping between separate tools. The hotspot editor supports the restrained, purposeful design this workflow recommends, and because Simple Virtual Tour offers both cloud-hosted and self-hosted deployment, you can choose whether a client's data lives on your own infrastructure or a managed one without changing your editing process. Live session hosting and e-commerce integration are available if a project calls for guided walkthroughs or in-tour sales, and built-in statistics let you check engagement after publishing instead of guessing.
If you're currently exporting from your editor and manually rebuilding navigation in a separate tool every project, start a Simple Virtual Tour trial and run your next 10-scene project through it end to end. You can also review the full feature set on the Simple Virtual Tour product page before committing to a plan.
Where to Learn More About Capture and Editing Tools
A handful of resources are worth bookmarking as you refine your own pipeline. For camera-specific capture guidance, check manufacturer download pages directly, Insta360's firmware and software downloads affect stitch quality more than most editors realize, and updates ship regularly. For a broader walkthrough of the full production sequence from a hardware-focused perspective, SkyeBrowse's guide to making a 360 virtual tour covers camera choice and site prep in useful detail.
For editing and post-production, Adobe's Lightroom and Photoshop remain the default choice for color batch work, while Topaz DeNoise AI is worth testing if you regularly shoot in low light. If your tours lean toward education or guided walkthroughs, ThingLink's tour creation guide has useful ideas around conditional transitions and interactive scaffolding you can adapt regardless of which platform you publish on. If you're producing supporting video content alongside your panoramas, the best AI tools for real estate video roundup is a solid starting point for evaluating automation options.
Test any new tool on a single small scene before committing your whole project to its pipeline. A stitching quirk or export bug is far cheaper to catch on scene one than scene ten.
Frequently Asked Questions
How long does it take to edit a single virtual tour scene? A single scene typically takes 20 to 40 minutes for stitching and color correction combined, once your presets and workflow are established. First-time setups on a new camera or lighting condition can take longer.
What's the best camera for someone starting a virtual tour editing workflow? Consumer 360 cameras like the Insta360 series or Ricoh Theta line offer a reasonable balance of image quality, automatic stitching, and price for editors building their first repeatable workflow.
Should I use tripod stitching or walkthrough capture for real estate? Tripod stitching generally produces sharper, more controlled panoramas and suits real estate well. Walkthrough capture is faster and better suited to large commercial spaces or projects that also need a 3D model output.
How do I fix ghosting in a stitched panorama? Ghosting usually comes from movement between exposures or capture positions. Reshooting with the subject cleared from frame is the most reliable fix, though masking or cloning can salvage a scene after the fact.
What file format should I export panoramas in for web publishing? JPEG at quality 8 to 12 works well for most tour platforms, and WebP is a strong alternative where your platform supports it, since it typically reduces file size without a visible quality loss.
Can I automate parts of the virtual tour editing process? Yes. Batch export scripts and watch folders handle repetitive tasks like resizing and format conversion well. Scenes with inconsistent lighting still need manual, per-scene color correction to look right.
Sources
- University of Sussex/OpenPress — Learning through exploration using ThingLink
- IEEE Xplore document (immersive capture/processing)
- Insta360 — One RS downloads