
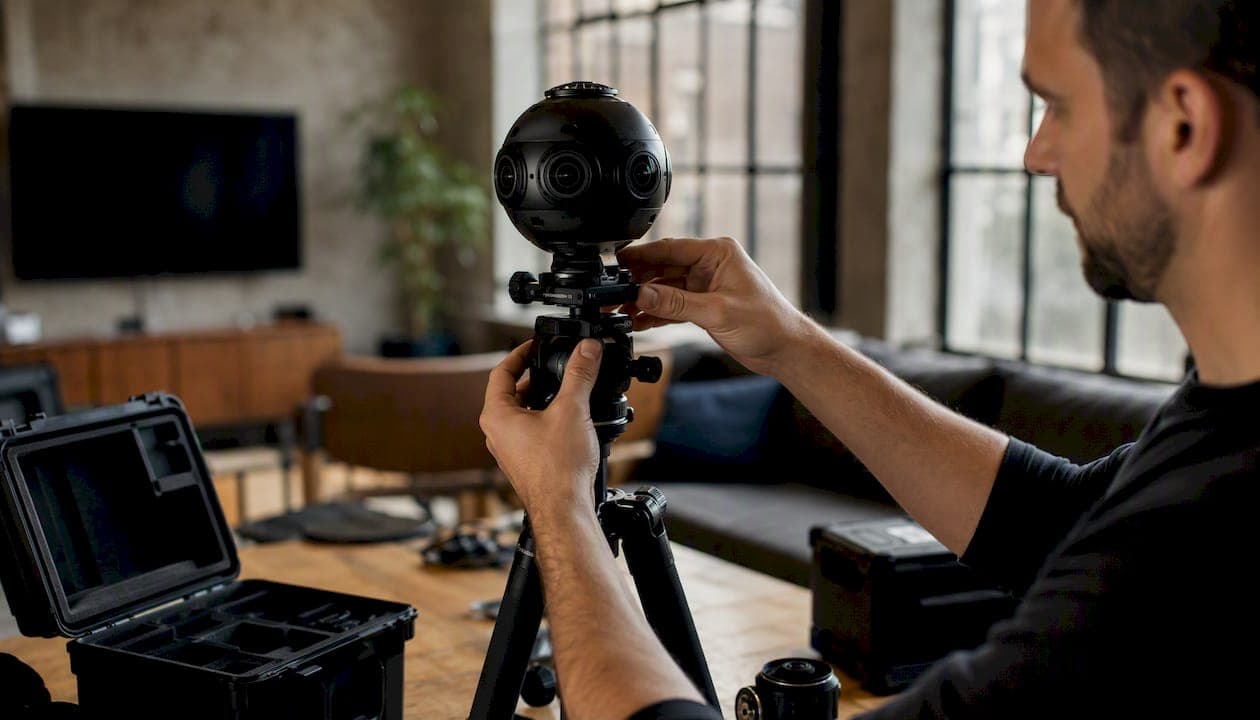
"Online photogrammetry," as used by real estate agents, tourism professionals, and event planners, means using web-based tools to turn 360° photos and video into interactive, navigable virtual tours — not the cloud-based mesh reconstruction that most search results describe. The fastest route to a publishable tour is a dedicated online tour builder with hotspots, hosting, and embed options built in. Simple Virtual Tour covers all of that in one platform, and the National Association of Realtors confirms that combining hotspots with high-resolution media is what makes a virtual tour feel like actually being there.
Key Takeaways
Online photogrammetry for virtual tours works best when capture planning, platform features, and publishing strategy are treated as one connected workflow rather than three separate tasks.
| Point | Details |
|---|---|
| Plan before you shoot | A numbered shot list and staged space cut editing time more than any post-production tool. |
| Match resolution to upload speed | 4K equirectangular JPGs (4096×2048) balance visual quality with practical upload and load times. |
| Require these core features | Hotspots, live sessions, e-commerce, Google Street View publishing, and CDN hosting are the non-negotiable feature set. |
| Choose deployment by data needs | Cloud hosting suits most small teams; self-hosted fits compliance-sensitive or high-volume portfolios. |
| Simple Virtual Tour | Supports unlimited tours, dual deployment, live sessions, and e-commerce for 1,400+ active users. |
Table of Contents
- What do you need before you start shooting?
- How do you build a 360° tour from start to finish?
- Capture and media best practices that make tours feel realistic
- What features should you require from a tour platform?
- Cloud-hosted vs. self-hosted: which model fits your business?
- How do you publish and make tours discoverable?
- How do you calculate whether a tour solution is worth the cost?
- Who uses these tools and how long does a project take?
- Why should you trust this guidance?
- Simple Virtual Tour covers every step in this guide
- What the workflow taught me about getting tours right
- Sources
What do you need before you start shooting?
Getting your hardware and accounts in order before you capture a single frame saves more time than any editing shortcut.
Hardware checklist:
- A 360° camera (Ricoh Theta, Insta360, or similar) or a smartphone with a fisheye lens attachment, plus a sturdy tripod
- A spare memory card and a charged battery — running out mid-shoot means reshooting the whole space
- A USB cable or Wi-Fi transfer method to move files quickly
Account and hosting checklist:
- A Simple Virtual Tour account (free trial available) or your chosen tour-builder login
- Website or MLS embed access credentials, plus logins for any collaborators who will edit the project
- Google Street View credentials if you plan to publish there
Asset and permissions checklist:
- A written list of every room or scan point, numbered in walk-through order
- Property owner sign-off in writing, especially for commercial or rental spaces
- Music rights cleared for any audio hotspots; privacy checks for mirrors or windows that might capture identifiable faces
Pro Tip: Stage the space before you arrive, not after. Removing personal items, straightening furniture, and turning on every light takes 20 minutes on-site but saves an hour of retouching in post. One non-obvious step: tape a small numbered card to the floor at each scan point so your file names match your shot list automatically.
How do you build a 360° tour from start to finish?
Follow these six steps in order and you will go from raw files to an embeddable, shareable tour in a single working session.
- Plan your scan points. Walk the space and mark one standing position per logical room or area. Overlap between scenes should feel natural, not redundant.
- Capture and label your assets. Shoot one equirectangular image per scan point, name files to match your shot list (e.g.,
01_entrance.jpg,02_living-room.jpg), and verify the 2:1 aspect ratio before uploading. The Simple Virtual Tour blog's capture guide explains how pre-shoot planning directly improves final quality and cuts editing time. - Upload and configure the project. Create a new project in your tour builder, set the project name, language, and privacy level. Upload your labeled files in order.
- Connect scenes with two-way hotspots. Link every scene to at least two neighbors so visitors never hit a dead-end. Auto-link tools in most platforms handle the geometry; you confirm the placement.
- Add media and info hotspots. Attach image galleries, short video clips, or spec sheets to relevant points. For real estate, price and square footage in an info hotspot reduces inbound calls. For hotels, a gallery hotspot showing room variants increases booking confidence.
- Preview, test, and publish. Check navigation on both desktop and mobile, confirm load speed, then publish with UTM parameters on your embed link so you can track traffic sources.
Capture and media best practices that make tours feel realistic
The realism of a finished tour is decided almost entirely at capture, not in editing. Professional virtual tours built on standardized capture protocols consistently outperform ad-hoc shoots in engagement and booking performance for tourism and hospitality listings.
- Lighting: Shoot in evenly lit rooms. Strong backlight from windows blows out detail and creates harsh shadows. Use natural light supplemented by portable LED fill panels, and shoot windows at dusk or on overcast days when the exterior exposure is closer to the interior.
- Tripod height: Eye height (roughly 5 feet) works for living spaces and bedrooms. Drop to about 4 feet for wide corridors and open-plan areas so the ceiling stays in frame.
- Image specs: Equirectangular JPGs at a 2:1 aspect ratio are the standard format. A 4K resolution (4096×2048 pixels) balances visual quality with manageable upload times for most broadband connections.
- Video for hotspots: Keep media hotspot clips under 60 seconds and shoot with a stabilizer. Video is for context, not scene navigation — large files slow load times without improving the tour experience.
- Staging and flow: Remove clutter, open interior doors, and arrange furniture so each scan point has a clear sightline to the next. Visitors navigate toward what they can see.
Pro Tip: For tricky layouts like L-shaped rooms or staircases, place an extra scan point at the turn rather than stretching a single shot to cover both directions. A typical residential property needs 8–15 scan points; a hotel suite needs 3–5. More is not always better — redundant scenes slow navigation.
A venue ambiance guide from Simple Virtual Tour covers how lighting and scan-point placement work together to convey atmosphere, which matters as much for event venues as it does for hotel rooms.

What features should you require from a tour platform?
| Feature | Why it matters | Business outcome |
|---|---|---|
| 360° panorama support | Accepts equirectangular files natively | No conversion step, faster upload |
| Hotspot types (info, media, link, audio) | Layers context onto the visual | Reduces inbound questions, increases dwell time |
| Floor plan integration | Orients visitors spatially | Lowers drop-off in complex layouts |
| Live sessions | Host guided walkthroughs in real time | Replaces in-person showings for remote buyers |
| E-commerce integration | Sell products or take deposits inside the tour | Direct revenue from the tour itself |
| Google Street View publishing | Pushes tours to Google Maps | Free organic discovery for local businesses |
| Password protection and private links | Controls who sees unpublished or confidential tours | Protects pre-launch listings and private venues |
Beyond the feature list, check for a CDN-backed hosting infrastructure. Tours served from a content delivery network load faster for viewers in different regions, which directly affects session length and conversion. Mobile responsiveness is non-negotiable: most listing viewers open tours on a phone first.
Cloud-hosted vs. self-hosted: which model fits your business?
The right deployment model depends on how much control you need over your data and how much IT overhead you can absorb.
| Dimension | Cloud-hosted | Self-hosted |
|---|---|---|
| Setup time | Minutes | Hours to days |
| Updates | Automatic | Manual or scheduled |
| Data control | Vendor's servers | Your own infrastructure |
| Pricing model | Monthly or annual subscription | One-time license + optional plugins |
| CDN delivery | Included | You configure |
| IT requirements | Minimal | SSL, backups, server maintenance |
Cloud hosting suits most agents and small tourism operators: you get CDN delivery, automatic updates, and no server bills. Self-hosting makes sense when you manage a large portfolio, need to keep client data on your own servers for compliance reasons, or want to avoid recurring subscription costs over a multi-year horizon.
Pro Tip: A hybrid approach works well for agencies with both public and private needs. Use cloud hosting for public-facing listing tours and self-hosted deployment for confidential client presentations or enterprise intranet tours. Simple Virtual Tour supports both models from a single software license.
How do you publish and make tours discoverable?
Publishing is where most tours lose momentum. Getting the embed right and adding basic SEO signals takes under 30 minutes and pays off for months.
- Embed options: Use an iframe embed for property listing pages and event venue websites. A direct link works for email campaigns and social sharing. HTML5 export is the fallback for platforms that block iframes.
- MLS and portal publishing: Paste the tour link into the virtual tour field of your MLS listing. Add a descriptive title and alt text referencing the property address and tour type for search indexing.
- Google Street View: Publish directly from your tour builder using the Street View API. This puts your tour on Google Maps, where local searches surface it organically.
- Analytics: Add UTM parameters to every embed link (
?utm_source=mls&utm_medium=listing) so you can measure which channels drive tour sessions. Track session length and hotspot interactions as engagement proxies.
Pro Tip: Compress your equirectangular source images to under 4 MB before uploading. Pair that with a CDN and lazy-loading, and most tours will hit a sub-3-second first load on mobile, which keeps bounce rates low.
How do you calculate whether a tour solution is worth the cost?
Pricing for online tour platforms takes three shapes: monthly or annual SaaS subscriptions, per-tour fees, and one-time self-hosted licenses with optional paid plugins. Watch for add-on costs: white-labeling, API access, advanced analytics, and storage overages are often sold separately.
A simple ROI calculation for a real estate agent:
- Estimate the additional leads a tour generates per listing (even one extra qualified inquiry per listing is meaningful).
- Multiply by your lead-to-close conversion rate.
- Multiply by your average commission.
- Subtract your monthly platform cost.
For a tourism operator, substitute average booking value for commission. Virtual tour customer trust research shows that tours reduce no-shows and increase buyer confidence before a physical visit, which shortens the sales cycle. That time saving has real dollar value even before you count incremental bookings.
Who uses these tools and how long does a project take?
- Real estate agents: A single-property tour typically takes a half-day capture session, 1–3 hours of editing and hotspot placement, and same-day publishing. The result stays live for the full listing period.
- Tourism professionals: Hotel rooms, attraction walkthroughs, and trail previews follow the same workflow. A tourist attraction presentation guide covers how to integrate tours into booking funnels.
- Event planners: Venue walkthroughs help clients visualize layouts before committing. A single venue tour can serve dozens of inquiries without a physical site visit.
- Architects: Project presentation tours let clients review spatial relationships before construction begins, reducing revision cycles.
Quick wins that shorten time-to-publish:
- Use platform templates for hotspot placement rather than positioning each one from scratch.
- Pre-name your files to match the tour's scene order before uploading.
- Set a default info hotspot template with your contact details so it populates automatically on every new scene.
Why should you trust this guidance?
The recommendations here come from Andrea, whose guides and camera recommendations are published on the Simple Virtual Tour blog and used by professionals across real estate, tourism, and events.
Simple Virtual Tour currently serves more than 1,400 users and supports unlimited interactive tours, live sessions, e-commerce integration, Google Street View publishing, AI multimedia editing, custom branding, and both cloud and self-hosted deployment. For complex projects requiring high-fidelity post-production, Visualtrick's virtual tour production workflows offer a useful reference for standardized capture and integration at scale.
Simple Virtual Tour covers every step in this guide
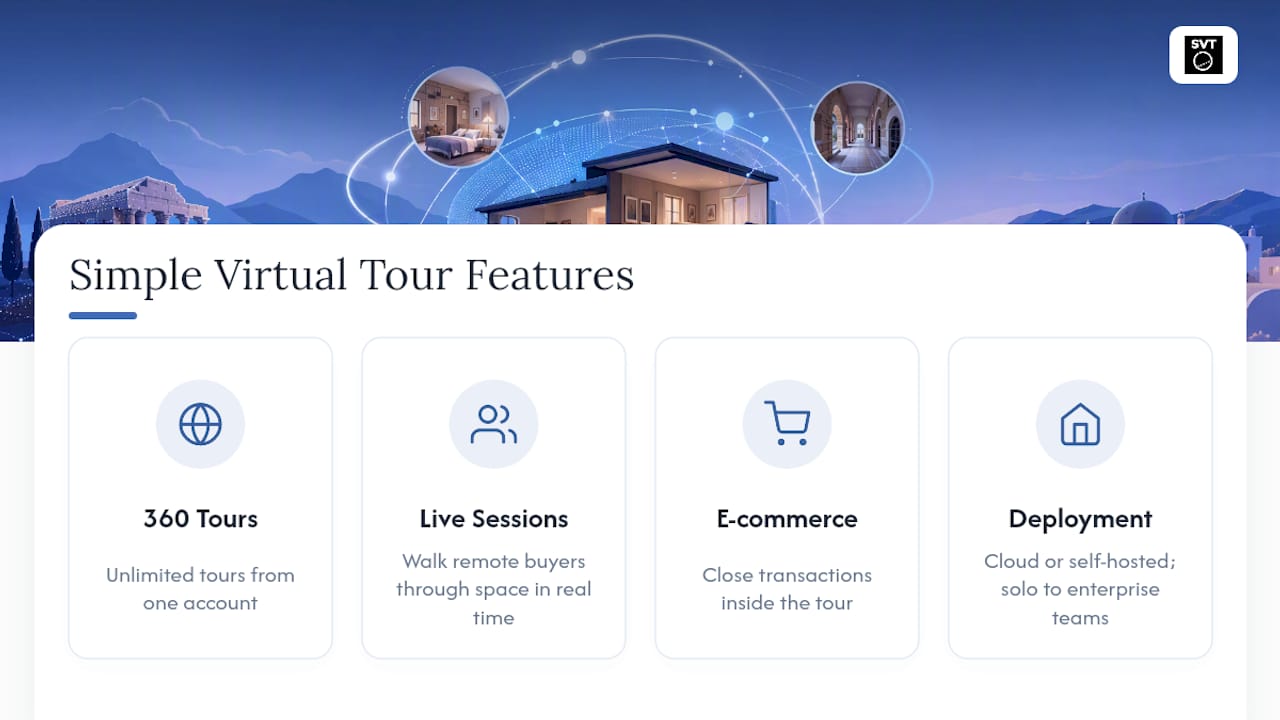
Simple Virtual Tour gives you unlimited tours, live session hosting, e-commerce integration, and the choice of cloud or self-hosted deployment — all from one platform built for professionals who need to publish fast without hiring a developer.
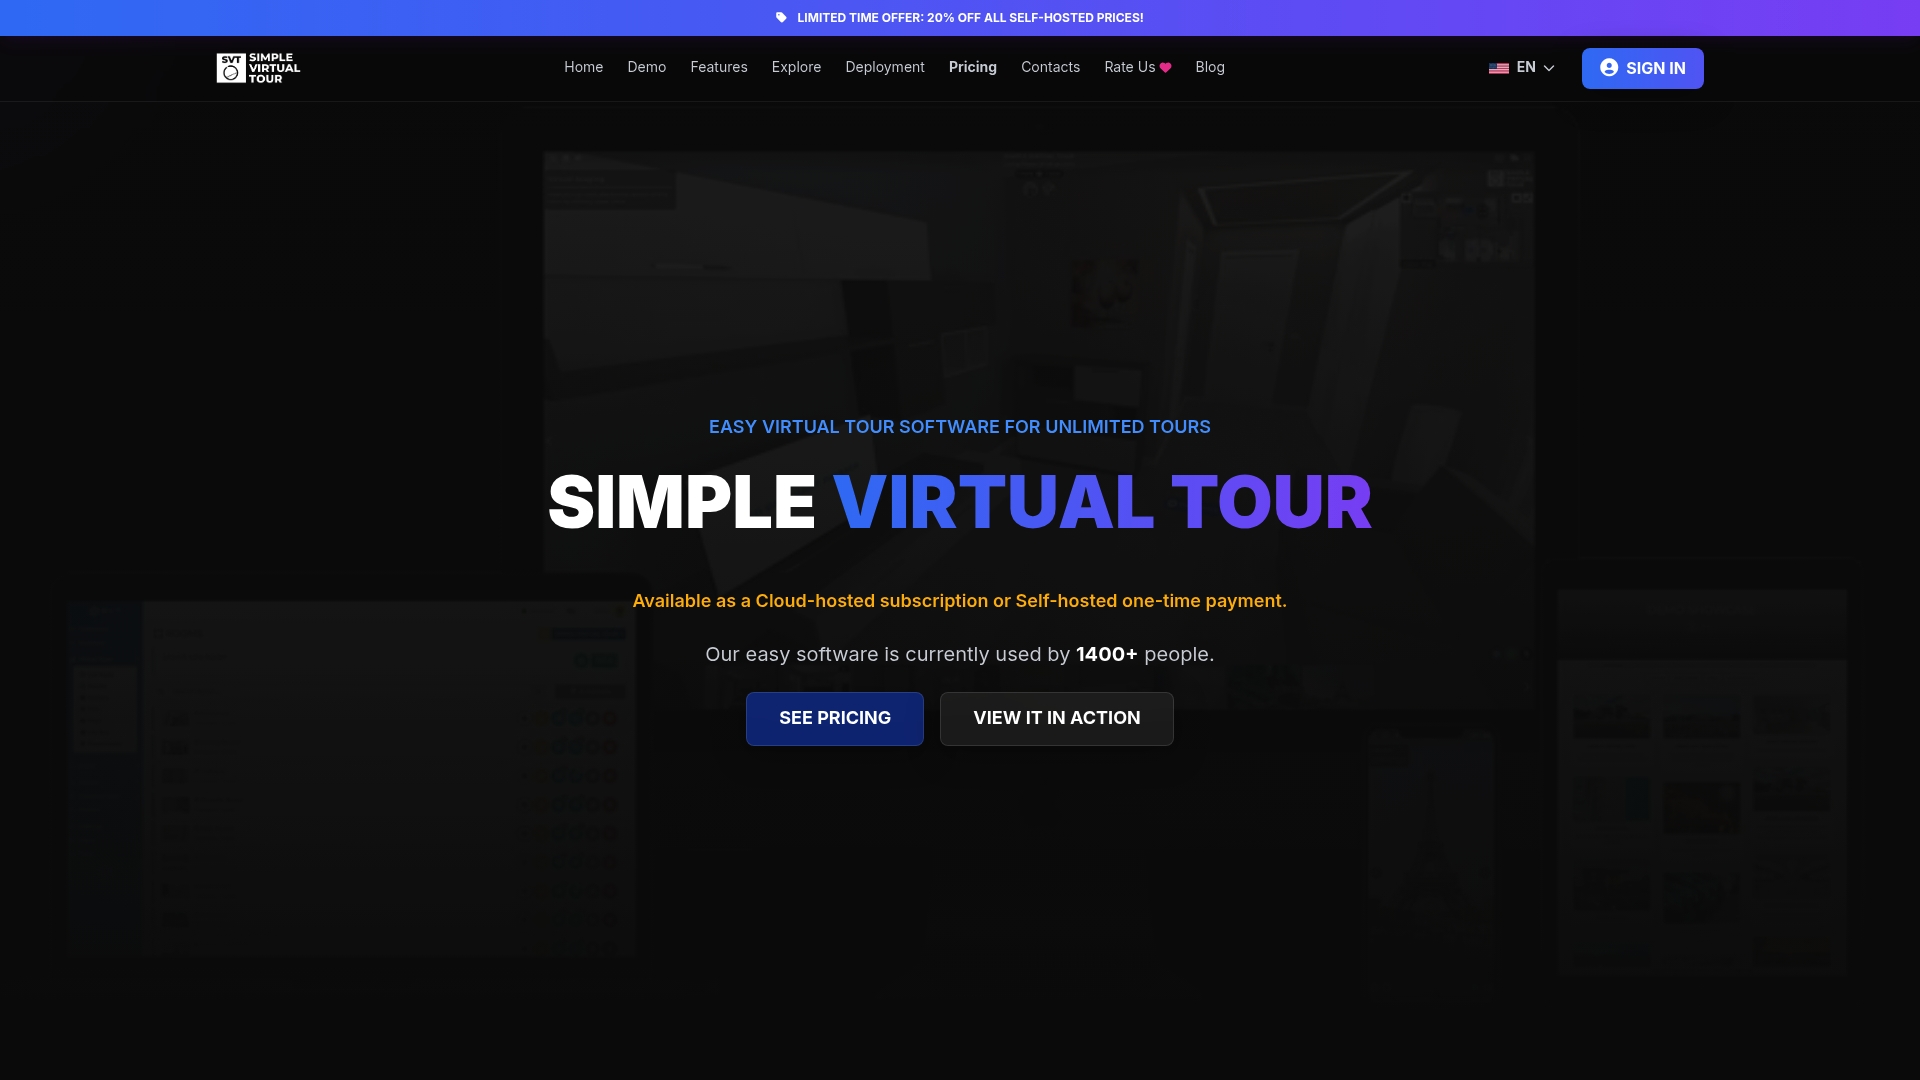
The platform's intuitive backend means you can go from uploaded 360° files to a published, embeddable tour in the same afternoon you shoot. Live sessions let you walk remote buyers or event clients through a space in real time. E-commerce integration lets hotels and retailers close transactions inside the tour itself. With more than 1,400 active users and a dual deployment model that fits both solo agents and enterprise teams, it covers the full range of use cases this guide describes.
Start your free trial or buy a license today at Simple Virtual Tour — have your 360° files and project name ready and you can publish your first tour the same day.
What the workflow taught me about getting tours right
The single habit that saves the most time is committing to a numbered shot list before you ever pick up the camera. Every time I've seen a tour require heavy re-editing, the root cause was an unplanned capture session — scenes shot out of order, missing scan points, or inconsistent lighting between rooms. The workflow in this guide reflects that lesson directly. For camera and gear choices that fit different budgets, Andrea's 360 camera recommendations are the practical starting point.
Sources
- Create a virtual tour — National Association of Realtors
- Virtual Tours & 360-Degree Photography: The Next Frontier in Real Estate & Tourism Marketing — Ehre Productions
- Virtual Tours | Visualtrick