
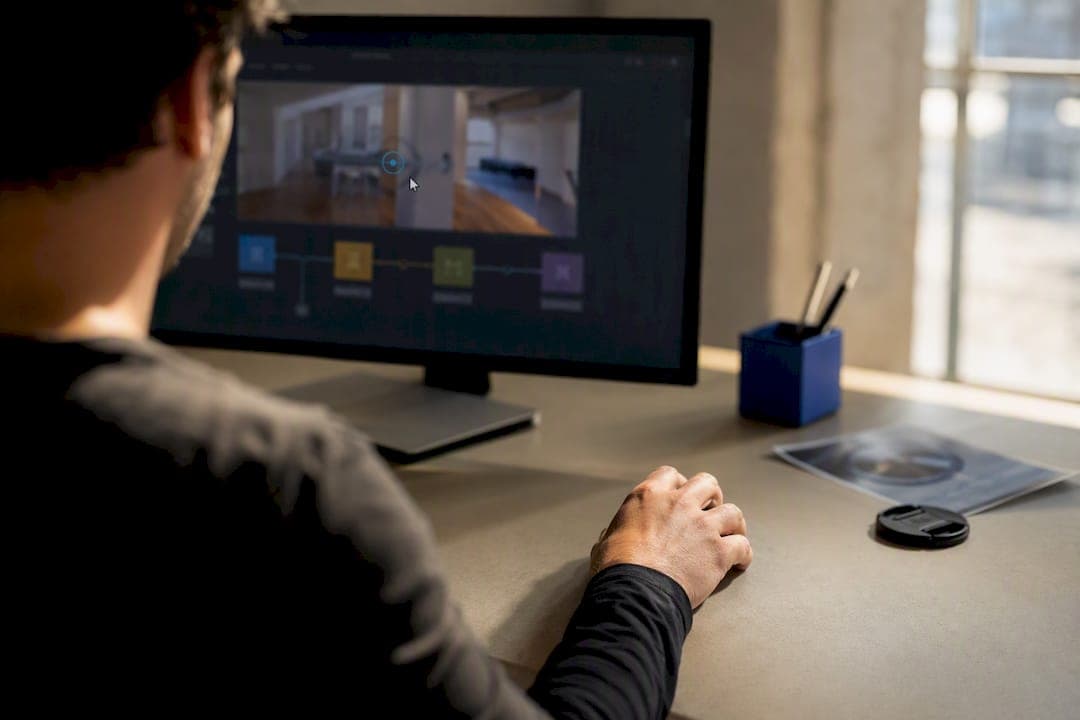
Virtual tour navigation is the system of hotspots, directional arrows, and floorplan nodes that link panorama scenes into one continuous space. The best approach combines Street View–style spatial arrows with a clean scene graph and a floorplan overview, so viewers always know where they are and where they can go next. Software like Simple Virtual Tour builds these features directly into its editor.
TL;DR:
- Using spatial arrows instead of hotspots scales better for larger properties with multiple scenes, as they show direction and distance intuitively.
- Proper scene naming, such as room_orientation_sequence, is crucial for managing larger tours and troubleshooting links efficiently.
- Incorporating a floorplan or overview map becomes essential after around ten scenes to help viewers maintain orientation and prevent abandonment.
- Ensuring bidirectional links and bridge panoramas between distant scenes improves spatial continuity and viewer engagement.
- Optimizing image formats, prefetching scenes, and simplifying menu targets are key to maintaining fast, smooth navigation on mobile devices and VR headsets.
Table of Contents
- How Does Virtual Tour Navigation Actually Work?
- Which Editor Features Actually Improve Navigation Quality?
- How Should You Name and Sequence Your Scenes?
- Where Should Hotspots Go and How Should Transitions Feel?
- When Does a Tour Need a Floor Plan or Overview Map?
- How Do You Keep Navigation Fast on Phones and VR Headsets?
- How Do You Publish and Share a Tour Without Breaking Its Navigation?
- How Does Simple Virtual Tour Put These Navigation Principles Into Practice?
- What Would I Prioritize First if I Were Rebuilding a Tour Today?
- Get Navigation Right From the First Scene You Capture
- Where to Read More on Virtual Tour Navigation
- Sources
How Does Virtual Tour Navigation Actually Work?
Every interactive 360° tour is built from a handful of scene nodes connected by links, much like pages on a website connected by hyperlinks. Get this model right, and the tour feels effortless. Get it wrong, and viewers get lost after two clicks, no matter how sharp your panoramas look.
A scene node is a single panorama. It sits somewhere in your building or venue and has its own camera orientation, called yaw, which determines what direction "forward" means when the scene loads. A scene graph is the full map of connections between those nodes. It's not just a list of rooms; it's a set of directional relationships. When you link the kitchen to the hallway, you're deciding which way the viewer's attention turns.
Two link types dominate real-world tours:
- Hotspots are clickable icons placed anywhere in the panorama, often labeled with text or an icon indicating what's beyond them (a door, a staircase, a menu item).
- Spatial arrows, the Street View–style approach, sit on the floor plane and point toward the actual direction and distance of the next scene, which gives viewers instant, intuitive orientation because floating arrows on the floor plane mirror how Google Street View trained millions of users to navigate.
Hotspots work well for small tours with a handful of rooms. Spatial arrows scale better for larger properties, museums, or campuses where dozens of nodes create dozens of possible paths, because the arrows encode both direction and distance rather than a flat clickable dot.
Orientation matters more than most creators expect. If a scene's default yaw doesn't match the direction the viewer just walked from in the previous scene, the space feels like it jumped or rotated for no reason. Direction cones, the invisible wedges that define which way "forward" points from each node, need to line up with the physical path a real person would walk. Tools that auto-generate links from GPS metadata usually place nodes in the right spot but frequently get the camera yaw wrong, so it's worth a manual pass to confirm arrows point where feet would actually go.
Navigation should also stay purposeful rather than decorative. Elements that genuinely help people explore, not add visual noise, are what separate a usable tour from a gimmicky one.
Which Editor Features Actually Improve Navigation Quality?
Not every 360° editor treats navigation the same way, and the differences show up the moment a viewer starts clicking around. When you're evaluating a platform, or configuring one you already own, check for these capabilities specifically.
- Automatic linking with spatial arrows. Editors that detect nearby panoramas and auto-place floor-plane arrows save hours on large projects and give viewers that familiar Street View feel from the first click.
- Floorplan and path editors. Look for tools that expose sweeps (the walkable routes between points), barriers (zones the path can't cross), and teleports (instant jumps to a distant scene), because path editors built this way let authors create both web and AR routing while presenting destinations as a clean navigation menu.
- Hotspot variety and destinations. A good editor supports info hotspots, media hotspots, and menu-jump hotspots, plus lets you assign VR and AR behavior separately from desktop behavior.
- Embed and deep-link support. For kiosks, real estate listings, or gallery installations, you need direct links to a specific scene, not just the tour's homepage.
- Programmatic navigation APIs. More technical projects benefit from viewers that expose a navigation function, letting a website call something like
tour.navigateTo(sceneId)from a custom button or map, a pattern used in open-source A-Frame–based tour viewers.
Barriers deserve special attention if you're building tours for hospitals, schools, or any public venue with restricted zones. Path editors that let you block routing through private or dangerous areas aren't a nice extra. They're the difference between a professional tour and a liability.
Pro Tip: If your editor supports deep links tied to a physical kiosk location, set that up before launch. Path editors can then automatically render routes starting from the kiosk's real position, instead of forcing every visitor to navigate from a generic starting scene.
Authoring speed matters as much as feature depth. A simple, point-and-click hotspot workflow where you place a hotspot, link it to a target scene, and generate the connection will get a small tour published faster than a feature-heavy editor with a steep learning curve. Match the tool to the size of the project.
How Should You Name and Sequence Your Scenes?
Disorganized scene names are the single most common reason creators lose track of their own tours halfway through building them. A consistent naming convention fixes this before it becomes a problem, and it pays off again later when you're troubleshooting a broken link at 11 p.m. before a client deadline.
- Adopt a room_orientation_sequence pattern. Something like
kitchen_north_01tells you the room, the general facing direction, and which scene it is if there are multiples in that room. This becomes essential once a tour passes 15 or 20 nodes. - Add hallway or transition panoramas at every direction change. A common practice is capturing one panorama per room plus extra shots at hallways and turns, which typically brings a mid-size home to a moderate number of images. Skipping these transition shots is what causes the disorienting "teleport" feeling between distant rooms.
- Use two or three nodes per room only when the room is large or has multiple focal points. A small bathroom needs one scene. An open-concept living and dining area often benefits from two, angled to cover both zones without forcing viewers to spin 180 degrees to see everything.
- Group scenes into floors or categories using thumbnails and menus. For multi-story buildings, expose a simple menu (Ground Floor, Upper Floor, Exterior) rather than making viewers click through every connecting hallway to reach the second story.
This structure sounds like overhead for a five-room apartment tour, and honestly, it is. But apply the same loose naming for a 40-node museum tour or a multi-building campus walkthrough, and you'll spend more time renaming scenes after the fact than you would have spent naming them correctly the first time.
Where Should Hotspots Go and How Should Transitions Feel?
Hotspot placement is where good navigation design either clicks into place or quietly falls apart. Get the position wrong by even a few pixels relative to a doorway, and viewers hesitate, unsure whether they're clicking on the right exit.
Place hotspots directly over doorways, staircases, or other sightlines the eye is already drawn to, rather than floating them in empty space. If your editor supports spatial arrows, align them with the direction cone of the target scene, not just its general location, so the arrow visually points the way a person would actually walk.
- Always build two-way links. If Scene A connects to Scene B, Scene B needs a return link back to A. One-way links create dead ends that force viewers to hit the back button, which breaks the "walking through a space" illusion entirely.
- Add bridge panoramas for long jumps. Linking a lobby directly to a room three hallways away without a connector scene in between causes the spatial confusion mentioned earlier.
- Tune the transition easing. A hard cut between scenes feels jarring; a short cross-dissolve or zoom transition (typically under half a second) preserves spatial continuity without slowing down navigation.
- Build in keyboard focus order for hotspots so tab-key navigation moves through them in a logical sequence, and give every hotspot a descriptive label a screen reader can announce, not just an icon.
Pro Tip: Test every tour with the sound off and the mouse untouched, using only Tab and Enter. If you can't reach every major room using just the keyboard, neither can a visitor relying on assistive technology.
A point-and-click hotspot workflow with sensible two-way linking as the default removes a lot of this manual checking, since the editor assumes bidirectional movement unless you tell it otherwise.
When Does a Tour Need a Floor Plan or Overview Map?
Once a tour passes roughly ten scenes, most viewers lose track of their position using panorama navigation alone, and that's exactly when a floor plan earns its place. Below that threshold, a simple linear sequence of rooms is usually enough. Above it, especially in real estate listings, museums, or event venues with multiple wings, an overview map becomes the difference between a tour people finish and one they abandon after three clicks.
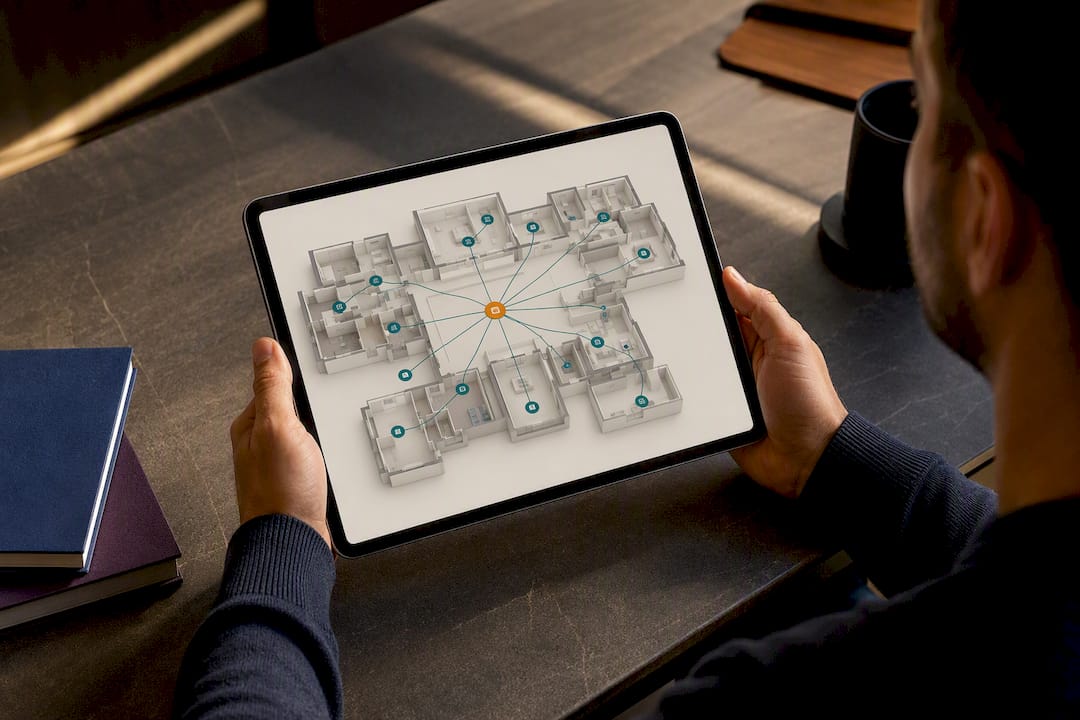
You have two practical choices for the map image itself. A real architectural floorplan, scanned or exported from blueprints, gives the most accurate spatial reference and looks professional in listings. A schematic, a rough top-down sketch showing relative room positions, sets up in minutes and works fine for smaller properties where precision matters less than speed.
Path editor tools do the heavy lifting once the map is in place:
- Sweeps define the walkable route between two points on the map, which is what lets a viewer click a hallway on the floor plan and glide toward it.
- Barriers block routing through walls, private offices, or restricted zones, keeping the automated path logic from suggesting a route that walks through solid objects.
- Teleports let a viewer jump instantly to a distant scene, useful for large campuses where walking the full route would take too long.
- Menu destinations surface a curated list of key rooms (Master Bedroom, Rooftop Terrace, Main Gallery) as clickable labels layered directly on the map.
Path editors that expose all four of these together let authors build routing for both web and AR viewers at once, while also giving kiosk installations a way to render routes starting from the physical station rather than a generic entry point. For real estate tours specifically, mapping node placement onto an accurate floorplan tends to matter more for buyer trust than almost any other navigation feature, since it lets a prospective buyer mentally verify room adjacency before ever booking a showing.
How Do You Keep Navigation Fast on Phones and VR Headsets?
Navigation only feels smooth if the tour actually loads fast enough to keep up with clicking. A gorgeous scene graph means nothing if viewers are staring at a spinning loader every time they click an arrow.
- Serve panoramas as WebP or progressive JPEG, and size the initial view smaller than the full-resolution zoom tier, so the first frame paints quickly and detail streams in afterward.
- Prefetch the most likely next scene in the background while the viewer is still looking at the current one. Since most hotspots only lead to one or two logical destinations, this prediction is usually accurate.
- Set a memory budget for mobile devices specifically. Loading six high-resolution panoramas simultaneously will crash a mid-range phone browser faster than any single oversized image would.
- On phones, simplify the menu and enlarge touch targets. A hotspot that's comfortable to click with a mouse cursor is often too small for a thumb.
- For VR headsets, confirm the camera height and field of view are calibrated for a standing viewpoint, not the desktop default, or the scale of every room will feel wrong.
Adaptive image formats paired with prioritized prefetching are what separate a tour that loads instantly from one that makes visitors wait, and that gap shows up directly in how much of the tour people actually explore. Build a short testing matrix before launch: check on one recent iPhone, one mid-range Android device, one desktop browser, and, if you're targeting museums or brokerages, one VR headset. Skipping the Android test is the most common oversight, since screen sizes and processing power vary far more on that platform than on iOS.
How Do You Publish and Share a Tour Without Breaking Its Navigation?
Publishing is where a lot of careful navigation work quietly falls apart, usually because a link that worked in the editor doesn't survive the move to a live embed. A few habits prevent that.
- Choose iframe embeds for most websites, since they preserve deep links to specific scenes cleanly; use a script embed only if you need tighter styling control and are comfortable debugging conflicts with the host site's CSS.
- If you're publishing to Google Street View, double-check image leveling and orientation metadata before uploading, since misaligned panoramas are a common reason Street View submissions get rejected or display with a visible tilt.
- Keep share links stable across edits. If you rename or delete a scene after sending a client a specific link, that link should still resolve, ideally to the nearest equivalent scene rather than a dead page.
- Track navigation analytics, specifically which hotspots get clicked most and where viewers commonly stop exploring, since drop-off points usually point to a confusing transition or a missing bridge panorama rather than a lack of interest.
How Does Simple Virtual Tour Put These Navigation Principles Into Practice?
Every navigation principle covered here maps directly onto features built into Simple Virtual Tour's editor. Floorplan integration lets you drop scene nodes onto a real or schematic map and wire up sweeps and menu destinations without touching code. Live session hosting means a real estate agent or museum guide can walk a remote viewer through the exact scene sequence in real time, narrating the same navigation path a solo visitor would take later.
The platform's dual deployment model, cloud-hosted or self-hosted, gives you control over where tour data lives without changing how navigation behaves for the end viewer. AR and VR support carries the same scene graph and hotspot logic across desktop, mobile, and headset without a separate build.
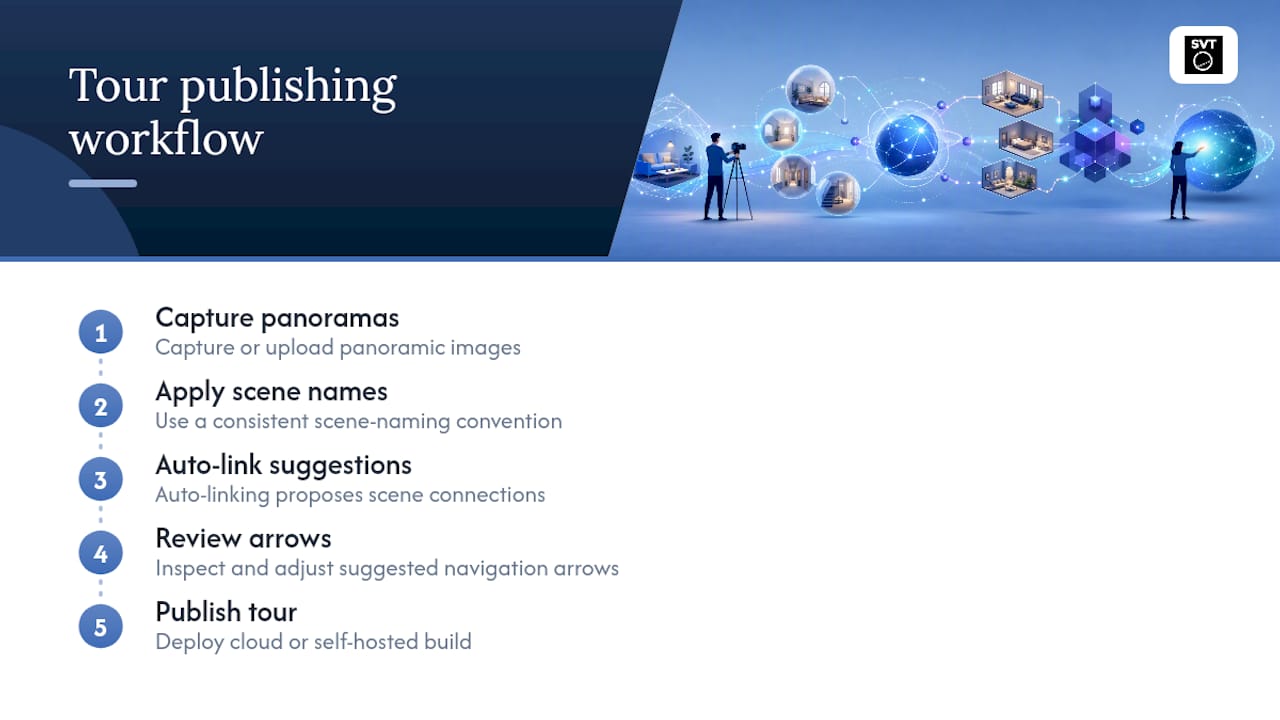
With more than 1,400 active users, the backend stays intuitive enough for non-technical creators: capture your panoramas, apply a consistent scene-naming convention, let the auto-linking suggest connections, review the arrows for accuracy, then publish. E-commerce integration extends that same navigation model to retail walkthroughs where a hotspot can lead to a product page instead of another scene.
What Would I Prioritize First if I Were Rebuilding a Tour Today?
If I had to fix one tour with limited time, I'd start with scene naming. It sounds boring next to fancy hotspot icons, but a clean naming convention is what lets you actually find and fix broken links later. Second, I'd add bridge panoramas at every long jump; that single change eliminates most disorientation complaints. Third, a floorplan menu, even a rough schematic, does more for viewer confidence than another round of hotspot polish.
The mistake I see most: creators obsess over visual hotspot design while ignoring two-way links, leaving dead ends that quietly kill engagement. Reach for a developer only when you need custom navigation APIs or kiosk-specific deep linking; a no-code editor handles everything else.
— Andrea
Get Navigation Right From the First Scene You Capture
Simple Virtual Tour is built specifically to handle the navigation work this guide just walked through, so you're not stitching together a floorplan tool, a separate hotspot editor, and a third app for hosting. The editor combines automatic scene linking, path editing with sweeps and barriers, and live session hosting in one backend, which means the scene graph you design and the map viewers actually see stay perfectly in sync.
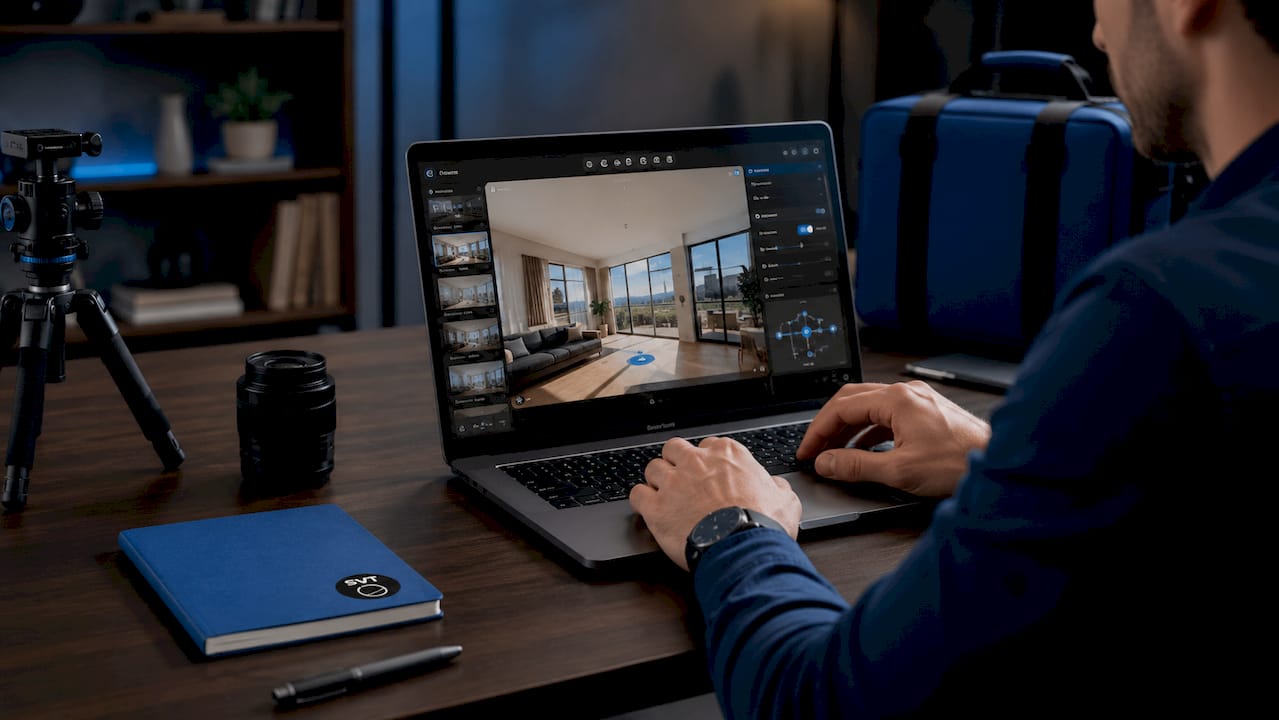
You can start with the cloud-hosted plan if you want tours live within a day, or choose the self-hosted software if keeping full control of your data and hosting costs matters more for your business. Photographers capturing drone-based exterior shots to pair with interior panoramas can also check aerial capture tools from Dronable for gear that complements a full property walkthrough. Whichever path fits your workflow, you can try Simple Virtual Tour and see how the floorplan editor and auto-linking handle your next project before committing to a plan.
Where to Read More on Virtual Tour Navigation
A few resources go deeper into the specific mechanics covered above. The PanoCool Street View navigation docs walk through how automated spatial arrows get placed and linked. The Treedis navigation tool documentation covers path editor mechanics like sweeps, barriers, and teleports in more technical detail. For a leaner, faster-to-implement workflow, the Pedra virtual tour creation guide breaks down point-and-click hotspot authoring step by step. And See3D's scan preparation guide is worth reading before your next shoot, since good navigation starts with how you capture the space, not just how you link it afterward.
Sources
- Street View navigation for virtual tour with PanoCool
- Treedis navigation tool docs
- How to create a virtual 360° tour (Pedra help)
- How to prepare for a virtual tour scan (See3D)