
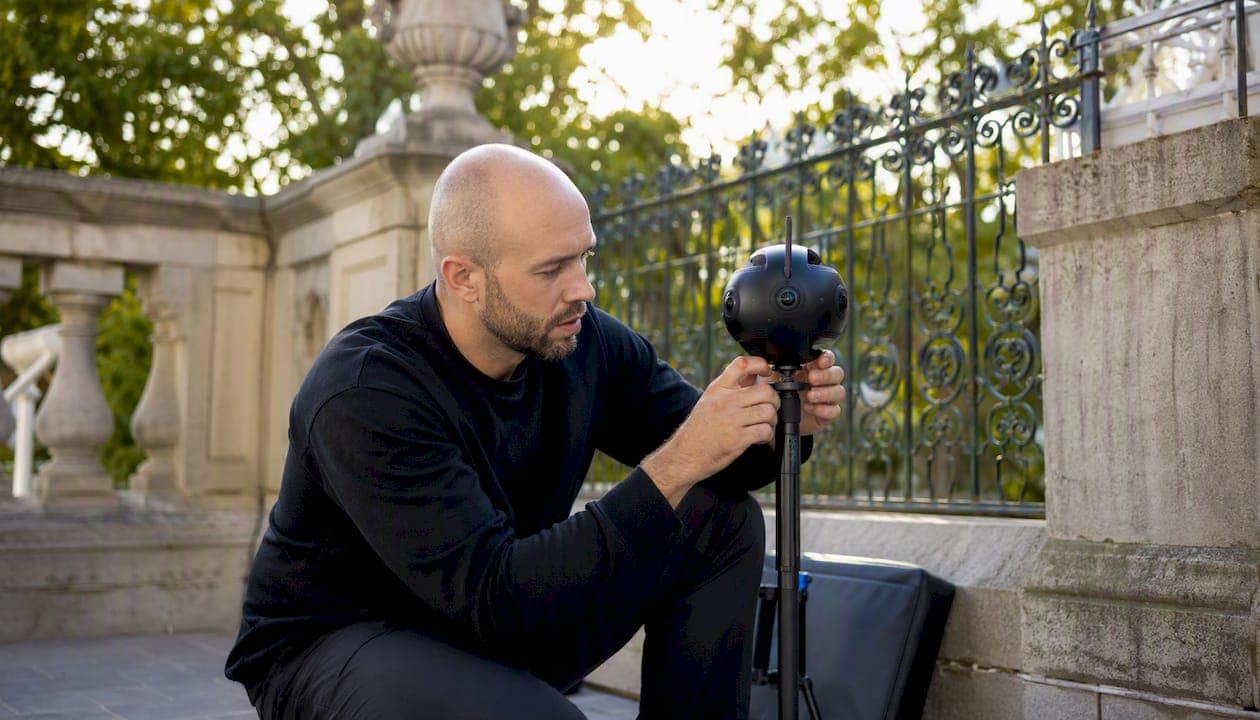
For a museum-grade historical site virtual tour, the clearest path is browser-first (WebVR) deployment paired with a modular capture workflow: 360 photography for most interiors, photogrammetry where geometry demands it, and Simple Virtual Tour as your publishing and hosting platform. That combination gives you the widest audience reach, manageable costs, and full control over your media assets.
Your immediate next step is a one-page project brief. Define your commissioner, your primary audience, your editorial intent (education, preservation, outreach, or revenue), and your scope. Then sketch a floorplan-driven node map before you book a single capture day.
- Start with the brief: commissioner, audience, intent, scope
- Draw the node map from your floorplan, not from memory
- Mark restricted zones and conservation constraints before capture
- Choose your hosting model (cloud or self-hosted) in the brief, not after
Pro Tip: Write the brief on one page only. If it runs longer, your scope is too wide and visitor fatigue will show up in your analytics.
Key Takeaways
A browser-first deployment with a floorplan-driven node map and bite-sized storytelling is the most reliable foundation for a museum-grade historical site virtual tour.
| Point | Details |
|---|---|
| Browser-first is the default | WebVR deployment maximizes audience reach and removes hardware barriers for visitors. |
| Design by story, not by room | Floorplan-driven node maps and bite-sized narration reduce visitor fatigue and improve completion rates. |
| Plan for archive and migration | Store master files in two locations and schedule re-exports every 2–3 years to avoid format obsolescence. |
| Demand exportability from vendors | Test full tour export and self-hosting options in every demo before signing a contract. |
| Simple Virtual Tour fits all three profiles | Cloud and self-hosted models, live sessions, e-commerce, and multilingual support cover small, medium, and large heritage projects. |
Table of Contents
- What does a strong project brief look like for a historical site virtual tour?
- Which capture method is right for your site?
- How do you process and archive your captured assets?
- How do you design a tour that visitors actually finish?
- Should you deploy in-browser or as a native app?
- Which interactive features matter most for museums?
- How do you keep a tour current and measurable?
- What does a historical site virtual tour project actually cost?
- How does Simple Virtual Tour fit these project profiles?
- What are your exact next steps to start this project?
- What most heritage teams get wrong about virtual tours
- Simple Virtual Tour gives heritage teams a deployable path from brief to published tour
- Sources
What does a strong project brief look like for a historical site virtual tour?
The IATH Best Practices Guide is direct: define your subject, your audience, your coverage, and your node sequence before any equipment leaves the building. That guidance holds whether you are documenting a single gallery or a multi-building campus.
A practical brief answers four questions:
- Commissioner and intent: Who is funding this, and what outcome justifies the investment? Education, ticket revenue, preservation record, or remote outreach?
- Primary audience: School groups, international researchers, general visitors, or accessibility users? Each group changes your navigation design.
- Scope: Which rooms, exteriors, and objects are in? Which restricted zones, fragile surfaces, or legally encumbered collections are out?
- Node sequence: Walk the floorplan and mark candidate viewpoints. Check sightlines between nodes so visitors always know where they are.
Pro Tip: Run a line-of-sight check on your floorplan before the shoot day. A node that looks logical on paper can produce a disorienting jump cut if the sightline is blocked by a column or a display case.
Permissions and conservation safeguards belong in the brief too:
- Written consent from the site owner or governing body
- Conservation officer sign-off on lighting and tripod placement
- On-site safety plan (power access, floor protection, emergency egress)
- Copyright clearance for any objects, artworks, or archival materials in frame
Which capture method is right for your site?
The choice between 360 photography, photogrammetry, and LiDAR/terrestrial scanning depends on your site's geometry, your budget, and how you plan to use the data.
| Method | Best for | Fidelity | Speed | Cost |
|---|---|---|---|---|
| 360 photography | Interiors, moderate complexity | High visual | Fast (10 nodes/day) | Low–medium |
| Photogrammetry | Exterior façades, artifacts, complex geometry | High spatial | Moderate | Medium |
| LiDAR/terrestrial scan | Metric documentation, structural surveys | Highest spatial | Slow | High |
A hybrid workflow combining interior scans with exterior photogrammetry proved effective at the Norman Castle of Aci Castello, where Matterport handled interior navigation and a third-party tool managed outdoor storytelling and media layering. That modular approach avoids vendor lock-in and gives you flexibility when the site mixes indoor galleries with open courtyards or ruins.
Essential equipment for a 360 capture day:
- Mirrorless or dedicated 360 camera (e.g., Ricoh Theta Z1, Insta360 Pro 2) with fisheye lenses
- Panoramic tripod head for precise nodal alignment
- Sturdy carbon-fiber tripod with floor protection pads
- High-capacity SSDs plus a backup drive (plan for 2–4 GB per equirectangular image at full resolution)
- Portable power bank or site power access for extended sessions
For pre-production logistics, a structured shoot-day preparation checklist helps you avoid the most common on-site delays: missing permissions, inadequate storage, and lighting surprises.
How do you process and archive your captured assets?
The post-production pipeline runs: ingestion → stitching/alignment → photogrammetric processing (where used) → texture export → web optimization. Each stage produces derivative files; your archive must preserve both the masters and the derivatives.
Pro Tip: Name every file with site code, room ID, node number, and capture date (e.g., MHC_GalleryA_N04_20260315.tif). That convention makes multilingual layer management and future re-exports far less painful.
File and metadata standards to adopt from day one:
- Store master equirectangular images as uncompressed TIFF or lossless PNG
- Export web-optimized versions as JPEG (90–95 quality) or WebP for faster load times
- Embed XMP metadata: location, date, photographer, rights statement, and node ID
- Use a DAM (Digital Asset Management) system, even a simple one like Adobe Bridge or ResourceSpace, to track versions
Archive planning is where most projects fall short. The IATH guide explicitly warns that format migrations must be planned because viewing platforms and operating environments evolve. Schedule a re-export review every two to three years, and store master files in at least two geographically separate locations.
| Archive tier | Format | Storage location | Review cycle |
|---|---|---|---|
| Master | TIFF/lossless PNG | On-premises NAS + offsite cloud | Every 2–3 years |
| Web derivative | JPEG/WebP | CDN or hosting server | On each content update |
| 3D/photogrammetry | OBJ + textures | On-premises NAS + offsite cloud | Every 2–3 years |
How do you design a tour that visitors actually finish?
Research on the Forbidden City virtual tour identified four dimensions that determine experience quality: authenticity, interaction, navigation, and learning. Navigation was the principal weakness, not visual quality. That finding should recalibrate where you spend your design effort.
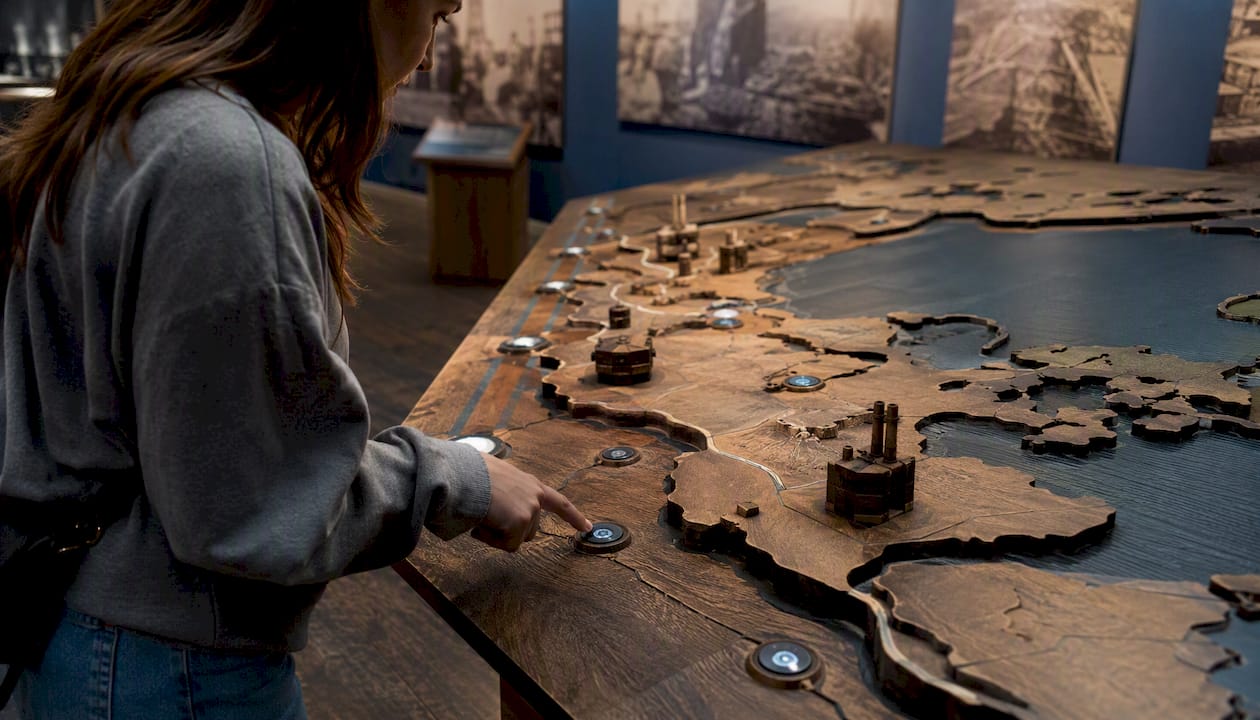
Practitioners consistently recommend a bite-sized storytelling approach over mass scanning. Design each node around a single curatorial point, not a room-sized data dump.
Navigation patterns to consider:
- Linear guided tour: Best for school groups and first-time visitors. Locks the sequence and adds narration at each node.
- Free roam with mini-map: Suits researchers and repeat visitors. A topographic mini-map reduces disorientation.
- Hybrid: A guided route as the default, with free-roam unlocked after completion.
Hotspot design matters more than most teams expect. Layer media progressively: a text label at first glance, an audio clip or short video on click, and a downloadable resource for deeper study. For cultural site tour ideas aimed at educators, that layering structure maps directly onto curriculum objectives.
Accessibility checklist:
- Closed captions on all audio and video content
- Full keyboard navigation (no mouse-only controls)
- Adjustable playback speed for narration
- High-contrast UI option and minimum 4.5:1 color contrast ratio
- Screen-reader-compatible hotspot labels
Pro Tip: Run your QA against all four heuristic dimensions: authenticity, interaction, navigation, and learning. Score each node, not just the tour as a whole. A single confusing transition can drop your navigation score across the board.
Should you deploy in-browser or as a native app?
ISPRS research confirms that browser-accessible (WebVR) deployments increase accessibility and reduce hardware barriers compared with hardware-intensive native apps. For most heritage sites, browser-first is the right default.
A native app still makes sense in two scenarios: offline kiosk installations in areas without reliable Wi-Fi, and specialized haptic or AR overlays that WebVR cannot yet deliver.
Hosting model decision path:
- Do you need full control over raw media and visitor data? → Self-hosted
- Do you have IT staff to manage server updates and security patches? → Self-hosted
- Do you want faster deployment with lower upfront IT cost? → Cloud-hosted
- Are you subject to strict US data-residency requirements? → Self-hosted or a US-based cloud provider
Pro Tip: Demand a data-export function before you sign any hosting contract. If you cannot export your full tour and media assets in a standard format, you are locked in.
Security considerations: use private-tour access controls for embargoed collections, subscription gating for paid content, and e-commerce integration for ticketing. All three are standard features in platforms built for the heritage sector.
Which interactive features matter most for museums?
Survey evidence shows guided narration and real-time interactivity score highest for learning outcomes in heritage virtual reality studies. Accuracy and expert collaboration remain critical constraints, which means your narration scripts need curatorial sign-off, not just copyediting.
Feature priority list for museum deployments:
- Guided narration with timed highlights at each node
- Hotspots with layered media (text, audio, video, downloadable PDFs)
- Live-hosted sessions for school groups and special events
- Multilingual UI and narration layers
- E-commerce or ticketing integration for paid content
- API access for CMS and collections-management system integration
- Analytics: session length, node drop-off rates, hotspot click rates, and conversion rates for paid content
Virtual tours can partially substitute for paid on-site visits unless paired with a monetization strategy, according to macro-level museum digitalization research. Pairing your tour with ticketed live sessions or premium downloadable content directly addresses that revenue risk. For practical guidance on building trust with remote audiences, layered content and live interaction are the two highest-leverage tools.
How do you keep a tour current and measurable?
Operational sustainability requires a clear update cadence and defined staff responsibilities.
Recommended update cycle:
- Quarterly: Review analytics (session length, drop-off nodes, hotspot engagement). Flag underperforming nodes for content refresh.
- Annually: Full accessibility audit, software patch review, and narration accuracy check with curatorial staff.
- Every 2–3 years: Re-export master files, test all media layers, and migrate to updated web formats as needed.
KPIs to track:
- Average session length per node
- Tour completion rate
- Hotspot click-through rate
- Live session attendance and repeat visit rate
- Revenue per paid tour or ticketed event (where applicable)
Staffing a sustainable operation does not require a large team. A small site can run on one part-time digital coordinator (10–15 hours/week) handling content updates and analytics review, with curatorial staff contributing narration scripts on a project basis.
What does a historical site virtual tour project actually cost?
Budget ranges vary significantly by site complexity, capture method, and hosting model. These are ballpark figures based on typical project profiles.
| Project profile | Timeline | Primary cost drivers |
|---|---|---|
| Small (1–5 rooms, 360 only) | 4 weeks | Camera rental, stitching software, cloud hosting |
| Medium (6 nodes, hybrid capture) | 8 weeks | Photogrammetry processing, custom hotspots, multilingual layers |
| Large (multi-building, LiDAR + 360) | 16 weeks | LiDAR rental/contractor, 3D processing, custom development, IT infrastructure |
Staffing models:
- In-house: Lower per-project cost, higher upfront training investment. Best for sites with ongoing capture needs.
- Contractor: Higher per-project cost, faster ramp-up. Best for one-time or infrequent projects.
- Hybrid: In-house project manager plus specialist contractors for capture and 3D processing. The most common model for medium-sized heritage sites.
Procurement checklist for vendor demos:
- Request a live export of a complete tour in a standard format (equirectangular JPEG + JSON)
- Confirm self-hosting option and data-residency controls
- Test multilingual layer switching in the demo environment
- Verify live session capability and moderation controls
- Ask for a reference from a comparable heritage or museum client
How does Simple Virtual Tour fit these project profiles?
Simple Virtual Tour supports all three project profiles described above, with a deployment model that gives heritage teams genuine flexibility.
For a small site (a single gallery or historic house), the cloud-hosted plan covers unlimited tours, 360 panorama support, and basic hotspot design with no IT overhead. A digital coordinator can publish a five-node tour in a single afternoon.

For a medium site with multilingual audiences and ticketed events, Simple Virtual Tour's e-commerce integration, multilingual UI, and live session capability handle the core requirements without custom development. The platform's over 1,400 current users include professionals across tourism and cultural sectors.
For a large or complex site, the self-hosted option gives your IT team full control over raw media, visitor data, and server configuration. Combined with API access, it connects to existing collections-management systems without forcing a platform migration.
When evaluating any virtual tour platform for a heritage project, the three non-negotiable tests are: Can you export your full tour and media assets in a standard format? Can you host it on your own infrastructure if required? And can you add multilingual narration layers without rebuilding the tour from scratch? Simple Virtual Tour passes all three.
Pro Tip: In your demo session, ask the vendor to walk you through a data export end-to-end. A platform that hesitates on that request is telling you something important about lock-in.
What are your exact next steps to start this project?
Decision checklist before you commit to a vendor or a capture date:
- Capture method confirmed (360 only, hybrid, or LiDAR)
- Hosting model chosen (cloud or self-hosted)
- Accessibility requirements documented
- Budget band approved by stakeholders
- Demo scheduled with at least one platform vendor
Three immediate next steps:
- Draft your one-page project brief today: commissioner, audience, intent, scope, and a rough node count from your floorplan.
- Schedule a pilot capture day for your highest-priority two or three nodes. A pilot surfaces logistics problems before you commit to a full shoot schedule.
- Arrange a Simple Virtual Tour demo and run the export, hosting, and multilingual tests from the procurement checklist above.
For deeper guidance on structuring guided routes and interactive features before your demo, the Simple Virtual Tour blog covers practical strategies that translate directly to heritage contexts.
What most heritage teams get wrong about virtual tours
The most common failure mode is not a technology problem. Teams over-scan, producing dozens of nodes with no curatorial logic connecting them, and then wonder why session completion rates are low. The fix is not better equipment. It is a stricter brief and a floorplan-driven node map written before the camera leaves the case.
The second failure is treating the tour as a one-time deliverable. A tour published in 2024 with no update cycle will have broken hotlinks, outdated narration, and inaccessible media by 2026. Archive planning and a quarterly analytics review are not optional extras; they are what separates a sustainable digital heritage program from a one-off project that quietly goes dark.
One practical tip that consistently improves long-term maintainability: build your narration as separate audio files, not baked into the panorama export. Separate files let you update a single node's script without re-exporting the entire tour, which matters enormously when a curator corrects a historical interpretation two years after launch.
Simple Virtual Tour gives heritage teams a deployable path from brief to published tour
Most virtual tour platforms force a choice: pay for a managed cloud service and lose control of your data, or self-host and absorb significant IT overhead. Simple Virtual Tour offers both models under one license, which is a meaningful advantage for heritage institutions with variable IT capacity and strict data-governance requirements.
The platform covers the full feature set heritage teams need: unlimited tours, live session hosting for school groups and ticketed events, e-commerce integration for paid content, multilingual UI, custom branding, and API access for collections-management integration. The self-hosted option gives your IT team full data-residency control with no ongoing per-seat fees.
To evaluate it against your project brief, start a free trial or request a demo at Simple Virtual Tour. In 30 minutes, test the export function, switch a multilingual layer, and confirm the self-hosting path. That is enough to know whether it fits your workflow.
Sources
These sources support the key workflow stages covered in this article.
Capture and node planning
- ISPRS Archives — Web deployment advantages for heritage tours
- Evaluation of virtual tour in an online museum: Exhibition of Architecture of the Forbidden City
- Beyond Preservation: A Survey of the Role of Virtual Reality in Experiencing and Understanding Historical Architectural Spaces
- Towards an Operational Protocol for Virtual Tours in Complex Cultural Sites: The Norman Castle of Aci Castello
Design and UX evaluation
Deployment and features
Operations and monetization