Virtual lab tours are immersive, guided online experiences that bring scientific environments to life through 360° imagery, interactive hotspots, and multimedia pathways. The best virtual lab tour ideas go beyond passive video viewing. They combine structured agendas, active learning tasks, and multi-format delivery to maximize engagement for educators, students, and professionals alike. Platforms like Science Interactive and institutions like NC State BTEC have demonstrated that well-designed online lab experiences can match, and in some cases exceed, the educational value of in-person visits.
1. best virtual lab tour ideas: start with the right format
The format you choose determines everything else about your tour's accessibility, immersion level, and production complexity. Four main formats exist: 360° still photospheres, 360° video, interactive panoramas, and full 3D walkthroughs with VR support.
- 360° still photospheres are the most accessible option. They load quickly on low-bandwidth connections and work on any device, including older smartphones.
- 360° video adds motion and ambient sound, which increases immersion but requires more storage and faster internet.
- Interactive panoramas layer hotspots, embedded quizzes, and pop-up information over still or video imagery. The RRS James Cook virtual tour from the National Oceanography Centre uses this format to let users zoom, rotate, and navigate across multiple lab decks.
- 3D walkthroughs and VR deliver the highest immersion. The RYCO virtual lab tour combines live-action 360° footage with 3D animations, deliverable via VR headsets or standard 2D screens.
Each format serves a different audience. A university research lab showcasing equipment to prospective graduate students benefits from an interactive panorama. A K-12 science class with mixed device access needs a lightweight photosphere or MP4 video fallback.
Pro Tip: Offer at least two format options for every virtual lab tour you publish. A high-resolution interactive version and a standard video version cover the widest range of devices and bandwidth conditions.
2. use a three-part agenda to reduce aimlessness
Structure is the single most underused tool in virtual lab tour design. Without it, learners wander, disengage, and retain very little. A proven tour structure includes three phases:
- Pre-brief (5–10 minutes). Set context before the tour begins. Explain what learners will see, what tasks they will complete, and what questions they should be able to answer by the end. This primes attention and reduces cognitive overload.
- Guided tour with interactive stops (15–30 minutes). Move through the lab in a logical sequence. Each stop should include a task, not just a description. Tasks like "observe this equipment and justify its placement" or "identify one safety risk in this zone" convert passive viewers into active participants.
- Debrief (15–25 minutes). Consolidate learning through discussion, Q&A, or a short knowledge check. This phase is where retention actually happens.
NC State's BTEC facility tours follow a similar model, using a structured 60-minute format that includes a 15-minute introduction, 40-minute guided lab exploration, and a 5-minute closing for questions. That timing discipline prevents the aimlessness that plagues unstructured virtual tours.
Pro Tip: Build a short orientation prompt at the start of every tour. Tell learners exactly where they are, what they are looking at, and how to navigate. Thirty seconds of orientation saves ten minutes of confusion.
3. design hotspots as inquiry prompts, not labels
Most virtual lab tours use hotspots as digital labels. A hotspot sits over a piece of equipment and displays its name or a brief description. That approach is better than nothing, but it produces passive reading, not active learning.
Yaksha.io recommends placing hotspots at learner curiosity peaks and framing them as open-ended questions rather than static signs. Instead of "This is a centrifuge," a well-designed hotspot asks, "What sample preparation step would require this equipment, and why?" That single change shifts the learner from reader to thinker.
Limit the number of hotspots per scene. Overloading a single panorama with 15 or more hotspots creates decision fatigue. Six to eight well-placed inquiry prompts per zone outperform a cluttered scene every time. You can also tier hotspots by depth: a surface-level prompt for general audiences and an optional deep-dive link for advanced learners in the same location.
4. add challenge modes like scavenger hunts and spot-the-risk tasks
Challenge modes transform a virtual laboratory showcase into an active learning exercise. Two formats work especially well for science education.
Scavenger hunts assign learners a list of items or processes to locate within the virtual space. For a chemistry lab tour, the list might include a fume hood, a fire suppression system, and a reagent storage area. Learners navigate independently, which builds spatial familiarity with the lab layout.
Spot-the-risk tasks are particularly effective for safety training. Learners review a lab scene and identify potential hazards, such as improperly stored chemicals, missing personal protective equipment, or blocked emergency exits. This mirrors real safety audits and builds critical observation skills. The 2software engagement guide specifically recommends observation-and-justification tasks as a core method for driving active engagement in virtual tours.
Both formats work in self-paced and live-guided modes. In a live session, the instructor can pause the tour after the task and debrief responses in real time.
5. offer both guided and self-paced navigation modes
Learners prefer both guided and self-directed navigation, and successful tours accommodate both styles. Forcing all users through a single linear path frustrates independent learners. Offering only free exploration leaves structured learners without direction.
NC State's Fitts-Woolard Hall virtual tour provides both options. Users can follow a guided pathway with an ambassador or explore the space freely at their own pace. This dual-mode approach increases time spent in the tour and improves completion rates. You can explore how this concept applies to educational settings in this guide on campus tour engagement features.
The practical implementation is straightforward. Build a default guided path with numbered stops and clear navigation arrows. Then add a "free explore" toggle that removes the linear constraint and lets users click anywhere in the panorama. Both modes share the same hotspots and content.
6. layer in live expert sessions for real-time q&a
Pre-recorded content is convenient, but it cannot answer a question in the moment. Adding a live "walk with an expert" layer alongside pre-recorded content significantly boosts interactivity and learner motivation. NC State's ambassador-guided tours demonstrate this clearly: learners who interact with a live guide show higher engagement than those who explore independently.
The format is simple. A subject matter expert shares their screen or a live 360° feed of the lab while learners join via video conferencing. A proper video conferencing setup makes the difference between a polished session and a frustrating one. Stable audio, good lighting, and a reliable connection are non-negotiable for live lab tours. The expert pauses at key equipment, explains processes, and takes questions in real time. This format works especially well for graduate-level tours, professional development sessions, and prospective student recruitment events.
7. use thematic framing to orient learners before they enter
Naming and framing your tour around a specific workflow or research theme helps learners understand what they are about to see. A tour labeled "Composite Materials Testing Lab" tells a visitor far more than "Lab Building C, Floor 2." The WSU Composite Materials and Engineering Center uses thematic framing in its RTP lab tour to contextualize equipment and processes before the user enters the virtual space.
Thematic framing also helps with audience targeting. A tour framed around "Undergraduate Safety Orientation" sets different expectations than one framed around "Graduate Research Capabilities." You can use the same physical space for both tours with different hotspot content, different guided pathways, and different pre-brief scripts.
8. build inclusivity into the tour architecture
Inclusive virtual lab tours explicitly state which components are optional, offer multiple format alternatives, and communicate content suitability upfront. Science Interactive's approach to online lab teaching treats virtual simulations as safety and skill onboarding ramps, starting learners online before transitioning to hands-on labs. This reduces anxiety and improves outcomes for learners who face physical, cultural, or technical barriers to in-person participation.
Practical inclusivity steps include offering a low-bandwidth MP4 version alongside the interactive tour, providing closed captions on all video content, and labeling every component as required or optional. NC State BTEC clearly gates its tours by age, noting that technical content is not suited for learners under 14. That kind of upfront communication sets appropriate expectations and prevents learner overwhelm. You can apply similar principles to homeschool and remote learning contexts using frameworks outlined in this guide on virtual tours in homeschool settings.
9. match tour complexity to your audience and budget
Not every virtual lab tour needs VR headsets and 3D animations. Matching your approach to your audience's age, technical readiness, and your available budget produces better outcomes than overbuilding.
| Audience | Recommended Format | Budget Level | Key Feature |
|---|---|---|---|
| K-12 students | MP4 video or simple photosphere | Low | Clear narration, minimal hotspots |
| Undergraduate students | Interactive panorama with hotspots | Medium | Guided pathway plus free explore mode |
| Graduate researchers | 3D walkthrough or live-guided session | Medium to high | Deep-dive hotspots, live Q&A |
| Industry professionals | VR or hybrid 3D with live expert | High | Role-based exploration, real-time data |
| Remote or low-bandwidth users | MP4 video fallback | Low | Downloadable content, captions |
The University of Connecticut's child labs use a straightforward MP4 video format precisely because their audience and access constraints make interactive 3D tours impractical. That is a sound decision, not a compromise.
10. capture scenes with overlap to prevent disorientation
Production quality directly affects learner orientation. Scenes captured with 30–50% visual overlap between shots prevent the "teleportation" effect, where users feel suddenly dropped into a new location with no spatial continuity. That disorientation breaks immersion and reduces learning retention.
Shoot during low-traffic periods to avoid people appearing in your panoramas. Use consistent camera height across all scenes so the viewer's perspective stays stable. Label transition points clearly so learners always know which zone they are entering. These production details are invisible when done correctly and glaring when ignored.
Key takeaways
The most effective virtual lab tours combine a structured three-part agenda, inquiry-based hotspots, and dual navigation modes to convert passive viewers into active learners.
| Point | Details |
|---|---|
| Structure drives retention | Use a pre-brief, guided tour, and debrief to prevent aimlessness and maximize learning. |
| Hotspots should ask, not tell | Frame hotspots as open-ended questions to promote active thinking over passive reading. |
| Offer two navigation modes | Guided and self-paced options together accommodate more learner styles and increase completion. |
| Inclusivity requires explicit design | State optional components, offer format alternatives, and gate content by age and readiness. |
| Production quality matters | Capture scenes with 30–50% overlap to maintain spatial continuity and learner orientation. |
Why most virtual lab tours miss the point
I have reviewed a lot of virtual lab tours over the years, and the pattern is consistent. Institutions invest in beautiful 360° photography, add a dozen hotspots with equipment names, and call it done. Then they wonder why learners spend four minutes in the tour and leave.
The problem is not the technology. The problem is that the tour was designed to show, not to teach. Engagement comes from what learners actively do during a tour, not from what they passively see. That distinction sounds obvious, but it is routinely ignored in practice.
The tours I find most effective treat the virtual space as a structured learning environment, not a digital brochure. They assign tasks. They ask questions. They debrief. The live guided tour format is particularly underused in science education. A subject matter expert walking learners through a lab in real time, answering questions as they arise, produces a qualitatively different experience than any pre-recorded tour.
I also think the field is moving toward hybrid models faster than most educators realize. VR headset adoption in higher education is accelerating, and the gap between a 360° photosphere and a fully navigable 3D environment is narrowing in terms of production cost. Institutions that build their tour architecture on flexible, multi-format platforms now will be well-positioned to add VR layers later without rebuilding from scratch.
The educators and professionals who get the best results are the ones who treat tour design as instructional design. Format is a delivery mechanism. Learning outcomes are the goal.
— Andrea
Build your own interactive lab tour with simple virtual tour
Ready to put these ideas into practice? Simple Virtual Tour gives you the tools to create unlimited interactive virtual lab tours without needing a technical background.
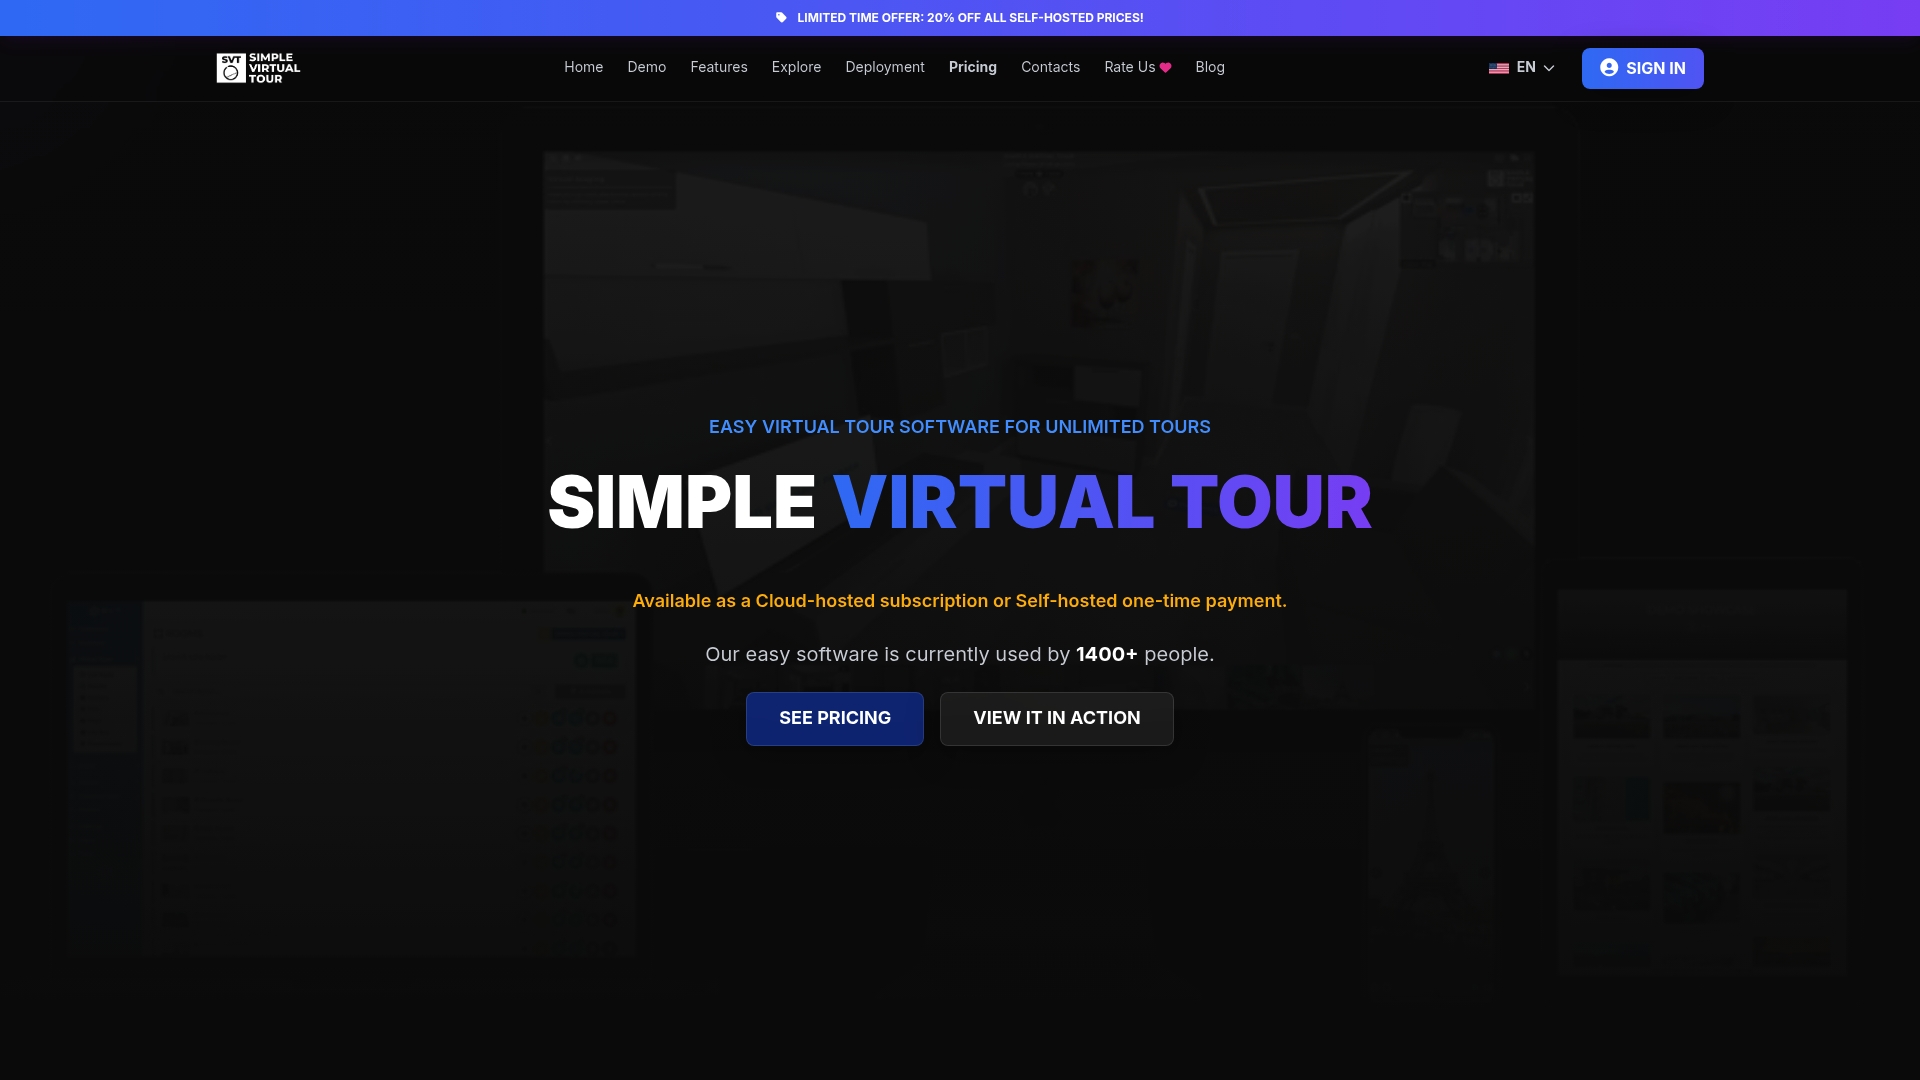
The platform supports both guided and self-paced navigation modes, live session capabilities, and customizable hotspots, so you can build the exact experience your learners need. Tours are accessible on desktop and mobile, and the intuitive backend means you can publish a polished virtual laboratory showcase in hours, not weeks. Over 1,400 users already rely on Simple Virtual Tour to create engaging digital experiences across education, real estate, and more. Start building your tour today and see how straightforward great virtual lab design can be.
FAQ
What is a virtual lab tour?
A virtual lab tour is an immersive online experience that lets users explore a scientific facility through 360° imagery, interactive hotspots, video, or 3D walkthroughs without being physically present.
How long should a virtual lab tour be?
A well-structured virtual lab tour runs 30–60 minutes total, including a 5–10 minute pre-brief, 15–30 minutes of guided exploration, and a 15–25 minute debrief for questions and knowledge consolidation.
What makes a virtual lab tour interactive?
Interactive virtual lab tours use hotspots framed as open-ended questions, embedded knowledge checks, challenge tasks like scavenger hunts, and dual navigation modes that let learners choose guided or self-paced exploration.
Are virtual lab tours suitable for all age groups?
Not always. Technical lab content is generally not suited for learners under 14, as NC State BTEC notes in its facility tour guidelines. Always gate content by age and communicate suitability upfront.
What is the best format for a low-budget virtual lab tour?
A straightforward MP4 video tour is the most accessible and affordable option. It works on any device, requires no special software to view, and can be supplemented with a live Q&A session to add interactivity.