

An effective interactive virtual tour business profile includes ten content types: 360° panoramas, still photos, floor plans, hotspot descriptions, embedded video, audio guides, product galleries and e-commerce items, map overlays, contact and booking widgets, and clear CTAs. Capture them in this order: entrance → main customer area → feature points → CTAs. That sequence answers the visitor's first question ("What will I experience here?") before they pan away.
- 360° panoramas form the navigable backbone of every scene
- Still photos and floor plans give spatial context, especially for real estate and venues
- Hotspot descriptions, video, and audio carry your narrative at each point of interest
- Product galleries and e-commerce items convert browsers into buyers mid-tour
- Map overlays, booking widgets, and CTAs close the loop from interest to action
Simple Virtual Tour, used by 1,400+ creators, supports all ten types across cloud-hosted and self-hosted deployments. This guide, written by Andrea, walks you through production specs, hotspot strategy, and a publish-ready workflow so your next tour is built to convert.
Table of Contents
- What types of business profile content belong in a virtual tour?
- How do you design hotspots and CTAs that actually get clicked?
- What are the technical rules for fast, accessible tours?
- How should you prioritize content by business goal?
- What does a complete publish workflow look like?
- Key Takeaways
- What most creators get wrong about virtual tour content
- Simple Virtual Tour makes publishing all ten content types straightforward
- Useful sources
What types of business profile content belong in a virtual tour?
Each content type serves a distinct role. Knowing when to use it and how to produce it keeps your tour fast, focused, and functional.
| Content Type | Recommended Format | Target Use Case |
|---|---|---|
| 360° Panorama | JPEG/WEBP equirectangular, 8000×4000 px | Every scene; the navigable base layer |
| Still Photo | JPEG/WEBP, 2000–4000 px wide | Detail shots, hero images, thumbnails |
| Floor Plan | SVG or PNG overlay, transparent background | Real estate, venues, museums |
| Hotspot Description | Plain text, 40–80 words max | All verticals; context at each point |
| Embedded Video | MP4/H.264 or WebM, adaptive bitrate | Product demos, walkthroughs, testimonials |
| Audio Guide | AAC or MP3, 128–192 kbps | Tourism, museums, hospitality |
| Product Gallery / E-commerce | WEBP, 2000 px wide per item | Retail, hospitality, photographers |
| Map Overlay | SVG or PNG, georeferenced | Tourism routes, multi-building campuses |
| Booking / Contact Widget | Embedded iframe or API widget | Venues, real estate, service businesses |
| CTA Button | Text + icon, mobile-sized hit target | Every scene with a conversion goal |
360° panoramas are the structural core. Shoot equirectangular images at a minimum of 8000×4000 pixels and export as WEBP for web delivery. Name files descriptively (e.g., entrance-lobby-01.webp) and geo-tag where you plan to publish to Google Street View.
Still photos complement panoramas by showing details the spherical lens distorts: a close-up of a product, a room's texture, or a hero shot for the tour thumbnail. Keep them under 500 KB at 2000 px wide for fast mobile delivery.

Floor plans answer the spatial question immediately for real estate agents and venue managers. Export as SVG for resolution independence, or PNG with a transparent background so it layers cleanly over your scene.
Hotspot descriptions are short, purposeful, and written for a mobile reader. Forty to eighty words is the practical ceiling before attention drops. Include one clear next step in every description.
Embedded video works best as MP4/H.264 with a WebM fallback. Keep clips under 90 seconds and use adaptive bitrate streaming so the video loads smoothly on a 4G connection. For a real estate walkthrough or a chef's table introduction, video adds personality that a panorama alone cannot.
Audio guides are the underused asset in tourism and museum tours. Record at 128–192 kbps AAC or MP3. Always include a written transcript so the content is accessible and indexable.
Product galleries and e-commerce items turn a tour into a sales channel. Simple Virtual Tour's e-commerce integration lets you attach product detail hotspots directly to items visible in the scene, so a visitor browsing a hotel lobby can book a room without leaving the tour.
Map overlays help tourism operators and multi-building campuses show route context. A georeferenced SVG placed over an aerial panorama gives visitors a clear sense of scale and sequence.
Booking and contact widgets are the conversion engine. Embed them as iframes or connect via API so form submissions land directly in your CRM or calendar.
How do you design hotspots and CTAs that actually get clicked?
Interactive hotspots fall into six categories, each with a distinct job:
- Information: background context, room specs, or amenity details
- Media: triggers an embedded video or audio clip
- Contact action: opens a phone, email, or chat prompt
- Booking/scheduling: launches a calendar or reservation widget
- Product/service detail: shows pricing, specs, or a buy button
- Social proof: displays a review, rating, or certification badge
The 3-Second Rule governs placement: your primary CTA or booking hotspot must sit within the visitor's natural sight line during the first three seconds after a scene loads. If they have to pan to find it, most won't. Place entrance-scene CTAs at eye level, slightly right of center, where the eye lands first on a mobile screen.
Approximately 78% of virtual tour traffic comes from mobile devices, so hotspot hit targets must meet mobile touch guidelines: at least 44×44 CSS pixels, with no hover-only behaviors that fail on touchscreens.
Pro Tip: Keep hotspot density low. Three to five well-placed hotspots per scene outperform ten cluttered ones. When in doubt, ask: "Does this hotspot move the visitor closer to a booking or a call?" If not, cut it.
Track three metrics after publishing: hotspot click-through rate, session duration inside the hotspot panel, and downstream conversions (form submissions, calls, bookings). These three numbers tell you which content types are earning their place and which need repositioning or rewriting. A/B test CTA text ("Book a Tour" vs. "Check Availability") and hotspot placement before committing to a final layout.
What are the technical rules for fast, accessible tours?
Speed and accessibility are not optional polish. A tour that loads slowly or excludes keyboard users loses real visitors and real revenue.
- Prioritize entrance assets. Load the entrance panorama and its hotspots first. Lazy-load all secondary scenes so the initial experience is instant.
- Prefetch the next scene. While the visitor explores the entrance, begin loading the main customer area in the background for a smooth transition.
- Compress photos to WEBP. Target 200–400 KB per panorama tile at display resolution. JPEG is an acceptable fallback; PNG is too heavy for panoramas.
- Stream video adaptively. Use MP4/H.264 with a WebM fallback and set adaptive bitrate so playback adjusts to connection speed.
- Encode audio at 128 kbps AAC. Sufficient quality for narration; keeps file sizes manageable on mobile data.
- Test on 4G mobile. Run a Lighthouse performance check and confirm time-to-first-interactive is under three seconds on a simulated 4G connection.
- Add alt text to every hotspot icon and ensure keyboard focus states are visible. Screen readers need descriptive labels, not "hotspot-3."
- Include captions for all video and transcripts for all audio. This serves visitors with hearing impairments and makes your content indexable.
Simple Virtual Tour supports both cloud-hosted and self-hosted deployment, which matters here. Self-hosted gives you full control over CDN configuration and caching rules. Cloud-hosted handles infrastructure automatically, which is the faster path for most creators who want to publish without managing servers.
Pro Tip: For multilingual audiences, translate hotspot text rather than just the UI labels. A French-speaking visitor who can navigate the interface but reads English hotspot copy still has a degraded experience. Simple Virtual Tour's multilingual UI support makes this manageable at the platform level.
How should you prioritize content by business goal?
The ten content types listed above are not equally important for every vertical. Here is how to weight them by business objective.
Real estate agents should lead with floor plans, room-dimension hotspots, and virtual staging photos. A booking widget for private showings is the primary CTA. Video walkthroughs of key rooms (kitchen, primary suite) reduce the number of in-person visits needed before an offer. Virtual tours shorten the customer decision cycle by letting buyers self-qualify remotely.
Restaurants and venues need dining area panoramas, private event space scenes, and menu-item hotspots with photos and pricing. A booking widget for reservations or event inquiries is non-negotiable. Communicating ambiance effectively through lighting, decor detail shots, and audio atmosphere clips converts more inquiries than a static photo gallery.
Tourism operators benefit most from narrated audio guides, route-overlay maps, and safety-information hotspots. Visitors want to know what the experience feels like before they commit. A well-placed social-proof hotspot (a review or a guide's introduction video) builds confidence at the decision point.
Photographers should prioritize a high-resolution gallery scene with service-pricing hotspots and a contact widget. The tour itself is a portfolio, so image quality is the primary trust signal. Keep panoramas sharp and still photos at full resolution.
A simple prioritization framework:
- Must-have: 360° panoramas, entrance CTA, booking/contact widget
- Nice-to-have: floor plans, embedded video, audio guide
- Optional: map overlays, social-proof hotspots, e-commerce items (unless retail is core)
What does a complete publish workflow look like?
Follow these steps from planning through promotion on a single shoot day.
- Plan scenes and CTAs. Map out which rooms or locations you will capture, where each CTA will sit, and what the visitor's intended path is.
- Capture panoramas and assets. Start at the entrance, then the center of the main customer area. These two points answer the visitor's core question about what to expect when they arrive.
- Compress and format. Convert panoramas to WEBP, encode video as MP4/H.264, and export floor plans as SVG.
- Build the tour and place hotspots. Apply the 3-Second Rule to entrance-scene CTAs. Keep hotspot density at three to five per scene.
- Mobile test. Load the tour on an actual smartphone. Confirm CTAs are visible and tappable within three seconds without panning.
- Accessibility and SEO checks. Verify alt text, captions, transcripts, and keyboard navigation. Confirm scene titles are descriptive for indexing.
- Publish. Deploy to Simple Virtual Tour (cloud or self-hosted) and optionally push to Google Street View for native Google Business Profile integration. Businesses that add 360° virtual tours typically see measurable engagement lifts on their GBP listings.
- Promote. Embed the tour on your website, share a link in email campaigns, and post scene previews on social media.
Publication route note: Google Street View places your tour inside Google Maps at no ongoing hosting cost, which is valuable for local discovery. An embedded or hosted tour on your own site gives you full analytics, e-commerce, and live session capabilities that Street View alone cannot provide. Most businesses benefit from both.
Key Takeaways
A virtual tour business profile converts best when you capture the entrance and main area first, place CTAs within the visitor's three-second sight line, and publish to both your own site and Google Street View.
| Point | Details |
|---|---|
| Capture order matters | Start at the entrance, then the main customer area; these scenes answer the visitor's first question. |
| Mobile-first hotspots | Approximately 78% of virtual tour traffic comes from mobile devices, so hotspot hit targets must be at least 44×44 CSS pixels with no hover-only behaviors. |
| File format priorities | Use WEBP for panoramas (200–400 KB), MP4 for video, and AAC at 128 kbps for audio guides. |
| Publish to both channels | Google Street View drives local discovery; a hosted tour delivers analytics, e-commerce, and live sessions. |
| Simple Virtual Tour | Supports all ten content types with cloud and self-hosted deployment, multilingual UI, and built-in analytics. |
What most creators get wrong about virtual tour content
The conventional wisdom says "more content equals more engagement." In practice, the opposite tends to be true inside a virtual tour. Every extra hotspot, every autoplay audio clip, every scene added without a clear visitor purpose competes for attention and dilutes the one action you actually want the visitor to take.
The creators who see the strongest results are the ones who treat the tour like a sales conversation, not a catalog. They ask: "What does this visitor need to believe before they book or call?" Then they build only the content that answers that question. Floor plans for a real estate buyer who needs to know if the layout works. A booking widget for a venue visitor who is ready to ask about availability. A narrated audio clip for a tourism prospect who wants to feel the experience before committing.
The other mistake is desktop-first design. Most creators build and test on a laptop, then publish to an audience that is mostly on a phone. Hotspots that look perfectly placed on a 27-inch monitor become invisible or untappable on a 6-inch screen. Test on the device your visitor actually uses, and design for that screen from the start.
Simple Virtual Tour makes publishing all ten content types straightforward
Building a tour that includes panoramas, video, audio, floor plans, e-commerce items, and booking widgets sounds like a production challenge. Simple Virtual Tour reduces that to a single platform. You get dual deployment (cloud-hosted or self-hosted), multilingual UI, live session hosting, e-commerce integration, Google Street View publishing, and built-in analytics, all without needing a developer.
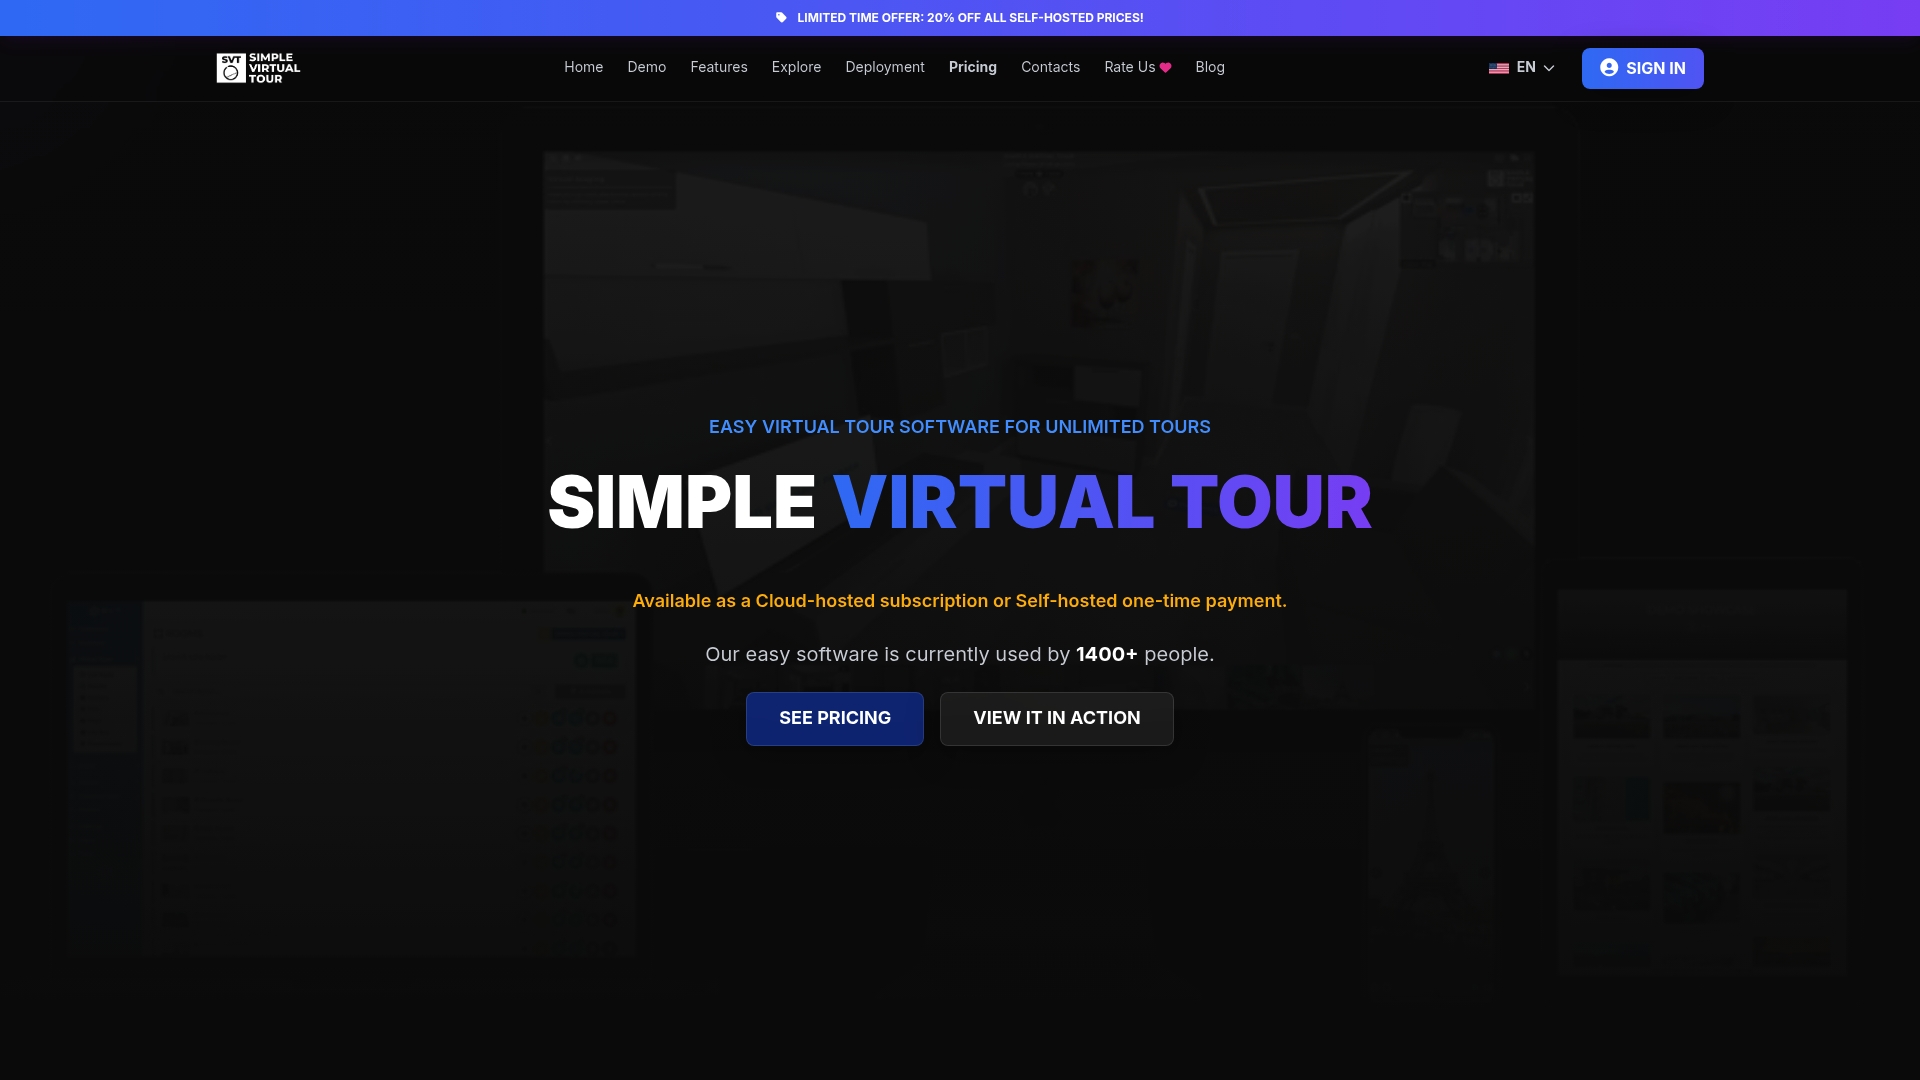
Many creators already use Simple Virtual Tour to publish professional business profiles across real estate, tourism, hospitality, and photography. Whether you need a quick cloud-hosted publish or full control over a self-hosted environment, the platform handles both. Start your free trial and have your first tour live before your next shoot day ends.
Useful sources
- Interactive Hotspots in Virtual Tours: Best Practices Guide — Covers hotspot categories, the 3-Second Rule, mobile sizing, and conditional logic for virtual tour CTAs.
- Google Business Profile 360 Photos: Build Customer Trust — Explains capture starting points and engagement benefits of adding 360° tours to GBP listings.
- Google Business Profile + Virtual Tours: The SEO Advantage Most Businesses Miss — Details Google Street View integration, local SEO signals, and no-ongoing-cost hosting via Maps.
- Transforming 360 Drone Aerials Into Interactive Real Estate Maps — Demonstrates automated cross-platform optimization and interactive map overlay techniques for aerial panoramas.
- Virtual Tour Best Practices: 10 Features That Drive Conversions — Outlines design principles and conversion-focused features for high-performing tours.
- Simple Virtual Tour — Platform overview covering deployment options, feature set, and publishing capabilities for all ten content types.