
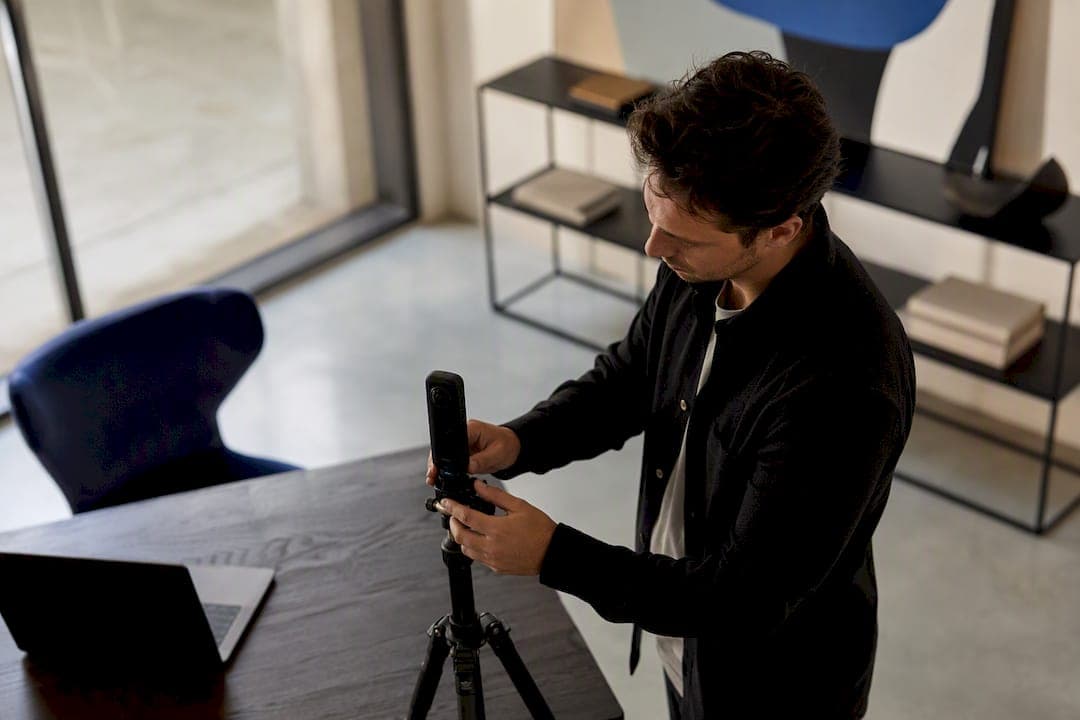
Running a virtual open house comes down to five moves: pick your format, prep the property and your tech, promote the event with a registration gate, run the session with real engagement, then capture and follow up fast. Skip any one of these and you get a lonely livestream with three viewers and zero leads.
Here's the quick version you can act on today:
- Choose your format (live stream, recorded walkthrough, or 3D tour) based on your goal
- Confirm seller permissions and schedule the date at least 7 days out
- Test your route's Wi-Fi signal and pack a mobile hotspot backup
- Build a registration landing page with 3-4 qualifying fields
- Send invites, a 24-hour reminder, and a 1-hour reminder
- Run the event with a moderator handling chat while you host
- Send personalized follow-up emails within 24 hours, scored by engagement
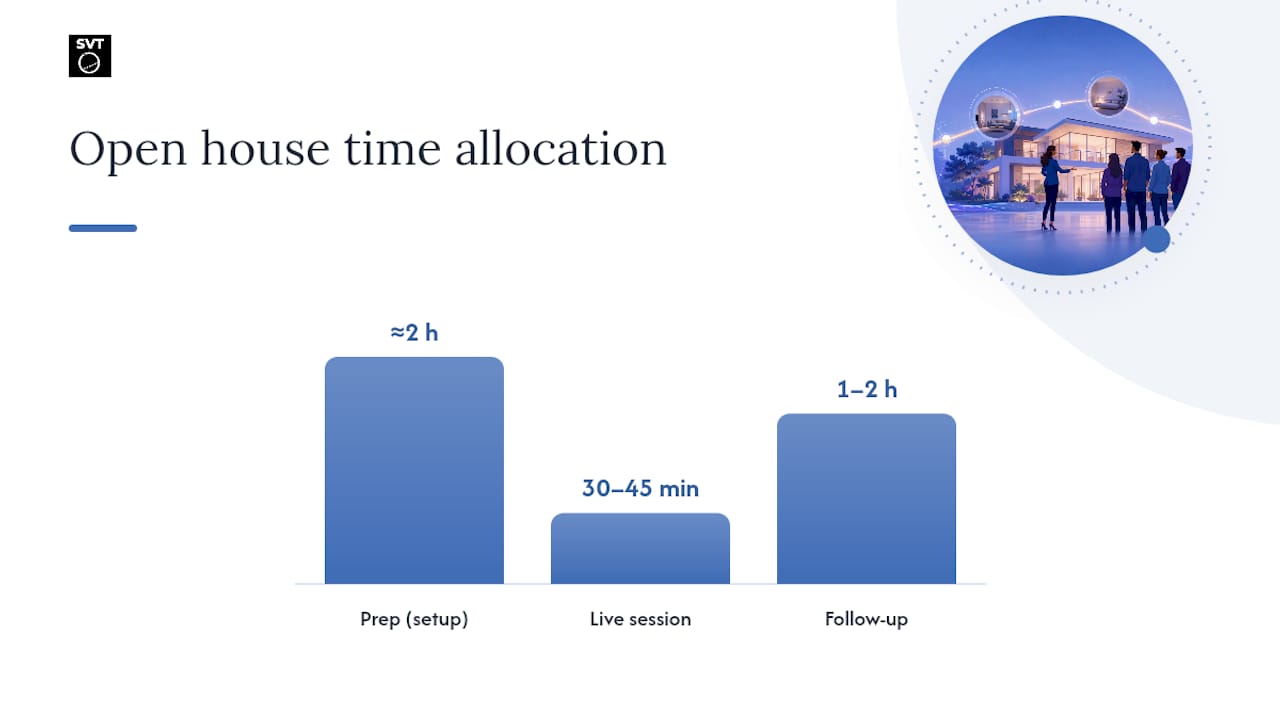
Pro Tip: Block out roughly 4-6 hours total for a single-agent event: about 2 hours of prep, 30-45 minutes to run it live, and another hour or two spread across the next two days for follow-up.
| Point | Details |
|---|---|
| Format drives outcome | Live streams build reach, 3D tours build long-term discovery, recordings build reusable assets. |
| Registration qualifies leads | Even three fields (name, email, timeline) separate browsers from buyers. |
| Rehearsal prevents failure | A full tech run-through catches most of the glitches that cost you credibility. |
| Follow-up window is short | Attendees who don't hear from you within 24 hours cool off fast. |
Key Takeaways
A virtual open house converts best when you match format to goal, rehearse your tech fully, gate registration lightly, and follow up within 24 hours.
| Point | Details |
|---|---|
| Match format to your goal | Use live for reach, webinar tools for lead capture, 3D tours for always-on discovery. |
| Rehearse the full technical flow | A complete rehearsal, including handoffs, prevents most live-event glitches. |
| Keep registration light | Three to four fields qualify leads without killing sign-up rates. |
| Follow up within 24 hours | Speed and personalization separate warm leads from cold ones. |
| Simple Virtual Tour unifies the workflow | Live sessions, 3D embeds, registration, and analytics run from one connected platform. |
Table of Contents
- What Is a Virtual Open House and Why Does It Help Your Listings?
- Choose the Right Format: Live, Recorded, or 3D Tour
- Pre-Event Checklist: Property Prep, Materials, and Timeline
- Technical Setup and Picking the Right Platform for Your Goals
- How to Run a Live Virtual Open House That Converts
- Promote the Event and Design Registration That Converts
- Follow-Up Templates, Lead Scoring, and Metrics That Matter
- How Simple Virtual Tour Simplifies Hosting and Live Sessions
- Sources
What Is a Virtual Open House and Why Does It Help Your Listings?
A virtual open house is any format that lets buyers tour a property remotely, and it comes in three flavors: a live-streamed walkthrough with real-time interaction, a prerecorded video walkthrough buyers watch on their own schedule, and a 3D interactive tour they can explore room by room, 24 hours a day. Each format solves a different problem for you as the listing agent.
The practical upside is hard to ignore. You reach out-of-town buyers and relocation clients who can't make a weekend showing. You qualify interest before burning a Saturday on an in-person open house with looky-loos. You generate video and image assets you can reuse across social media and email. And unlike a two-hour open house, a recorded or 3D version keeps working for your listing at 2 a.m. on a Tuesday.
The demand is already there. Buyers search for homes online with striking frequency, which means a listing without any on-demand digital walkthrough is invisible to a big share of your traffic during the hours you're not answering the phone.
- Extends your reach to relocation and out-of-area buyers
- Filters serious prospects from casual browsers before you spend time in person
- Produces reusable video and photo assets for marketing
- Keeps the listing accessible around the clock, not just during a two-hour window
- Cuts down on wasted showings for sellers who want fewer strangers in the house
Choose the Right Format: Live, Recorded, or 3D Tour
Your goal should decide your format, not the other way around. A live stream on social media wins on reach and lets you answer questions in real time, but it demands a hard time commitment and disappears once it ends unless you save the replay. A recorded walkthrough splits the difference: you control the edit, buyers watch on their schedule, and you can add captions and a call to action, but you lose live engagement. A 3D interactive tour never sleeps and lets buyers self-navigate at their own pace, though it usually needs specialized capture and a short production lag.
| Format | Discoverability | Lead capture | Production effort | Replay value |
|---|---|---|---|---|
| Live stream | High (social reach) | Medium (needs registration gate) | Low | Depends on saved replay |
| Recorded walkthrough | Medium | Medium to high | Medium | High |
| 3D interactive tour | High (always findable) | Medium | Higher upfront | Highest |
Pick based on your actual objective:
- Broad awareness: Live stream on a social platform where your audience already scrolls
- High-intent lead capture: A registration-gated webinar-style session where attendees trade contact info for access
- Long-term listing presence: A 3D tour embedded on the listing page that works whether or not you're online
Pre-Event Checklist: Property Prep, Materials, and Timeline
Most virtual open house failures trace back to skipped prep, not bad luck. Give yourself a full week whenever the listing timeline allows it.
7 to 3 days out: Confirm the seller's written permission to record and stream the interior, since some sellers are uneasy about video of their belongings circulating online. Finalize staging, declutter high-traffic rooms, and check that every light fixture works. Line up your talking points: square footage, recent updates, HOA details, and comparable sales.
3 days out: Walk your intended camera route and note where Wi-Fi drops. Confirm access with the seller or a lockbox code that works on event day. Print or save digital copies of disclosures in case a buyer asks about them live.
Day before, and day of: Charge every device, test your lighting at the actual time of day you'll be streaming, and do a full rehearsal, including your platform handoffs. HousingWire recommends verifying signal strength along your walking route at least 48 hours ahead and packing a mobile hotspot as a mandatory backup, not an afterthought.
| Timing | Task |
|---|---|
| 7 days out | Confirm seller permission, staging, and access |
| 3 days out | Test Wi-Fi route and prepare disclosures |
| 24 hours out | Full tech rehearsal, charge devices |
| 1 hour out | Set up camera, lighting, and backup hotspot |
| 10 minutes out | Log into platform, test mic and video feed |
Assign roles ahead of time. You host and narrate, a moderator watches chat and surfaces questions, and if you're inviting a lender or title rep to co-host, they need the walkthrough route and expected Q&A topics in advance, not five minutes before you go live. NAR's six-step framework covers this same sequence, from platform selection through engagement, and it's worth reviewing before your first event.
Pro Tip: Rehearse the actual handoff between you and your co-host on camera, not just the content. Awkward "can you hear me" moments during the live event are the fastest way to lose viewer trust.
Technical Setup and Picking the Right Platform for Your Goals
Match the platform to what you actually need, not what's trendy. HousingWire's guidance is direct on this point: use a social livestream tool when discoverability and social proof matter most, and use a conferencing or webinar platform when you need controlled registration and higher-intent lead capture. A dedicated virtual tour platform fits best when you want an always-on, embeddable asset rather than a one-time event.
Before you go live, run through this technical checklist:
- External microphone (phone audio alone sounds thin in a large room)
- Ring light or portable LED panel for consistent lighting
- Phone gimbal or stabilizer to avoid shaky footage
- Verified bandwidth on your walking route, with a hotspot backup
- Recording enabled from the start, even if you plan to edit later
Then confirm your integration points are working before showtime:
- Landing page live with a working registration form
- Registration data flowing into your CRM automatically
- Replay permissions set correctly (public, gated, or private)
Pro Tip: Test your entire setup exactly at the time of day you'll be live. Lighting and Wi-Fi congestion both shift by the hour, and a rehearsal at 10 a.m. tells you nothing about a 7 p.m. event.
How to Run a Live Virtual Open House That Converts
A tight run-of-show keeps a 30-45 minute session from wandering. Here's a workable structure:
- 0-3 minutes: Welcome viewers, introduce yourself and any co-host, and state what you'll cover
- 3-8 minutes: Set the scene: neighborhood highlights, schools, commute times, walkability
- 8-25 minutes: Guided walkthrough, room by room, narrating features as you go
- 25-32 minutes: Numbers that matter: price, taxes, HOA, recent updates, comparable sales
- 32-38 minutes: Financing and process overview, ideally with a lender co-host fielding questions
- 38-45 minutes: Live Q&A, then a direct call to action
A sample opening hook: "Welcome, I'm glad you carved out time today. In the next 40 minutes, I'll walk you through every room, answer your questions live, and if this looks like a fit, I'll tell you exactly how to book a private showing before we close out." Close each major section with a soft transition line like "Now let's head into the kitchen, which is where this home really earns its price."
- Assign a moderator to surface chat questions so you're not narrating and reading comments simultaneously
- Use a quick poll ("Are you looking to move in the next 3 months or just exploring?") to segment interest live
- Invite direct messages for anything a buyer doesn't want to ask publicly
- If your connection drops, have a backup device ready and tell viewers out loud what's happening rather than going silent
Pro Tip: Practice your CTA line until it feels natural. "DM me to book a private showing this week" said with confidence converts far better than a mumbled afterthought at the very end.
Recording Tips and Quick Edits for a Reusable Asset
Don't let your live event die after one showing. A short editing pass turns it into several assets:
- Trim dead air from the start and end
- Add auto-generated captions for viewers watching on mute
- Clean up audio spikes, especially near doors and hallways
- Add a branded intro card and a closing CTA screen
Then repurpose it deliberately:
- Cut 30-60 second clips for social media from your best walkthrough moments
- Upload the full replay to YouTube for search visibility
- Embed the replay directly on the listing page
- Attach a shortened version to your follow-up emails
Host the full replay wherever your live session tour setup already lives, and decide upfront whether the replay stays gated behind registration or goes fully public. Gating protects lead quality; going public maximizes reach.
When to Add a 3D Interactive Tour
Pro Tip: A 3D tour earns its cost fastest on high-value listings, properties with unusual layouts buyers want to measure themselves, and listings that need long-tail visibility beyond the first two weeks on market.
Capture options range widely in cost and effort:
- DIY smartphone 360° apps for a quick, low-cost pass
- Consumer-grade 360 cameras for better image quality without a huge budget jump
- Professional Matterport-style capture for the highest fidelity and dollhouse views
Budget and turnaround scale with the option: DIY capture costs you time, while professional capture usually adds a short production delay before the embedded tour is ready to publish.
Promote the Event and Design Registration That Converts
Registration should feel light, not like a mortgage application. Ask for name, email, phone, and one qualifying question like "What's your timeline to move?" Four fields is usually the ceiling before drop-off climbs.
A short social post might read: "Touring this 3-bed craftsman live this Saturday at 2 p.m., register to save your spot and get first access to the replay." A short email subject line: "Your private link to Saturday's live tour is inside."
Time your outreach around a proven cadence:
- Initial invite 5-7 days before the event
- 24-hour reminder email
- 1-hour reminder, ideally via text if you have permission
- Same-day morning message with a direct link
- Immediate post-event follow-up to everyone who registered, attended or not
Following a conversion-first approach to promotion means deciding the one action you want an attendee to take, whether that's booking a private showing or requesting financing details, and building every touchpoint toward that single outcome.
Follow-Up Templates, Lead Scoring, and Metrics That Matter
Speed wins here. Send attendees a personalized note within 24 hours: "Thanks for joining today's tour, here's the full replay plus the disclosure packet you asked about." For registrants who missed it: "Sorry we missed you live, here's the replay and a link to book a private showing this week." For hot leads who asked detailed financing questions, loop in your lender contact directly and follow up same day.
Score leads with simple, observable signals:
- Asked a financing or timeline question during the session
- Stayed on the call more than 30 minutes
- Requested a private showing or floor plan afterward
Track a small set of numbers instead of drowning in vanity metrics:
- Registration to attendance rate
- Engagement rate (questions asked, poll responses, chat activity)
- Conversion to booked showings
- Replay views in the two weeks after the event
Research-Backed Tip: Co-Hosting Boosts Retention
Agents who bring on a lender or title rep as co-host, paired with a moderator handling chat, see measurably higher engagement and viewer retention than solo-hosted sessions. One practical setup: your lender partner joins at the financing segment to field pre-approval questions live, freeing you to keep narrating the property. A mortgage video messaging approach from your lender partner beforehand can prime attendees with financing basics before they even join.
- Confirm who speaks when, brief the co-host on the walkthrough route in advance
- Bring the co-host on screen only during the financing or Q&A segment
- Share your talking points and likely buyer questions 24 hours ahead
Pro Tip: Send your co-host the exact minute-by-minute run-of-show, not just a general heads-up. Precision here is what makes the handoff look effortless on camera.
An Agent's Take on Making This a Repeatable Habit
The first virtual open house I ran nearly stalled out at minute ten when the seller's Wi-Fi choked in the primary bedroom. A backup hotspot saved it, and every event since has started with a signal check I used to skip. Reviewing analytics after a few sessions showed viewers dropped off right after the numbers segment, so I moved Q&A earlier and retention improved noticeably.

How Simple Virtual Tour Simplifies Hosting and Live Sessions
Every step in this guide, from live hosting to registration to replay analytics, is easier when your tools live in one place instead of four disconnected apps. Simple Virtual Tour combines live session hosting, embeddable 3D tours, registration capture, and built-in analytics, so you're not stitching together a webinar tool, a separate tour host, and a spreadsheet for lead tracking.
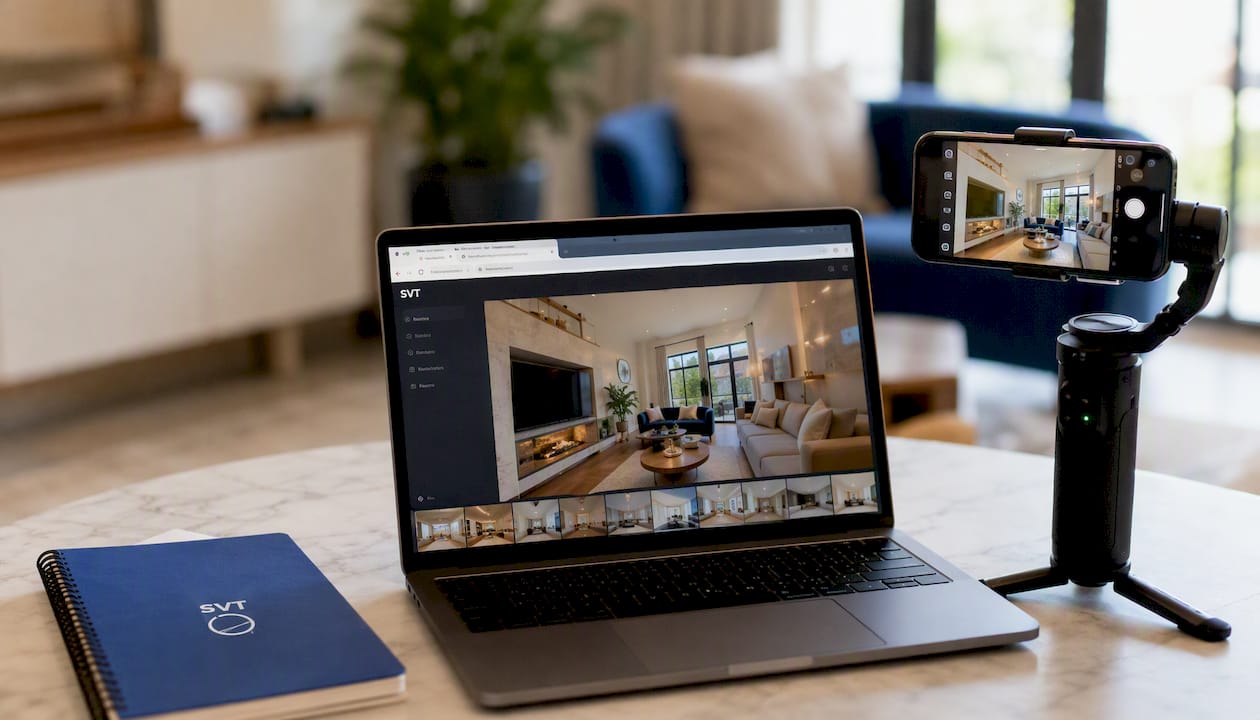
That consolidation saves you real setup time on every listing, whether you're running a quick live walkthrough this weekend or building an always-on 3D tour for a listing that needs long-tail visibility. The platform's dual deployment model also means you can choose cloud hosting for convenience or a self-hosted option if you want more control over your data and ongoing costs. If you've been assembling your virtual open house workflow from separate tools, it's worth exploring Simple Virtual Tour for your next listing.
Sources
- 6 Steps to Running a Virtual Open House
- Virtual open house — HousingWire
- Frequency of online website for home searching in the U.S. (Statista)
Templates and checklists appear throughout these guides, particularly in the NAR and Placester playbooks.