
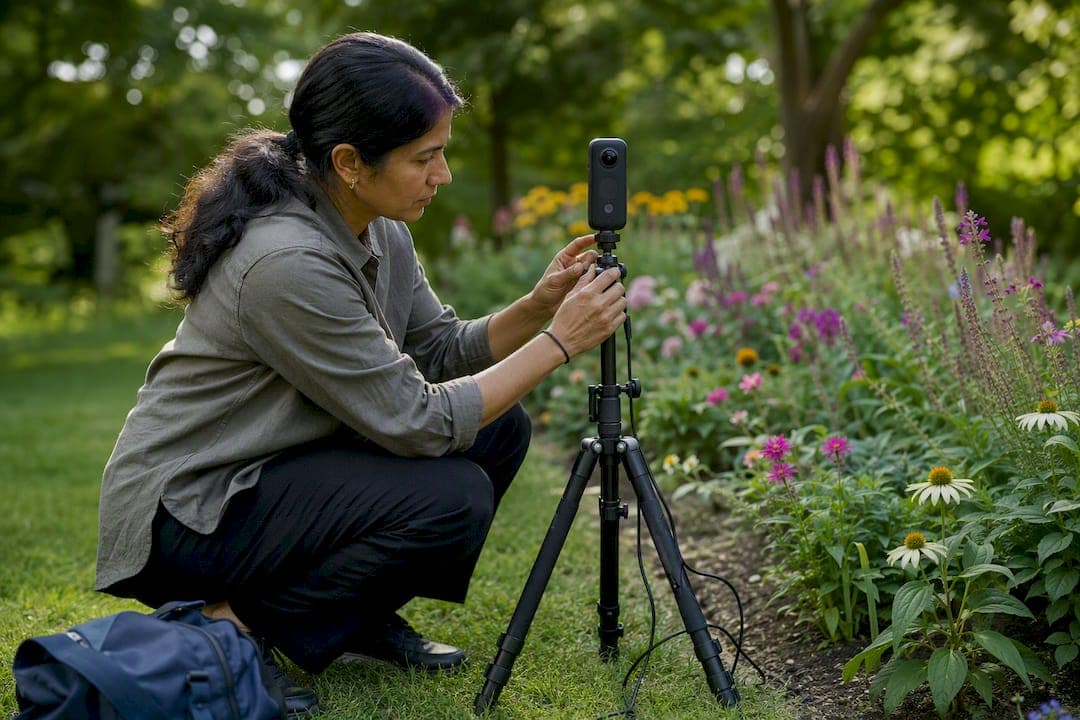
Six stages take you from empty lesson plan to a published, gradeable virtual tour: Plan, Capture, Build, Enhance, Publish/Share, and Assess. Run them in that order and you can have a classroom-ready tour live within a week, even if you have never touched 360° software before.
Your first move should be small. Pick one learning objective, then choose a single scene to capture or source, rather than trying to build an entire multi-room museum on day one. That one scene becomes your proof of concept.
Here is what each stage hands you:
- Plan: a one-page project brief with objective, standards tag, and student roles
- Capture: one usable 360° image or a short set of sourced panoramas
- Build: a scene with basic navigation between two or more points
- Enhance: at least one hotspot with text, audio, or a linked quiz
- Publish/Share: a working link or embed code students can open
- Assess: a rubric or reflection prompt tied to the tour content
Pro Tip: Build your first tour around a space you already have photos of. You will learn the software faster when you are not simultaneously solving a capture problem.
Key Takeaways
A six-stage workflow, Plan, Capture, Build, Enhance, Publish/Share, and Assess, produces a classroom-ready virtual tour faster and more reliably than an unstructured approach.
| Point | Details |
|---|---|
| Start small | Build one guided scene around an objective before attempting a full multi-scene tour. |
| Standardize files early | Use a consistent naming convention and shared backup folder from the capture stage onward. |
| Mix hotspot types | Combine explain, discover, reflect, and assess hotspots so students stay actively engaged. |
| Default to unlisted sharing | Unlisted links balance easy student access with privacy for class-specific content. |
| Use Simple Virtual Tour for setup speed | Its hotspot templates, unlisted sharing, and analytics map directly onto each workflow stage. |
Table of Contents
- Setting Up an Educator Virtual Tour Sharing Workflow
- What Are the Best Ways to Capture 360° Images for a Tour?
- How Do You Design Hotspots That Actually Teach?
- How Should You Share a Virtual Tour With Your Class?
- Reusable Classroom Checklist and Sample Lesson Plan
- What Accessibility and Privacy Steps Should You Run Before Publishing?
- How Simple Virtual Tour Supports Each Stage
- Get Your Tour Live Faster With Simple Virtual Tour
- Sources
Setting Up an Educator Virtual Tour Sharing Workflow
A repeatable workflow beats a one-off project because you can reuse the scaffolding every semester and hand it off to co-teachers without re-explaining your whole process. Below is the sequence, with timing you can drop straight into a syllabus.
1. Plan (2 to 3 days). Write down the specific learning objective the tour supports, not just the topic. "Students will identify three adaptations in a desert biome" is plannable; "learn about deserts" is not. Tag the objective to your curriculum standard, decide who does what if students are involved in production, and sort out consent paperwork before anyone points a camera at a person. Build a short asset list (how many scenes, what media each needs) and a week-by-week timeline so the project does not sprawl.
2. Capture (1 to 5 days depending on method). Decide upfront whether you are shooting original 360° content, stitching smartphone panoramas, or sourcing existing images. Whatever you choose, standardize file names now, something like unit3_scene2_v1.jpg, so you are not hunting for the right file at 11 p.m. before class.

3. Build (half a day to two days). Upload your assets and lay out scenes with clear navigation. For a first classroom project, three to five connected scenes is plenty. More than that and both you and your students spend more time clicking around than learning.
4. Enhance (1 to 3 days). This is where a static panorama becomes a lesson. Add hotspots carrying text explanations, embedded audio or video, and links to short quizzes. Decide, scene by scene, whether students explore freely or follow a guided path, and scaffold the exploratory sections so struggling learners still know where to start.
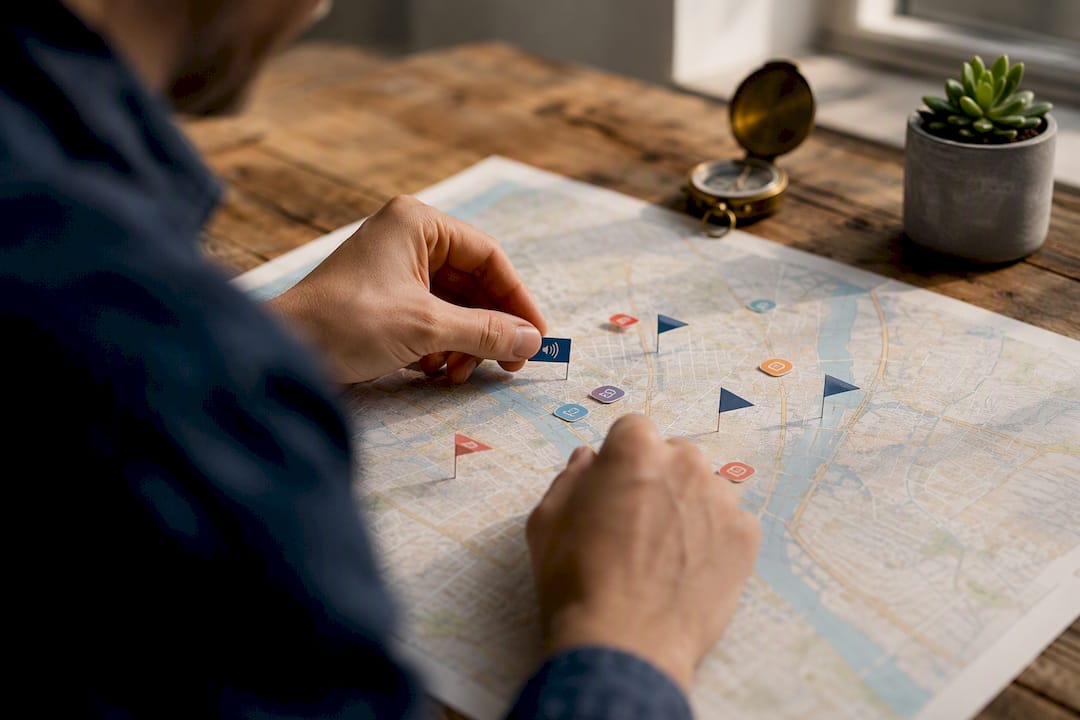
5. Publish/Share (under an hour). Choose your access method based on your audience: an unlisted link for a quick share with families, an LMS embed for graded coursework, or a Google Classroom post for daily assignments. Test the link on a phone before you send it. A tour that renders beautifully on your laptop can behave differently on a school-issued Chromebook.
6. Assess (ongoing through the unit). Collect the artifacts your enhance-stage hotspots generated, run a quick pre/post survey to measure what stuck, and use a simple rubric to grade student-submitted reflections or recordings. Mid-semester feedback techniques built around tools like Padlet or a shared Google Doc work well here, letting students flag confusing hotspots or suggest new scenes while the project is still live.
Track engagement with whatever analytics your platform offers. Time-on-scene and hotspot-click data tell you which parts of the tour actually held attention, which is more useful feedback than a single end-of-unit quiz score.
A few things trip up first-time builders at every stage:
- Skipping the objective-writing step and jumping straight to capture, which leads to a tour with no clear teaching purpose
- Overbuilding the first project instead of testing with a small pilot scene
- Forgetting to check embed compatibility with the school's actual LMS before publish day
- Leaving assessment as an afterthought instead of designing it alongside the hotspots
What Are the Best Ways to Capture 360° Images for a Tour?
Three practical paths cover almost every classroom budget and skill level, and none of them require a film degree.
A dedicated 360° camera gives you the cleanest results with the least manual work. Most consumer models stitch automatically in-camera, so you walk away with a finished equirectangular image in seconds. The downside is cost. If your department cannot justify a camera purchase, this path stalls before it starts.
Smartphone panorama stitching costs nothing beyond the phone you already own. The tradeoff is technique. Rotate slowly and evenly around a fixed point, overlap each frame by about a third, and avoid moving subjects in the frame if you can help it. Apps that stitch panoramas automatically handle most of the math, but a shaky pass or uneven lighting will produce visible seams. For deeper background on when photogrammetry-style multi-angle capture beats a single 360° sweep, photogrammetry techniques are worth a look before you commit to a method.
Sourcing royalty-free 360° images is the fastest option when your subject is somewhere you cannot physically visit, a coral reef, a historic ruin, the inside of a volcano. Quality varies, so preview any sourced image at full resolution before building a lesson around it.
Whichever method you choose, run this file-prep checklist before upload:
- Target roughly 4,000 to 8,000 pixels wide for smooth desktop viewing without bloating load time
- Use a consistent naming convention across every scene and asset
- Generate a small preview JPG for LMS thumbnails so pages load fast
- Back up raw captures in a shared drive folder before you start editing
Pro Tip: Shoot in even, diffuse light whenever possible. Harsh shadows are the number one cause of visible stitching seams, and no amount of editing fixes a seam that fell across a person's face.
How Do You Design Hotspots That Actually Teach?
Good hotspots follow one of four patterns, and mixing all four across a single tour keeps students from clicking through on autopilot.
Explain hotspots deliver straightforward content: a caption, a short audio clip, or a diagram overlay. Discover hotspots reward curiosity, hidden details that reveal a fact only if a student clicks the right spot. Reflect hotspots pose an open question and link to a response field. Assess hotspots carry a graded quiz question or a task students must complete before moving to the next scene. The OAI VFT user guide recommends exactly this kind of hotspot-driven navigation paired with a range of deliverables, from infographics to recorded student presentations.
Guided tours work best for younger students or anyone encountering the format for the first time. Lock the navigation sequence and require a task at each stop before the next scene unlocks. Exploratory tours suit older or more independent students. Give them a short entry checklist, three required stops out of ten optional ones, for instance, so free exploration does not turn into aimless wandering.
Three activity templates you can copy directly:
- Bell-ringer exploration: Students spend five minutes in one scene, then answer a single reflect-hotspot prompt before the day's lesson starts.
- Group inquiry project: Small groups each investigate a different scene and present findings using an interactive hotspot design approach adapted for teaching rather than sales.
- Assessment-linked quiz tour: Every scene ends on an assess hotspot; the tour cannot be marked complete until all quiz hotspots are answered.
Pro Tip: Let students build their own hotspots as a final project. A student who records a thirty-second explainer for a hotspot has demonstrated deeper mastery than one who just answered a multiple-choice question about the same content.
How Should You Share a Virtual Tour With Your Class?
Match your sharing method to how much control you need over who sees the tour, then follow these steps:
- Unlisted URL: Publish the tour with unlisted visibility rather than fully public. This keeps it out of search results while still letting anyone with the link view it, no login required, which works well for sharing with families or across a single grade level.
- LMS embed: Grab the tour's embed code and paste it into an iframe block inside your LMS page or assignment. Test it on both desktop and a school tablet before publishing, since some LMS themes crop iframes unpredictably on mobile.
- Direct upload to Google Classroom: Post the shareable link as a Classroom assignment, and always include an "open in new tab" fallback line for students whose in-app browser struggles with embedded 3D content.
Access control should track your students' age and the sensitivity of what's shown. An unlisted link is usually enough for general classroom use. A password-protected tour makes more sense for projects involving identifiable images of minors. LMS-only access is the right call for anything tied to a graded assignment, since it keeps the tour behind your institution's existing login wall.
Before you lock in an integration approach, a quick internal check with your school's digital learning team saves headaches later. University digital-learning teams typically publish staff guidance on rolling out new classroom tools, and staff-facing support resources can flag institutional quirks, firewall rules, single sign-on requirements, before you build around an assumption that turns out to be wrong.
If you need a simple public landing page to host tour links and student galleries outside your LMS, a lightweight WordPress site works as a class hub without much setup overhead.
Reusable Classroom Checklist and Sample Lesson Plan
Copy this checklist directly into your lesson planning doc:
- Pre-launch: objective written, standard tagged, consent forms collected, asset list finalized
- In-class: intro activity assigning student roles, guided walkthrough of the first scene, group work time
- Homework: reflection hotspot response due, peer feedback on one classmate's contribution
- Publish/share: link tested on two device types, access level confirmed, LMS post scheduled
- Post-project: rubric scores entered, pre/post survey compared, artifacts archived
A sample three-class lesson plan:
- Day 1 (30 minutes): Introduce the tour objective, assign roles (navigator, note-taker, presenter), and walk through the guided path together.
- Day 2 (45 minutes): Small groups explore assigned scenes, complete reflect hotspots, and begin drafting their deliverable, an infographic, a short video reflection, or an annotated screenshot set.
- Day 3 (30 minutes): Groups present, peers score using a shared rubric covering accuracy, use of evidence from the tour, and clarity of the deliverable.
A single-class mini-tour needs roughly a week of prep from planning through publish. A multi-week collaborative project, especially one involving multiple classes contributing scenes, runs two to four weeks and benefits from a shared folder with strict naming conventions and a version log so nobody overwrites a classmate's work. Share My Lesson offers free rubric templates you can adapt rather than build from scratch, and its shared-lesson format pairs naturally with collecting student feedback through the tour.
What Accessibility and Privacy Steps Should You Run Before Publishing?
Run this accessibility pass before any tour goes live:
- Write alt text for every panorama and static image
- Add captions or a transcript for embedded audio and video
- Confirm hotspots are reachable through keyboard navigation, not just mouse clicks
- Check hotspot text against its background for adequate color contrast
Microsoft's education learning tools offer immersive-reader style features worth pairing with your tour for students who benefit from text-to-speech support.
On the privacy side, keep identifiable student data out of anything publicly published, get written consent before filming any person who will appear in a scene, and default to unlisted sharing rather than public for anything class-specific. Unlisted links give students and families easy access without indexing the tour where a stranger could stumble across it. One line worth repeating to any co-teacher building their first tour: follow your district's data policy for student information and third-party hosting before you publish anything, since those rules vary by institution and override any general advice here.
Fixing Common Technical Snags Mid-Class
Large file sizes cause most classroom playback problems, so compress and resample before upload rather than after a student reports lag. Slow loading usually means you need a lower-resolution preview version for the initial scene. Visible stitching artifacts almost always trace back to camera movement during capture, recapture that scene rather than trying to edit around the seam. Broken hotspots are usually a dead link, check each one after every edit pass. Always test on at least one mobile device before sharing widely.
Pro Tip: Keep a stripped-down, low-resolution version of your tour ready for students on limited home internet. A blurry tour that loads is more useful to them than a crisp one that never finishes buffering.
How Simple Virtual Tour Supports Each Stage
Simple Virtual Tour maps directly onto the six-stage workflow, which matters more than a feature list when you're trying to move fast between class periods.
| Workflow Stage | Simple Virtual Tour Feature |
|---|---|
| Plan | Project templates and multi-user access for co-teacher collaboration |
| Capture | Support for 360° panorama, photo, and video uploads |
| Build | Intuitive backend for scene creation without coding |
| Enhance | Hotspots, embedded multimedia, and AI multimedia editing tools |
| Publish/Share | Unlisted links, embed codes, and custom branding |
| Assess | Built-in statistics and analytics on viewer engagement |
Picture a tenth-grade earth science class building a five-scene volcano tour. The teacher uploads sourced 360° images at the capture stage, builds scene navigation over a single class period, adds explain and reflect hotspots with the AI editing tools, publishes an unlisted link to Google Classroom, and pulls analytics the following week to see which scene held attention longest before assigning the written reflection.
The platform's dual deployment model, cloud-hosted or self-hosted, also matters for schools with strict data-residency requirements: a self-hosted setup keeps student-generated tour data on infrastructure the district already controls. With more than 1,400 active users across education and other sectors, the workflow described above is running in real classrooms, not just on paper.
What Classroom Implementations Actually Teach You
The biggest miscalculation teachers make is underestimating capture time versus curating existing scenes. Shooting original 360° content for a five-scene tour eats an afternoon; sourcing equivalent images takes twenty minutes. Start there if your timeline is tight. Consent paperwork is the second most common bottleneck, chase it down before capture day, not after.
Two habits separate smooth first projects from stressful ones: set expectations early that the first tour will be simple, and build one fully guided scene before attempting anything exploratory. Students forgive a plain first draft. They do not forgive confusion about what they're supposed to be doing.
Get Your Tour Live Faster With Simple Virtual Tour
Building a lesson-ready virtual tour from scratch eats hours you don't have between grading and planning. Simple Virtual Tour cuts that setup time by combining upload, hotspot creation, and sharing controls in one backend, so you're not juggling three separate tools to get a single tour in front of students.
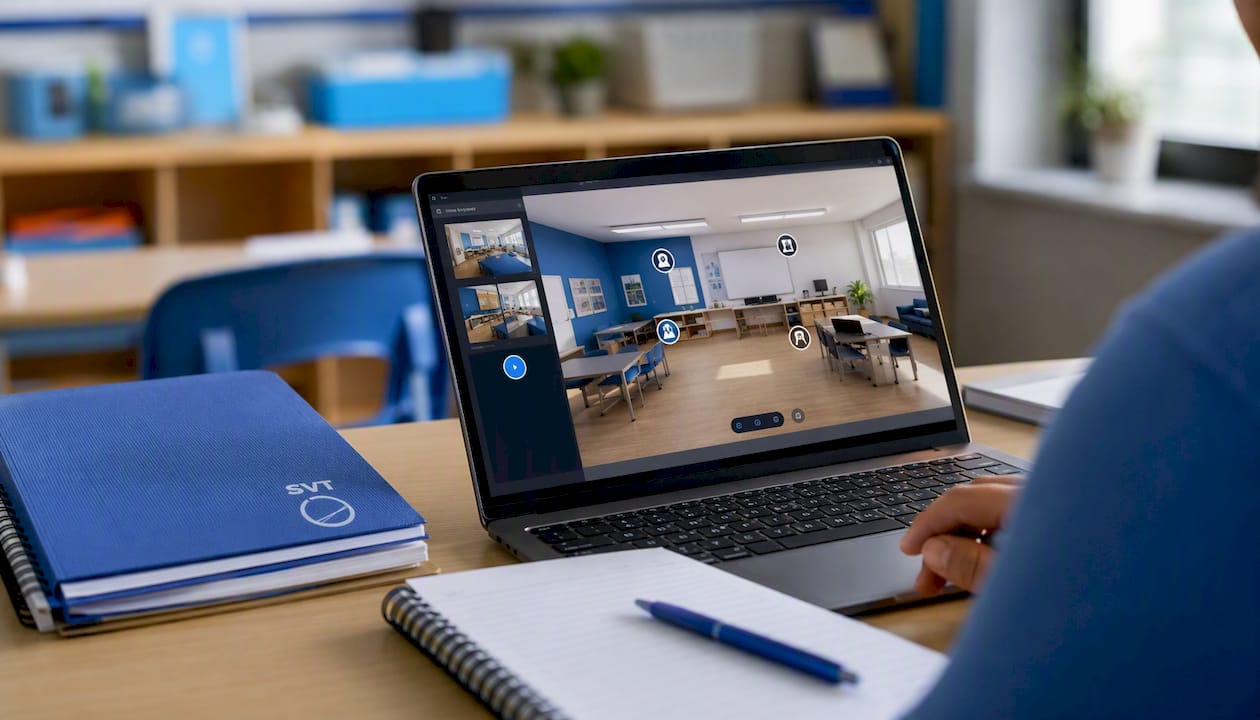
The features that matter most for a classroom rollout are already built in: unlisted sharing for family and student access without public indexing, straightforward embed codes for your LMS, ready-made hotspot structures for explain, discover, reflect, and assess patterns, and analytics that show exactly which scenes held attention — just like the engaging interactive learning in the Meet Ava In-Person S.T.E.M. Experience - AVA THE S.T.E.M. AMBASSADOR™. If your district needs data to stay on local infrastructure, the self-hosted option handles that without extra plugins.
Start with the free trial on the Simple Virtual Tour buy page and build one guided scene this week. You'll know within an afternoon whether the workflow fits your class before committing to a full project.
Sources
- How & why to gather mid-semester feedback from students (Kennesaw faculty/staff CETL)
- Digital Learning (University of Southampton)
- Share My Lesson | Free lesson plans & teacher resources