

For most interactive 360° tours, host on an HTTPS-enabled static site behind a CDN. Reach for a VPS or self-hosted server only when you need server-side features, live guided sessions, or e-commerce checkout embedded directly in the tour. That single decision drives almost everything else in your budget, timeline, and maintenance load.
Before you publish anything, run through this checklist. Skip an item here and you will likely see it come back as a support ticket, a rejected MLS submission, or a tour that stalls on a customer's phone.
- HTTPS is non-negotiable. Most portals and embedded viewers block or refuse to render content served over plain HTTP, since Google's Street View guidance treats secure delivery as a baseline requirement, not an option.
- Correct MIME types. Your server needs to declare
.jpg,.webp,.mp4, and.jsfiles with accurateContent-Typeheaders, or browsers may refuse to render tiles and scripts correctly. - Cache-Control headers tuned for static assets. Tiles and panoramas rarely change once published, so long cache lifetimes cut repeat load times dramatically.
- CORS configured for iframe and cross-domain embeds. If your tour lives on one domain and gets embedded on a client's listing page, missing CORS headers will silently break the experience.
- Responsive delivery for mobile. More than half of tour views happen on phones, so your server needs to serve appropriately sized assets rather than forcing a 20MB desktop panorama onto a cellular connection.
- Basic accessibility support. Alt text on hotspots and keyboard navigation aren't just nice extras. Portals and search engines increasingly expect them.
Pro Tip: Test your largest panorama on a mid-range phone with network throttling set to "Slow 3G" in Chrome DevTools before you ever touch a launch button. If it loads in under six seconds there, it will perform well almost everywhere.
Key Takeaways
Most interactive virtual tours succeed on HTTPS-enabled cloud or CDN-backed static hosting, and only live sessions or server-side features justify the added cost and complexity of a VPS.
| Point | Details |
|---|---|
| Default to static hosting | Cloud/CDN-backed static hosting covers HTTPS, correct MIME types, and caching without server management overhead. |
| Reserve VPS for live features | Move to self-hosted infrastructure only when you need live sessions, e-commerce, or multi-user backends. |
| Meet portal rules before submitting | MLS-style portals reject branding, contact info, and outbound links, so stage an unbranded version for review. |
| Optimize images before launch | Tile panoramas into multiple resolutions and test on a throttled mobile connection to avoid abandonment. |
| Simple Virtual Tour covers both paths | Simple Virtual Tour supports cloud and self-hosted deployment from one platform, including live sessions and API access. |
Validate every technical requirement on a staging environment, and re-check each portal's current documentation, before you push any tour live.
Table of Contents
- What Are the Main Virtual Tour Hosting Requirements?
- What Server Setup Do Static Virtual Tours Need?
- What VPS Specs Do You Need for Hosting Virtual Tours?
- How Do Video and Live Sessions Change Hosting Needs?
- Which File Formats Work Best for Virtual Tours?
- How Should You Embed Tours and Track Their Performance?
- What Do Google Street View and MLS Portals Require?
- How Long Does It Take and What Does Hosting Cost?
- What Should You Check Before Publishing a Tour?
- A Publisher's View on Choosing the Right Hosting Setup
- Simple Virtual Tour Handles Both Sides of This Decision for You
- Where to Verify These Technical Standards
- Sources
What Are the Main Virtual Tour Hosting Requirements?
The requirements for virtual tours boil down to three categories: cloud/CDN-backed static hosting, self-hosted VPS infrastructure, and free static hosts. Each solves a different problem, and picking the wrong one is the single most common mistake we see among photographers and small agencies building their first tour library.
Cloud/CDN-backed static hosting works for the overwhelming majority of interactive tours. You export your tour as HTML, CSS, and JavaScript, upload it to an object-storage bucket or a static-hosting platform, and a content delivery network caches it at edge locations close to your viewers. There's no server to patch, no uptime to babysit, and cost scales directly with bandwidth used.
Self-hosted or VPS hosting puts you in control of a virtual private server, which matters once your tour needs server-side logic: live guided sessions, real-time e-commerce checkout, multi-user backend management, or custom API integrations. You manage the operating system, the web server software, security patches, and backups yourself, or through a managed hosting add-on.
Free static hosts (the kind bundled with basic web builders or free-tier cloud platforms) can work for a hobbyist portfolio piece or a single test tour. They typically cap bandwidth, storage, or custom domain support, and rarely offer the header-level control that professional portal integrations require.
| Hosting Approach | Control Level | Typical Cost | Best For |
|---|---|---|---|
| Cloud/CDN static hosting | Moderate (config, not hardware) | Low, usage-based | Single listings, agency portfolios, photographer galleries |
| Self-hosted VPS | Full (OS, server, security) | Fixed monthly or annual, plus admin time | Live sessions, e-commerce, multi-user SaaS backends |
| Free static host | Minimal | Free tier, with feature caps | Test tours, personal portfolios, one-off demos |
A single real estate listing tour rarely needs more than cloud/CDN hosting. An agency running hundreds of tours across multiple agents, with white-label branding and centralized analytics, usually benefits from a VPS where they control the entire stack. A museum running live guided walkthroughs for remote visitors needs the server-side capability that only self-hosting or a specialized live-session platform provides.
What Server Setup Do Static Virtual Tours Need?
A static virtual tour needs almost nothing beyond a web server that can serve files correctly and securely. That simplicity is exactly why static hosting works so well for most tours: there's no database, no application server, and no runtime to maintain.
Here's what your hosting environment must handle:
- TLS/HTTPS certificates, ideally auto-renewing through Let's Encrypt or your host's built-in certificate management.
- Correct Content-Type headers for equirectangular JPGs, WebP tiles, MP4 video, and JavaScript bundles.
- Gzip or Brotli compression enabled at the server level to shrink JavaScript and CSS payloads before they hit the wire.
- Cache-Control rules that treat tiles and panoramas as immutable, long-lived assets while keeping your main HTML entry point revalidated more frequently.
- CORS policy that explicitly allows the domains where your tour will be embedded, rather than a wide-open wildcard that creates security gaps.
If you're running your own Nginx instance rather than a managed static host, your configuration for tile assets might look like this:
location ~* \.(jpg|webp|png)$ {
    add_header Cache-Control "public, max-age=31536000, immutable";
    add_header Access-Control-Allow-Origin "https://yourclientdomain.com";
}

location ~* \.(js|css)$ {
    gzip_static on;
    add_header Cache-Control "public, max-age=86400";
}
For large tile sets and multiresolution imagery, object storage platforms with S3-compatible APIs behave predictably: they scale storage automatically, charge per gigabyte stored plus egress bandwidth, and integrate cleanly with CDN layers. The main thing to verify before committing is whether your provider lets you set custom Cache-Control headers per object, since some budget storage tiers restrict this.

Pro Tip: Set immutable, year-long cache headers on every tile and panorama file, then use a versioned filename (like panorama-v2.jpg instead of overwriting panorama.jpg) whenever you publish an update. This "cache-busting" pattern gives you both speed and control, without the headache of manually purging CDN caches.
What VPS Specs Do You Need for Hosting Virtual Tours?
Sizing a server for virtual tour hosting depends almost entirely on whether you're serving static files or running live, interactive features. Here are three baseline profiles that cover most real-world scenarios:

These numbers assume you're not putting a CDN in front of your origin server. Once you add a CDN, your origin bandwidth needs drop sharply because the edge network absorbs the vast majority of repeat requests, and your server mostly handles cache misses and dynamic API calls. That shift is usually the single biggest lever for controlling your hosting bill as tour traffic grows.
When it's time to scale beyond a single VPS, you have two paths. Vertical scaling means upgrading your existing server's CPU, RAM, or storage, which is simpler but has a ceiling. Horizontal scaling means adding more servers behind a load balancer, which handles growth better but adds operational complexity. Most photographers and small agencies never need horizontal scaling; it's the domain of platforms serving thousands of concurrent live sessions.
Before you consider your setup production-ready, run a basic load test and watch these metrics:
- Time to First Byte (TTFB), ideally under 200 milliseconds for a well-configured static host.
- Time to Interactive, the point where a viewer can actually click a hotspot or navigate the panorama.
- Concurrent stream capacity, especially critical if you're planning live sessions rather than pure static delivery.
- Error rate under load, since a spike in 502 or 504 errors usually signals your server or CDN configuration needs adjustment before real traffic arrives.
How Do Video and Live Sessions Change Hosting Needs?
Adding video or live interactive sessions shifts your hosting requirements from "serve static files fast" to "manage real-time data streams reliably," and that's a fundamentally different engineering problem. On-demand video, where a viewer clicks play on a recorded walkthrough, works fine with the same CDN-plus-origin pattern you use for static tiles. Live panoramic sessions, where a host guides remote viewers in real time, require a media server or WebRTC relay handling live ingest, plus the CDN distributing that stream outward to viewers.
Bandwidth math changes quickly once you add live viewers. A single attendee watching a 1080p live stream at a moderate bitrate consumes roughly 3 to 5 Mbps. Scale that to 10 simultaneous viewers and you're looking at 30 to 50 Mbps sustained, and at 100 viewers you're well into the 300 to 500 Mbps range, unless your media server offloads distribution to a CDN rather than serving every viewer directly from the origin.
Standards to know: Google's Street View technical specifications require 360 video uploads to meet at least 4K resolution at a minimum of 5 frames per second, alongside accurate telemetry metadata. For live sessions specifically, ITU-T Recommendation F.740.8 recommends live panoramic video playback run no lower than 30 frames per second, with application-layer quality-of-service policies in place to recover from jitter and packet loss.
That ITU recommendation also outlines the broader architecture for live panoramic video and AR-enabled tour systems, covering publisher and audience roles, device compatibility, and how to manage AR overlays without overwhelming the viewer's connection. If you're planning a live-hosted venue tour, treat latency and dropped frames as operational metrics you monitor continuously, not problems you fix after a customer complains. Recording live sessions for later playback also adds storage costs that static tours never face, since a single hour of archived 4K footage can run into several gigabytes.
Which File Formats Work Best for Virtual Tours?
Format choice determines how fast your tour loads and how good it looks, and getting this wrong is the most common reason tours feel sluggish. Equirectangular JPG remains the most widely compatible format for 360° panoramas, but WebP delivers comparable quality at meaningfully smaller file sizes, and most modern browsers support it without a fallback needed. For video, H.264 offers universal compatibility while H.265 (HEVC) cuts file size further at the cost of slightly higher decoding demand on older devices.
Multiresolution tiling is where most of your performance budget actually gets spent. Rather than loading one enormous panorama, you break each scene into tiles at multiple zoom levels, so a viewer only downloads the resolution their current view actually needs. A reasonable image size budget for a typical property tour looks like this: base-level tiles under 50KB each, mid-resolution tiles around 100 to 150KB, and full-resolution tiles reserved for close zoom, capped around 300KB. Stack a dozen scenes with these budgets and your total tour payload stays manageable even on a mobile connection.
- Precompute multiple resolution tiers during your build process rather than generating them on demand.
- Use CDN edge transforms where available, letting the network convert images to WebP or AVIF on the fly based on the requesting browser.
- Apply lazy loading so scenes the viewer hasn't reached yet don't consume bandwidth upfront.
- Compress audio tracks in guided tours separately from video, since audio rarely needs high bitrates.
Practitioner data on Street View image quality confirms what most working photographers already suspect: unoptimized, multi-gigabyte equirectangular files dramatically increase visitor abandonment, while proper tiling and multiresolution presets noticeably improve perceived load speed. If you're building your capture-to-publish pipeline from scratch, our guide on online photogrammetry workflows walks through preparing source imagery before it ever reaches your hosting layer.
Pro Tip: Bake tiling into your build pipeline instead of doing it manually per project. A one-time investment in automated tile generation saves hours on every tour you publish afterward, and it eliminates the human error of forgetting a resolution tier.
How Should You Embed Tours and Track Their Performance?
Embedding a tour on your own domain versus a client's website changes your CORS, referrer, and analytics setup in ways that catch a lot of developers off guard. An iframe embed is simpler to deploy and isolates your tour's code from the host page, but it complicates responsive sizing and can strip referrer information depending on browser privacy settings. Direct hosting on your own domain, with the client linking to it, preserves more analytics fidelity and gives you full control over HTTPS and caching, but requires more careful domain and DNS coordination.
Whichever route you choose, a short integration checklist keeps you from missing something that breaks later:
- Confirm SSL is valid on both the hosting domain and any domain embedding it via iframe.
- Set a canonical URL for the tour so search engines don't treat embedded copies as duplicate content.
- Include the tour URL in your sitemap if you want it indexed independently.
- Add structured data markup identifying the page as containing a virtual tour, which helps search engines display it appropriately in results.
- Verify CORS headers explicitly allow the embedding domain rather than relying on a wildcard.
Analytics events are where most tours leave value on the table. Instrumenting tour start, scene changes, hotspot clicks, and total session duration gives you data that maps directly to business outcomes: which rooms get the most attention, where viewers drop off, and whether a hotspot linking to pricing actually gets clicked. Our pro guide to hotspot creation covers how to structure hotspot metadata so these events are easy to capture and report on.
Accessibility metadata, meaning alt descriptions on hotspots and full keyboard navigation support, isn't just a compliance checkbox. Search engines increasingly factor accessibility signals into how they rank and display content, so the same alt text that helps a screen reader user navigate your tour also feeds directly into your SEO performance. For deeper guidance on domain-level integration, our embedded property tour guide covers HTTPS and canonical URL setup in more detail.
What Do Google Street View and MLS Portals Require?
Portal requirements are where technically sound hosting meets rigid, non-negotiable policy rules, and missing one detail here can get your entire tour rejected on submission. Google's Street View-ready specifications set a clear technical bar: 360 video must be captured at a minimum of 4K resolution and at least 5 frames per second, with a full 360-degree horizontal field of view and accurate telemetry metadata (GPS coordinates, capture timestamp, and device make and model) attached to every upload.
Portal policy note: MLS-style listing portals commonly prohibit visible branding, promotional links, contact information, and QR codes anywhere on the tour landing page. Some systems will reject a submission outright if it detects live outbound links to a third-party platform.
Preparing for portal review means treating metadata as seriously as image quality. Before you submit anything, verify capture timestamps are accurate, device information is correctly tagged, and GPS data aligns with the actual property location, since mismatched metadata is one of the more common reasons Street View submissions bounce back for revision.
The practical takeaway for anyone publishing to MLS or similar systems: stage an unbranded version of your tour specifically for portal submission. This is separate from the branded version you might use on your own marketing site. That single step avoids the most common rejection reason we see, and it takes a fraction of the time that resubmitting a rejected tour does. Always check the specific portal's current documentation before publishing, since these rules do shift over time and vary by region and MLS provider.
How Long Does It Take and What Does Hosting Cost?
A typical tour goes from capture to live publication in roughly one to two weeks, assuming no major portal rejections along the way. Capture and stitching usually take a day or two depending on property size. Building and optimizing the tour, including tiling and compression, adds another one to three days. Staging on a test domain, setting up SSL, and running your preflight checks typically takes a day, and portal validation (especially for MLS submissions) can add anywhere from a few hours to several days depending on the reviewing organization's turnaround.
Cost drivers break down into a few clear categories: bandwidth and egress fees, CDN service costs, storage for your image and video library, compute resources if you're running live features, and either your own development time or a managed hosting service fee.
Here's roughly what each hosting tier costs in practice:
- Simple static hosting with CDN: often free to a few dollars monthly for a single tour, scaling with traffic and storage as your library grows.
- Mid-tier VPS plus CDN: typically runs in the range of a modest monthly server fee plus CDN usage costs, appropriate for agency-scale portfolios.
- Live-session setup with a media server: the highest tier, since real-time video processing and distribution demand more compute and bandwidth than static delivery ever does.
Budget for ongoing costs beyond the initial launch too. Monitoring uptime, running periodic backups, and archiving old tour versions all add small but recurring line items that catch people off guard when they only planned for the launch cost. A tour library that grows to dozens or hundreds of properties needs a real backup and archive strategy, not an afterthought.
What Should You Check Before Publishing a Tour?
A short preflight pass catches the overwhelming majority of launch-day problems before a client or a portal ever sees them. Run through this list on your staging environment, not production:
- Confirm HTTPS is active and the certificate is valid for every domain and subdomain involved.
- Verify Content-Type headers are correct for every asset type, especially WebP and video files.
- Check Cache-Control headers are set appropriately for both static assets and your main HTML entry point.
- Test CORS behavior specifically from the domain where the tour will be embedded.
- Confirm structured data markup validates without errors.
- Run an accessibility check on hotspot alt text and keyboard navigation.
- Load the tour on a throttled mobile connection to catch performance issues before real users do.
A handful of quick command-line checks can confirm your headers are configured correctly without opening a browser at all:
curl -I https://yourtourdomain.com/panorama-v2.jpg
curl -I https://yourtourdomain.com/index.html
openssl s_client -connect yourtourdomain.com:443 -servername yourtourdomain.com
The first two commands show you exactly what headers your server is sending back, including Cache-Control, Content-Type, and Access-Control-Allow-Origin. The third confirms your TLS certificate chain is valid and correctly configured, which matters because many portals will block or fail to render content served with an incomplete or expired certificate chain.
If you're deploying through a CI/CD pipeline, add these header checks as an automated step that runs against your staging environment before any deploy reaches production. Combine that with a throttled-network test on staging, and you'll catch the two most common launch-day failures (broken headers and slow mobile load) before a client ever sees them.
A Publisher's View on Choosing the Right Hosting Setup
Most tour creators overthink the hosting decision before they've even built their first tour, and that hesitation costs more time than the decision itself ever will. My default recommendation is almost always cloud/CDN-backed static hosting until you have a concrete, specific reason to need more. Reliability and cost predictability matter more in the first six months of running a tour library than any theoretical scaling advantage a VPS might offer, and I've watched too many small agencies burn a weekend fighting server configuration issues instead of shooting properties.
The pattern I see repeatedly with customers who eventually do move to a VPS is almost always the same trigger: they start running live guided sessions, and static hosting simply cannot support that. A prerecorded walkthrough works fine on any static host. A live session where a real estate agent walks a remote buyer through a property in real time needs server-side infrastructure that static hosting was never built to handle, and that's the exact moment self-hosting starts paying for itself. Our piece on the role of live sessions in modern real estate tours covers why this feature has grown from a novelty to something buyers actively expect.
The honest gap I see in most hosting advice online is that it treats "self-hosted vs cloud" as a permanent, binary choice. It rarely is. The smartest operators start on cloud/CDN hosting, prove out their tour business, and migrate specific high-value projects (a flagship listing, a museum client wanting live sessions) to self-hosted infrastructure only when the feature demands it. Trying to predict every future need on day one usually means overpaying for capacity you won't use for a year, if ever.
Simple Virtual Tour Handles Both Sides of This Decision for You
Simple Virtual Tour is built specifically so you never have to choose between hosting flexibility and ease of use. Instead of picking a hosting philosophy first and then hunting for software that fits, you get both cloud-hosted and self-hosted deployment from the same platform, with live session capabilities, e-commerce integration, and API access built in either way.
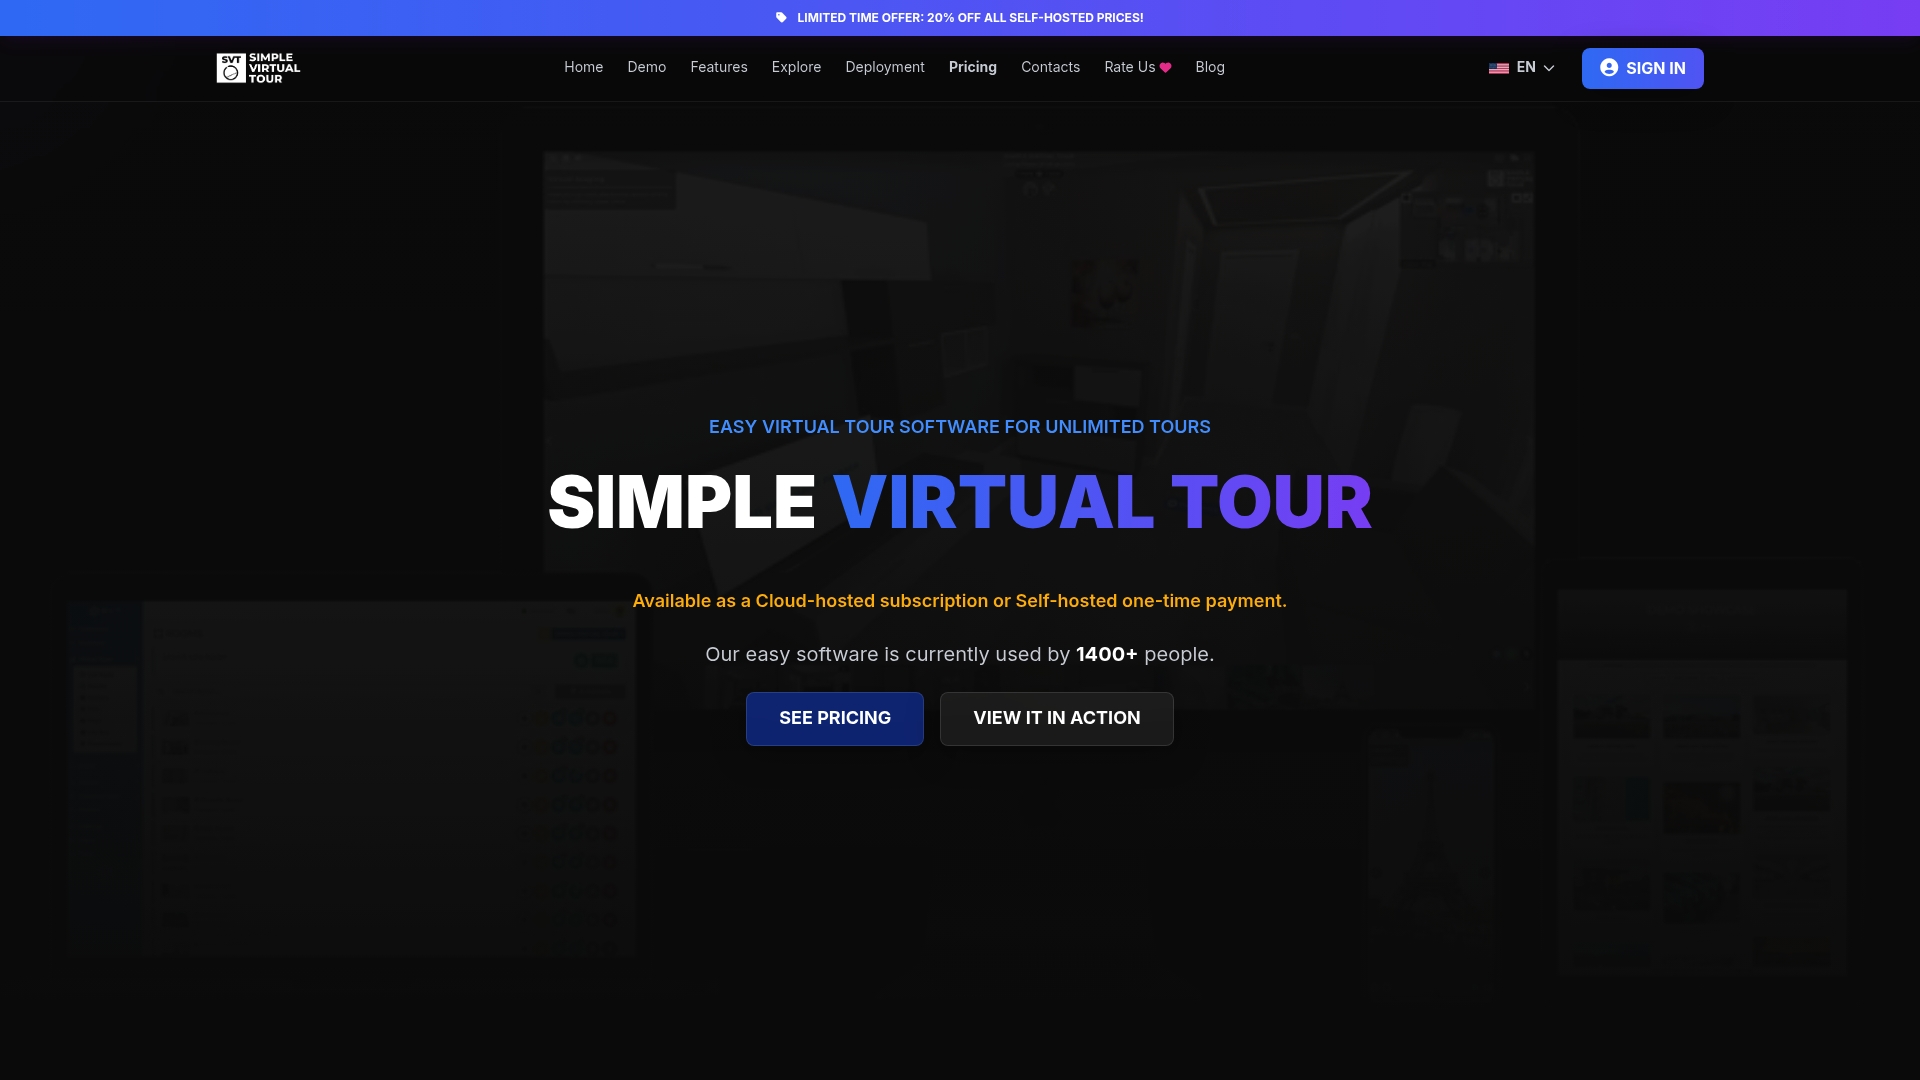
That dual-deployment model means a photographer running a handful of listings can start on cloud hosting today with zero server management, while an agency scaling toward live guided sessions and multi-user backends can move to self-hosted infrastructure later without switching platforms or rebuilding their tour library from scratch. Over 1,400 current users rely on the same backend for both paths, which keeps your workflow consistent no matter which hosting route your business eventually needs. If you want to see how the deployment options map to your specific project, visit the Simple Virtual Tour product page or get started with a plan that matches your current hosting needs.
Where to Verify These Technical Standards
Hosting rules and portal policies change over time, so treat these primary sources as your reference point rather than relying solely on secondhand summaries.
- Google Street View Ready Specifications covers resolution and frame-rate thresholds for 360 video, required telemetry metadata, and HTTPS delivery expectations for publishable imagery.
- Doorify MLS Virtual Tour Requirements outlines common MLS-style rules around branding, contact information, and outbound links on tour landing pages.
Always re-check the live documentation on each portal or standards body before you publish, since technical thresholds and policy language do get updated without much advance notice.
Sources
- Street View ready specifications | Google for Developers
- What are the Virtual Tour Requirements? – Doorify MLS