
Use immersive virtual destination previews, meaning 360° imagery, WebXR, and scheduled live-guided sessions, as a conversion-first asset rather than a decorative one. That single decision does more for booking intent than any amount of static photography, because research on telepresence and flow shows the "sense" of being somewhere is what moves a browser toward a booking. The one-line verdict: destinations that pair a strong sense of presence with clear, current information reduce the uncertainty that keeps travelers stuck in the research phase, and that shows up directly in conversion intent.
Here's what to do this week if you're building or briefing one of these assets:
- Pick your primary format first (360° photo for speed, 360° video for atmosphere, WebXR for interactivity) based on the audience's involvement level.
- Run a small A/B test comparing a static gallery against your preview before committing budget to a full rollout.
- Publish the preview on your highest-intent pages first: destination landing pages and booking flows, not just the homepage.
- Add at least one scheduled live session option for high-involvement travelers who need more reassurance than an on-demand tour provides.
The gap between "engaging" and "booking" almost always comes down to telepresence and information quality, not production polish. A well-lit 360° tour with accurate hours, pricing, and access notes will often outconvert a flashier VR piece that skips those details.
Key Takeaways
Virtual destination previews increase booking intent when they combine telepresence, accurate information, and a distribution plan matched to traveler involvement level.
| Point | Details |
|---|---|
| Lead with telepresence and information quality | Accurate hours, pricing, and access notes matter as much as image quality for visit intention. |
| Match format to involvement level | Use 360° photo for broad reach and VR or live sessions for high-involvement planners. |
| Test before scaling | Run an A/B test comparing tour versus no-tour before committing to a full production budget. |
| Measure in layers | Track delivery, behavior, and outcome metrics separately to build a defensible ROI case. |
| Use Simple Virtual Tour for execution | Simple Virtual Tour supports live sessions, multilingual UI, and cloud or self-hosted deployment for fast launch. |
Table of Contents
- What the research says about virtual previews and visit intention
- What virtual destination previews deliver for marketers
- Which format and technology should you choose?
- How do you build an effective virtual destination preview?
- Design and storytelling choices that increase telepresence
- Where should you distribute and promote a virtual preview?
- How do you measure impact and prove ROI?
- What's the realistic timeline and cost range?
- How does a platform like Simple Virtual Tour fit this use case?
- A practical take for travel marketers
- Launch a destination preview without the production bottleneck
- Frequently Asked Questions
- Sources
What the research says about virtual previews and visit intention
Two academic threads explain why these assets work, and travel marketers should know both well enough to defend budget requests with them.
The first is flow theory, adapted to virtual travel experiences. A peer-reviewed study on virtual travel experiences found that "sense," meaning the sensory realism of a preview, and "information quality," meaning how accurate and complete the content is, both drive flow. Flow here breaks into telepresence (the feeling of actually being there) and focused attention (how absorbed the viewer becomes). Both dimensions predict satisfaction and, more importantly, visit intention. This matters for briefs: it tells you exactly which two levers to pull. A gorgeous panorama with outdated opening hours will underperform a more modest tour that gets the practical details right.
The second thread is comparative format research. A study on tourist attitudes and VR applications tested static images, 360° tours, and full VR side by side, and VR produced the largest positive shift in attitude and visit intention. Crucially, the effect wasn't uniform. It was substantially stronger among travelers who were already highly involved in the trip decision, meaning people actively planning rather than casually browsing. For lower-involvement audiences, the gap between VR and 360° narrowed considerably.
That involvement split should shape your format strategy directly:
- Use lighter, fast-loading 360° formats for top-of-funnel and casual-browse traffic.
- Reserve deeper VR or live-guided sessions for high-intent segments like retargeted visitors, newsletter subscribers researching a specific trip, or trade partners.
- Treat telepresence and information quality as equally weighted design goals, not just a production checklist.
- Cite flow theory and involvement research directly when justifying budget to stakeholders who want more than "engagement felt good."
The business case gets a tailwind from market growth too. Virtual tourism market forecasts point to sustained expansion over the next decade, which means the audience already primed to expect these experiences is only getting larger.
What virtual destination previews deliver for marketers
Translate the research into outcomes your finance team cares about, and the pitch gets a lot easier to make.
The clearest benefit is reduced uncertainty at the exact moment a traveler is deciding between destinations. When someone can see a hotel's actual view, the walk from a trailhead to a lookout point, or the layout of a museum before buying, they carry less doubt into the booking. That translates into measurable lift: marketers running preview experiences typically track time on page, click-through rate to the booking flow, and conversion lift in an A/B test as their core signals of success.
Interactive formats also tend to outperform static galleries on basic engagement, which matters because engagement is often the leading indicator that predicts the conversion effect downstream, not a vanity metric on its own. Planning-stage search queries (things like "what does X look like" or "X walking tour") also respond well to immersive content, since these pages tend to hold attention longer and generate the kind of dwell time and interaction signals that support organic visibility for research-intent keywords.
The strongest returns concentrate in two groups:
- High-involvement planners: travelers actively comparing options for a specific trip, where the VR involvement research shows the largest attitude shift.
- Niche experience seekers: travelers considering something unusual, like a remote lodge or a specialized cultural tour, where uncertainty is naturally higher and a preview does more work to close the gap.
Broader audiences still benefit, just less dramatically. That's a reason to segment your format investment rather than assume every visitor deserves the same production budget.
Which format and technology should you choose?
There's no single right answer here. The right choice depends on your objective, your budget, and how deep your audience's interest already runs.
360° photos are the fastest, cheapest entry point. They're easy to produce, embed almost anywhere, and load quickly on mobile, which makes them a reasonable default for broad-reach content like destination landing pages or social previews. Their limitation is depth. A static panorama can't convey movement, sound, or scale the way video or VR can.
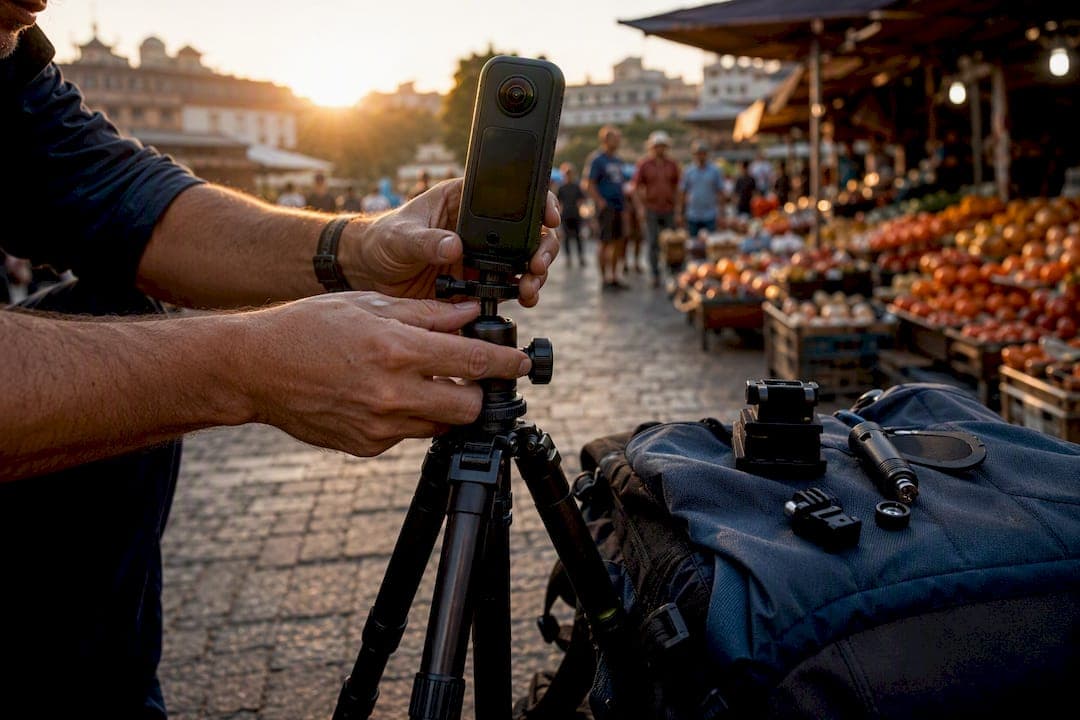
360° video adds motion and atmosphere. It's a strong fit for showcasing a scenic drive, a walking tour of a market, or an activity like snorkeling. It requires more planning around lighting, stabilization, and spatial audio to feel immersive rather than disorienting. You can find production specifics in our guide to how 360° tourism video works.
WebXR, meaning browser-based 3D and VR that runs without a native app, is the most practical way to reach mobile users who won't download anything. It supports interactive hotspots and clickable overlays while keeping the barrier to entry low, which matters because most travelers browsing on a phone will not bother installing a headset app to check out a destination.
Head-mounted VR delivers the deepest telepresence but the smallest reach, since it depends on hardware ownership. It's best reserved for trade shows, in-person activations, or flagship experiences where you control the environment.
Live-guided sessions add a human element that on-demand formats can't replicate: real-time Q&A, a local guide's commentary, and the flexibility to answer specific concerns a traveler has about mobility, weather, or logistics.
- Compare formats on four axes: experience depth, production complexity, distribution reach, and conversion potential.
- Prioritize spatial audio and high-resolution panoramas for any format claiming to be "immersive."
- Build in interactive hotspots and overlays wherever the platform supports them; static tours convert worse than ones with embedded information.
- Confirm mobile compatibility before committing to a native VR app; WebXR usually wins on reach.
Pro Tip: Choose live-guided sessions when you're targeting high-involvement travelers with unresolved questions, like accessibility needs or a complex itinerary. Reserve on-demand 360° or WebXR tours for broad-reach, top-of-funnel traffic where scale matters more than personal reassurance.
How do you build an effective virtual destination preview?
Start with the goal, not the camera. A preview built to answer "should I book this?" looks different from one built to answer "what does this place look like?" Define your conversion goal, your target persona (high-involvement planner versus casual browser), and the KPI you'll use to judge success before anyone picks up equipment.
1. Plan. Define the conversion goal (bookings, inquiries, or email signups), identify the persona you're building for, and set a measurable KPI target, such as a specific lift in click-through to your booking page.
2. Capture. Shoot panoramic photos at consistent exposure and resolution, since inconsistent lighting between shots is one of the most common flaws in amateur tours. If shooting 360° video, budget extra time for stabilization and consider spatial audio equipment if you want the ambient sound of a market or waterfront to carry through. Note accessibility details during the shoot, like step-free routes or elevator locations, since you'll need them for overlays later.
3. Assemble. Stitch your panoramas, then add hotspots and informational overlays: pricing, hours, and booking links layered directly onto the scene. Localize copy for your key markets, and write overlay text with SEO in mind, since transcript and alt text content inside a tour can still be crawled and indexed. If your workflow involves reconstructing 3D spaces from photos rather than pure panoramic stitching, our guide to online photogrammetry walks through when that approach makes sense.
4. Publish. Embed the tour via iframe or WebXR on your highest-intent pages, always with a mobile fallback for visitors on older devices. If you're representing a physical attraction, consider Street View or map integration so the preview shows up where travelers already search. Place your CTA where attention naturally lands, usually right after the entry scene or at a decision point in the narrative.
5. Optimize for delivery. Use adaptive delivery formats so panoramas don't choke slower connections, lazy-load media so the page doesn't stall on first paint, and serve everything through a CDN if you're expecting meaningful traffic volume.
A production-ready weekly checklist looks roughly like this:
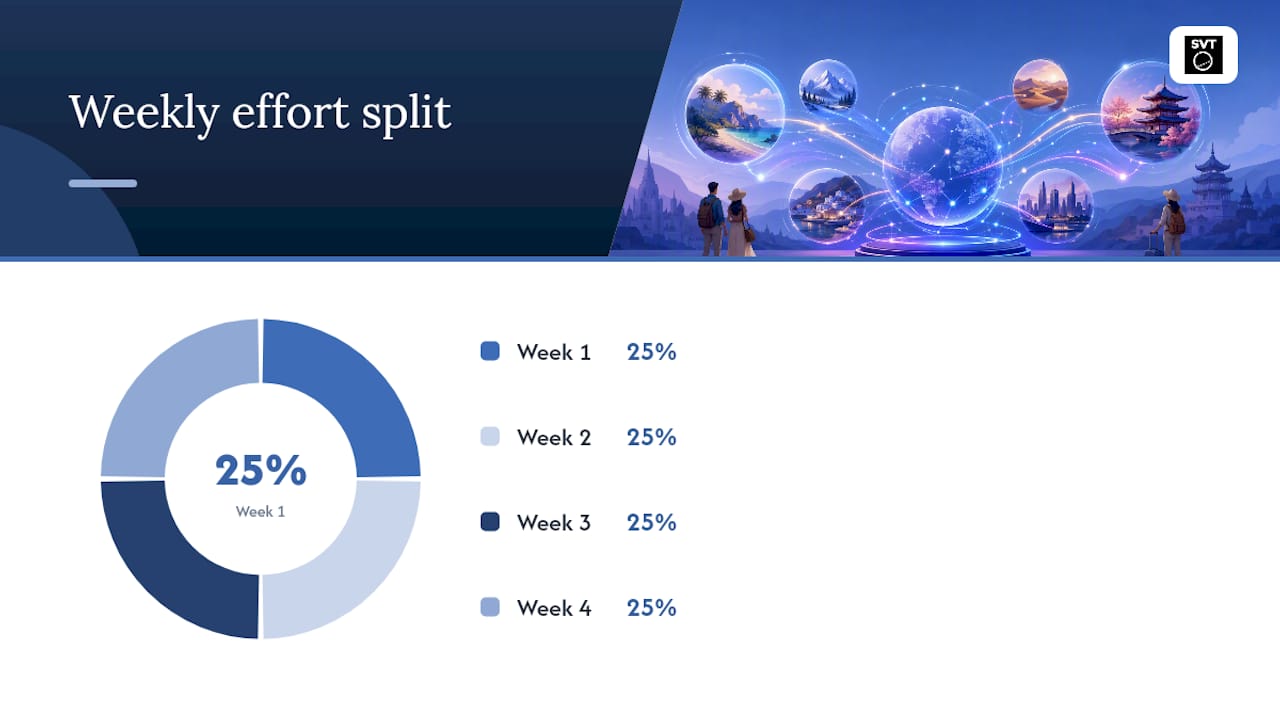
- Week 1: Finalize goals, persona, KPI, and shot list.
- Week 2: Capture photos or video on location, including audio.
- Week 3: Stitch, add hotspots, write overlay copy, and localize.
- Week 4: Publish, add schema markup and alt text, and set up tracking before launch.
Pro Tip: Write alt text and transcripts for every scene as if a search engine will read them, because it often will. A well-labeled tour scene can surface in image and video search the same way a well-optimized blog post does.
Design and storytelling choices that increase telepresence
Production quality gets a preview in front of people. Design and narrative are what convince those people to book.
Cognitive overload kills telepresence fast. If a viewer lands in a scene with six hotspots competing for attention and no clear path forward, the sense of "being there" collapses into the sense of "figuring out this interface." Progressive disclosure, meaning revealing information only as the viewer needs it, keeps the scene feeling natural rather than cluttered. Clear navigation cues (an arrow, a subtle glow, a guided path) do more for engagement than adding another data point to the overlay.
A simple storytelling structure tends to outperform an unstructured tour: open with an entrance moment that establishes atmosphere, move to an anchor attraction that gives the destination its identity, layer in the local rhythm (a market, a meal, a daily pattern that shows what it's actually like to be there), and close with a clear path to booking. This mirrors how a good travel writer paces a piece, just rendered spatially instead of on the page.
Information quality is not optional polish. It's part of the flow mechanism the telepresence research identifies as central to visit intention. Before publishing, confirm:
- Opening hours and seasonal closures are current.
- Mobility and access notes are accurate (stairs, elevators, terrain difficulty).
- Pricing and booking links point to the right page, not a generic homepage.
- Contact or live-chat options are visible for last-minute questions.
Pro Tip: Real local voices and ambient sound do more for telepresence than another camera upgrade. A guide's actual accent, a market's actual noise, or a boat captain's actual commentary tends to convince a viewer they're really there faster than a sharper lens does.
Where should you distribute and promote a virtual preview?
The preview only earns its budget once it reaches the right channel at the right moment in the traveler's decision process.
Your website booking pages and SEO-focused planning pages are the highest-value real estate, since visitors there already have purchase intent. Paid social works best with short clips pulled from the full preview, teasing the atmosphere without giving away the whole experience; our post on why virtual venue tours work on social media covers the mechanics. OTA and trade distribution channels matter for reaching travel agents and tour operators who need to sell the destination to their own clients, a use case covered in our piece on why tour operators use immersive content to drive bookings. Email nurturing sequences can drip preview content to travelers who've shown interest but haven't booked. In-person activations, like a booth at a trade show or an airport kiosk, are where head-mounted VR earns its keep.
A simple sequencing model works across most campaigns: an awareness clip drives traffic to a preview landing page, the landing page offers an RSVP for a live demo session, and the live session closes with a direct booking CTA. This staged approach matches the layered measurement thinking recommended in tourism marketing strategy guidance, which treats delivery, behavior, and outcome as separate stages to track rather than one blended metric.
- Place CTAs at natural pause points in the narrative, not just at the very end.
- Link partner itineraries and booking pages directly from within the tour where relevant.
- Repurpose tour footage into short clips for creator partnerships instead of commissioning separate content.
- Match the format's depth to the channel: light 360° clips for social, deeper WebXR or live sessions for owned landing pages.
DMOs in particular are leaning into this kind of data-led, experience-based positioning as tourism recovery shifts focus toward measurable partnerships rather than broad brand awareness alone.
How do you measure impact and prove ROI?
Pick your primary metric before you launch, not after. For most travel marketers, that's booking conversion lift or qualified inquiry rate. Secondary metrics, like time on page, CTA clicks, and email signups, support the story but shouldn't be the headline number in a stakeholder report.
- Define your test variants clearly: tour versus no-tour, or live session versus recorded tour, isolating one variable at a time.
- Randomize traffic assignment so the comparison is fair, and run the test long enough to smooth out day-of-week and seasonal noise.
- Instrument analytics before launch: set up event tracking on hotspot interactions, tag every campaign link with UTM parameters, and separate trade-channel traffic from direct consumer traffic so you're not blending two very different funnels.
- Let the test run to a predetermined end date rather than stopping early at the first sign of a lift, since early results often regress once volume grows.
The layered measurement approach from tourism marketing frameworks, meaning tracking delivery (reach), behavior (engagement), and outcome (bookings) as distinct layers, gives you a defensible attribution story instead of a single number that's easy to dispute.
- Primary: booking conversion lift, qualified inquiry rate.
- Secondary: time on page, CTA click rate, email signup rate.
- Segment results by involvement level wherever your data allows it; the effect is rarely uniform across audiences.
What's the realistic timeline and cost range?
Plan on roughly four to eight weeks from kickoff to launch for a single well-produced destination preview, broken down across planning (one week), capture (one to two weeks depending on location logistics), assembly (one to two weeks), QA (a few days), and publishing (a few days).
Costs vary widely by approach. A DIY project using consumer 360° cameras and free stitching tools can run into the low thousands of dollars, mostly in staff time. Agency-assisted production, where you handle strategy and an outside crew handles capture and editing, typically lands in the mid-range. Full custom production with drone footage, spatial audio, and bespoke VR interactivity sits at the higher end. Treat these as directional ranges, not fixed quotes, since location access and travel costs swing the total significantly.
Recurring costs are easy to forget in the initial budget: hosting, periodic content updates as prices or hours change, and multilingual versions if you're targeting international markets.
- Lock location access and permits early; permit delays are the most common cause of schedule slippage.
- Build a lightweight 360° photo version first as a fast win, then expand to video or VR once you've validated demand.
- Budget for at least one annual content refresh so overlays don't go stale.
How does a platform like Simple Virtual Tour fit this use case?
Everything covered so far, capture, hotspots, live sessions, distribution, and measurement, needs a platform to actually run on. Simple Virtual Tour maps closely to that list: it supports unlimited interactive tours, live session hosting for the guided-walkthrough format high-involvement travelers respond to, and e-commerce integration for destinations that want to sell tickets or packages directly from within a scene.

Deployment flexibility matters here too. Cloud hosting suits teams that want a fast proof-of-concept for a trade show or a single campaign, while self-hosting gives larger tourism boards or agencies control over data and lower long-term costs at scale.
For an RFP or vendor brief, the feature list worth confirming includes:
- Live session hosting for scheduled guided walkthroughs.
- Multilingual UI for international destination marketing.
- Cloud or self-hosted deployment depending on data control needs.
- Built-in analytics to support the A/B testing and layered measurement approach described above.
- API access for integrating with existing booking or CRM systems.
A practical take for travel marketers
The research is consistent enough to trust, but the biggest mistake I see is treating production value as the whole strategy. Telepresence comes from accurate information as much as sharp imagery. Prioritize a fast, well-labeled 360° tour on your top booking pages before chasing a flagship VR build. The real risk isn't underinvesting in equipment. It's publishing a beautiful tour with stale hours or a missing booking link, which undercuts the exact trust you were trying to build.
Launch a destination preview without the production bottleneck
Most of the friction in this process isn't the concept, it's execution: coordinating capture, hosting, hotspots, and live sessions across separate tools. Simple Virtual Tour consolidates that into one backend, so a destination team can go from raw panoramas to a published, bookable tour without hiring a developer for every update.
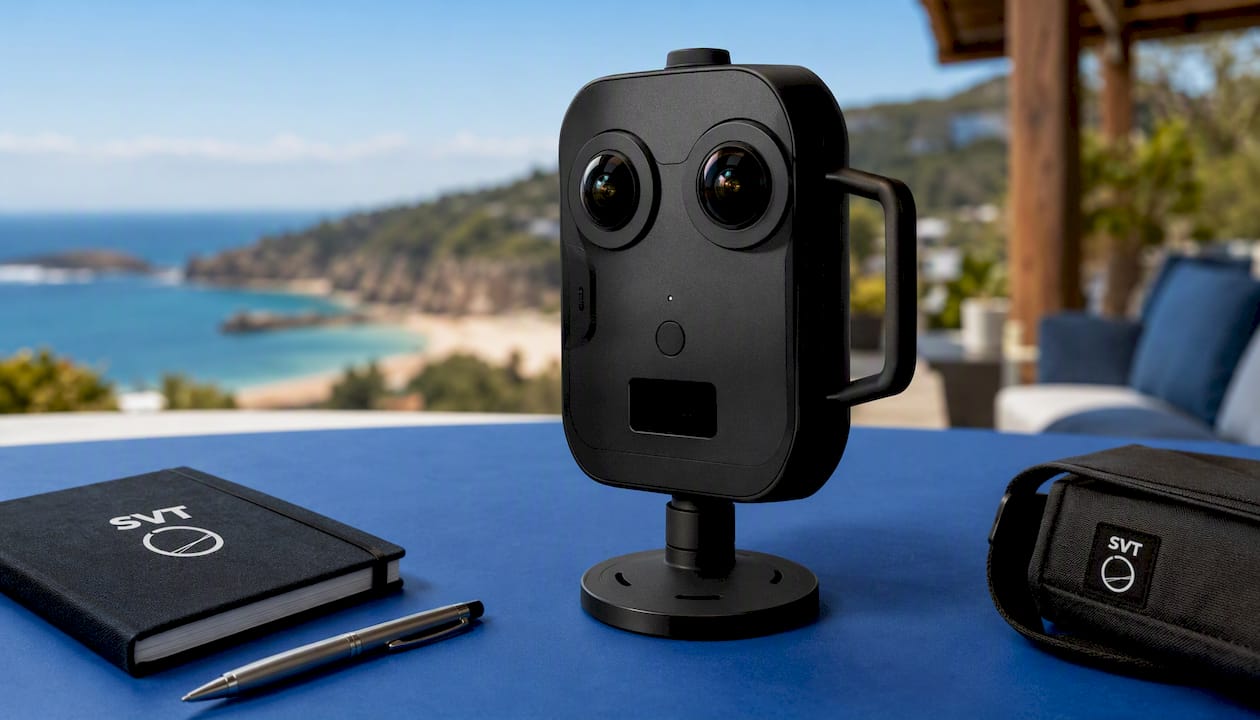
Three features map directly to what this article covers: live session hosting for the guided walkthroughs that convert high-involvement travelers, an intuitive backend for publishing hotspots and overlays without technical staff, and built-in analytics for running the A/B tests that prove ROI to stakeholders. Deployment flexibility, cloud or self-hosted, means a small tourism board and a large trade organization can both onboard on their own terms, with support either way.
If you're ready to move past static galleries, start with Simple Virtual Tour and publish your first preview before your next planning meeting.
Frequently Asked Questions
What is a virtual destination preview in travel marketing? A virtual destination preview is an immersive digital asset, usually built from 360° photos, 360° video, or WebXR, that lets a traveler experience a place before booking. The goal is reducing uncertainty by creating a sense of telepresence, which research links directly to higher visit intention.
Does VR actually convert better than a standard photo gallery? For high-involvement travelers actively planning a trip, yes. Comparative research found VR produced a larger shift in attitude and visit intention than static images or basic 360° tours, though the gap narrows for casual, low-involvement browsers.
How much should a virtual destination preview cost? Costs range from a low-cost DIY 360° photo project handled in-house to a full custom production with drone footage and spatial audio at the higher end. Recurring costs like hosting, updates, and multilingual versions should be budgeted separately from the initial build.
What metrics prove a virtual preview is working? Track booking conversion lift or qualified inquiry rate as your primary metric, with time on page, CTA clicks, and email signups as secondary signals. Layered measurement, meaning delivery, behavior, and outcome tracked separately, gives a stronger attribution story than a single blended metric.
Do I need a VR headset for these previews to work? No. WebXR runs directly in a mobile browser without any app download or headset, making it the most practical option for reaching broad mobile audiences, while head-mounted VR stays useful for trade shows and flagship in-person activations.
Sources
- Virtual travel experience and destination marketing: Effects of sense and information quality on flow and visit intention
- Assessing the moderating effects of involvement on tourist attitudes and intentions through virtual reality applications
- Virtual tourism market size worldwide
- Destination marketing: where to focus attention in 2025 (IATA Knowledge Hub)
- Tourism Marketing Strategies, Channels & KPIs (2026)